Ok, today I am posting something a little different. I have actually been thinking about doing some tutorials on some of my favorite crafts for a while now. I may start doing one once a month. 🙂
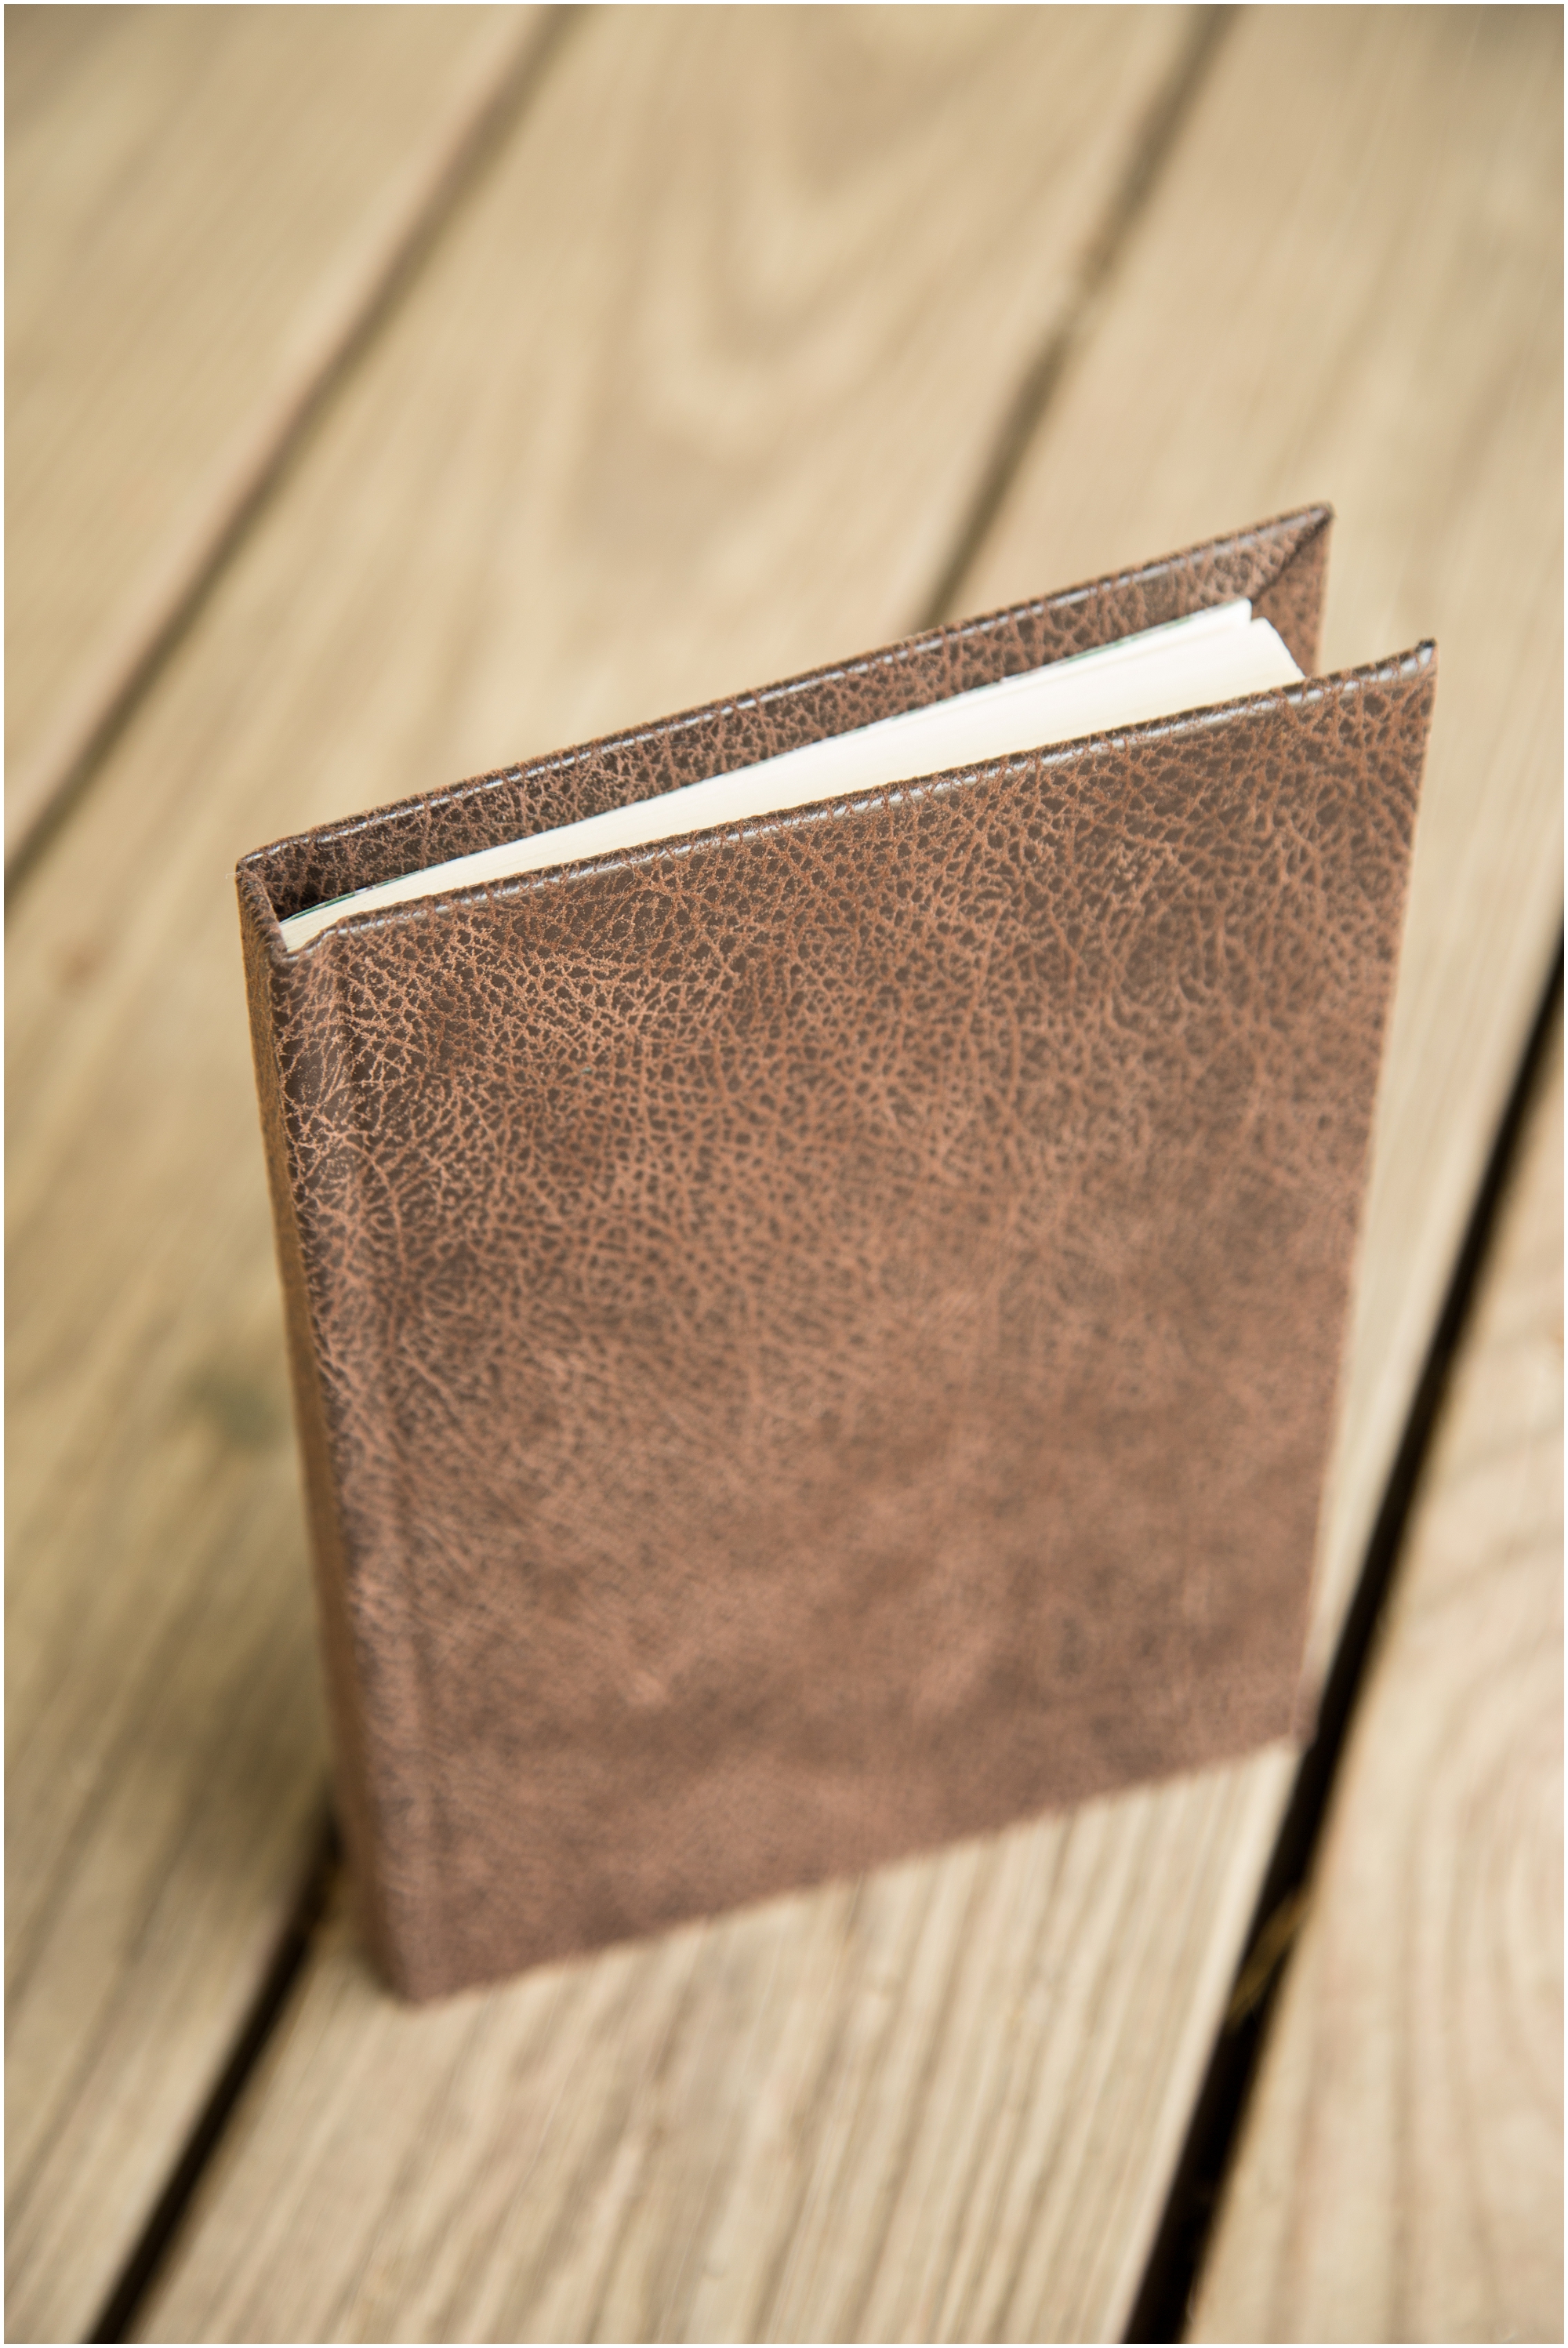
A few weeks ago I started learning how to make layflat photo albums and from there I learned how to make my own journals. I will post a tutorial later on how to make the albums, but for now here is how I make my journals.
The following is how I make them. I am sure that there are several different methods, this is just what has worked for me.
What you need:
Paper (for the pages) I use printer paper
Thread (I use embroidery thread, it needs to be strong)
Needle
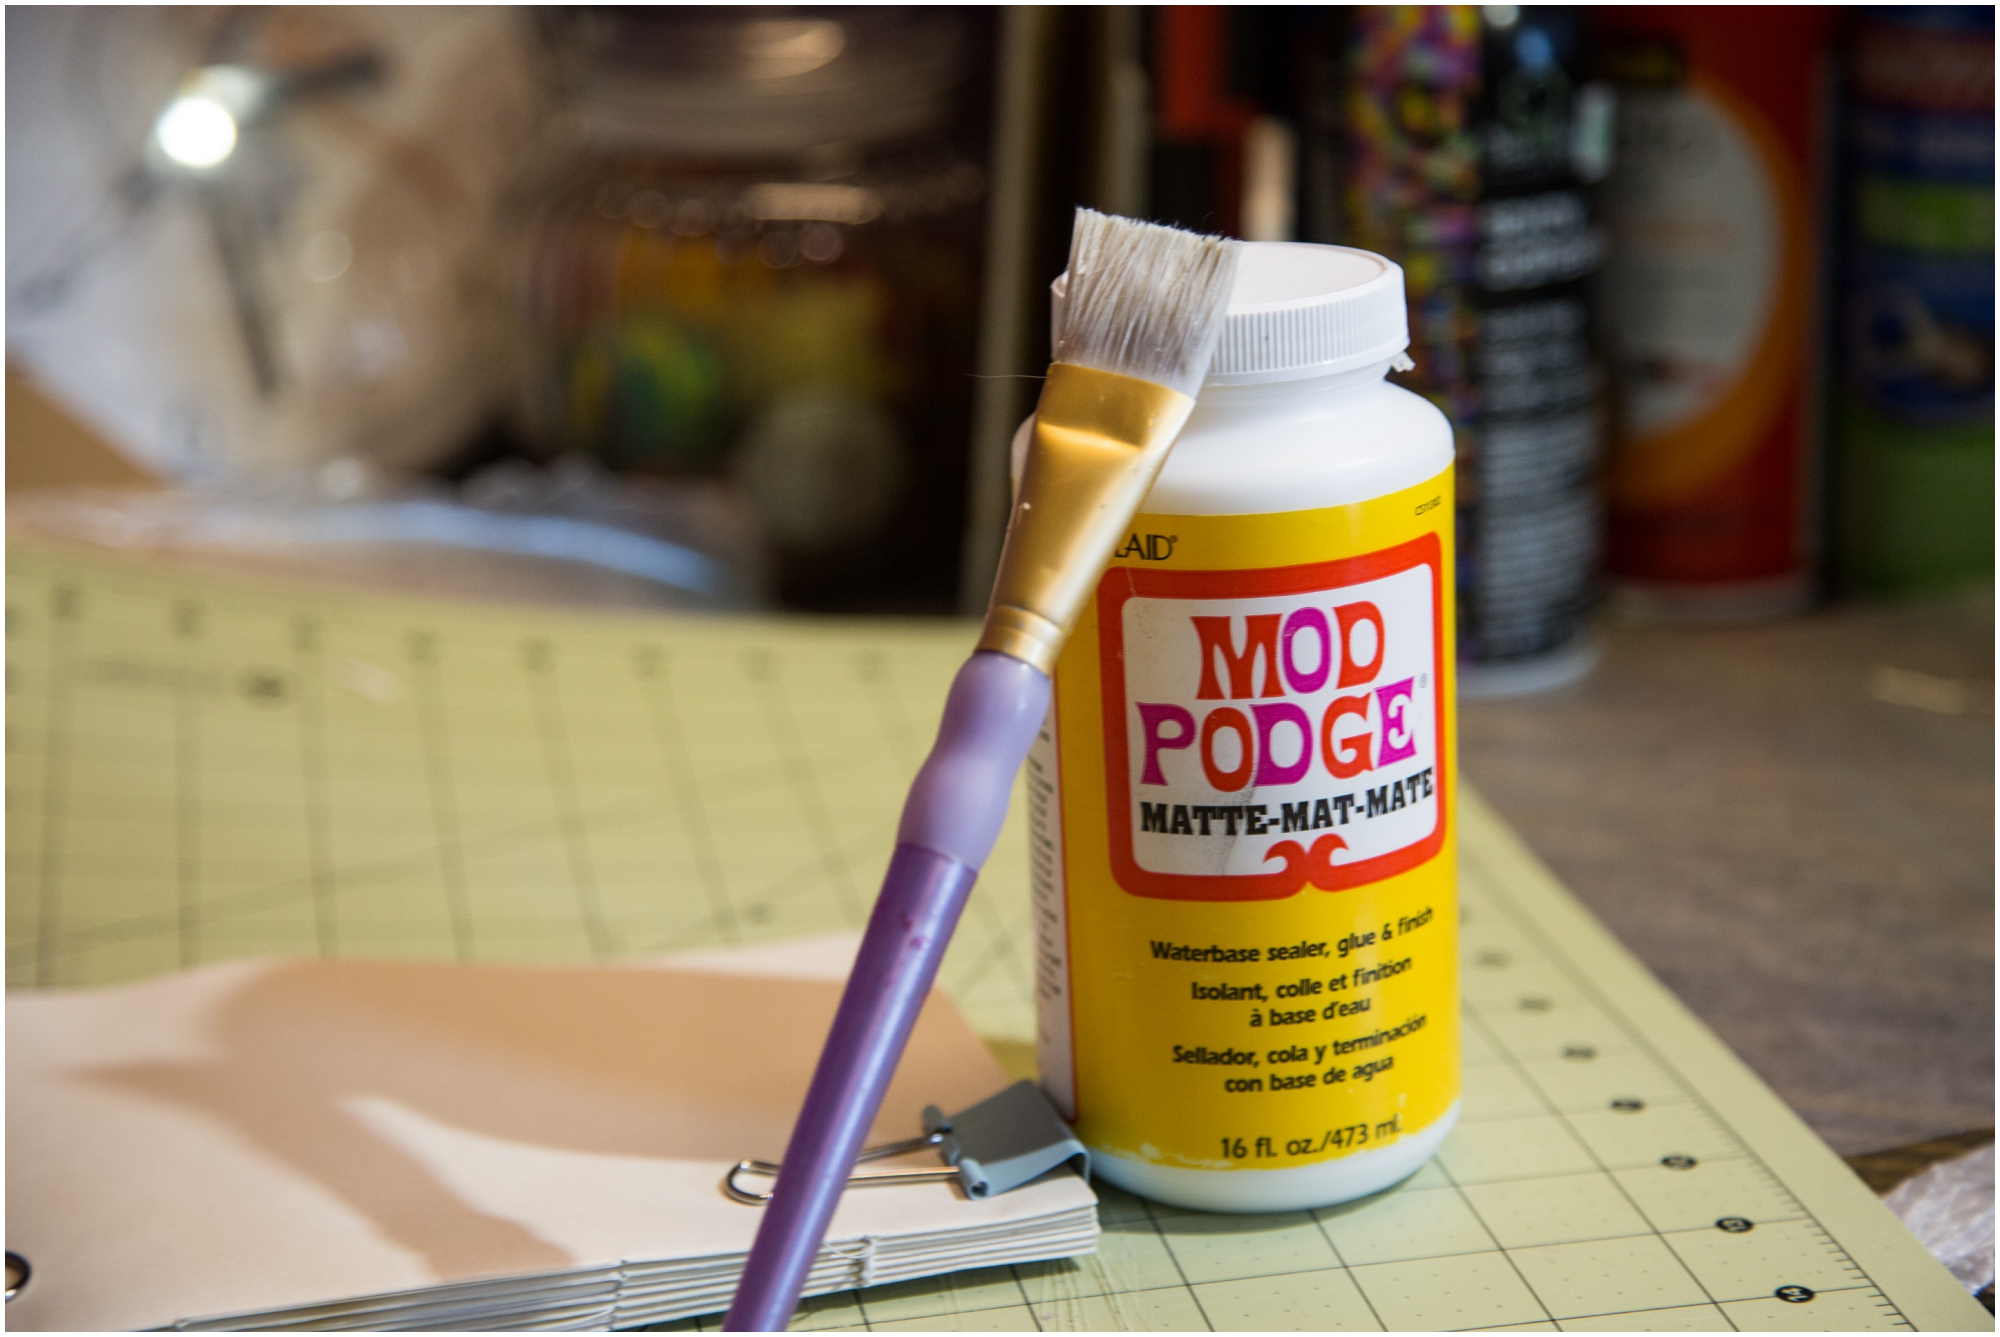
Mod Podge and a brush
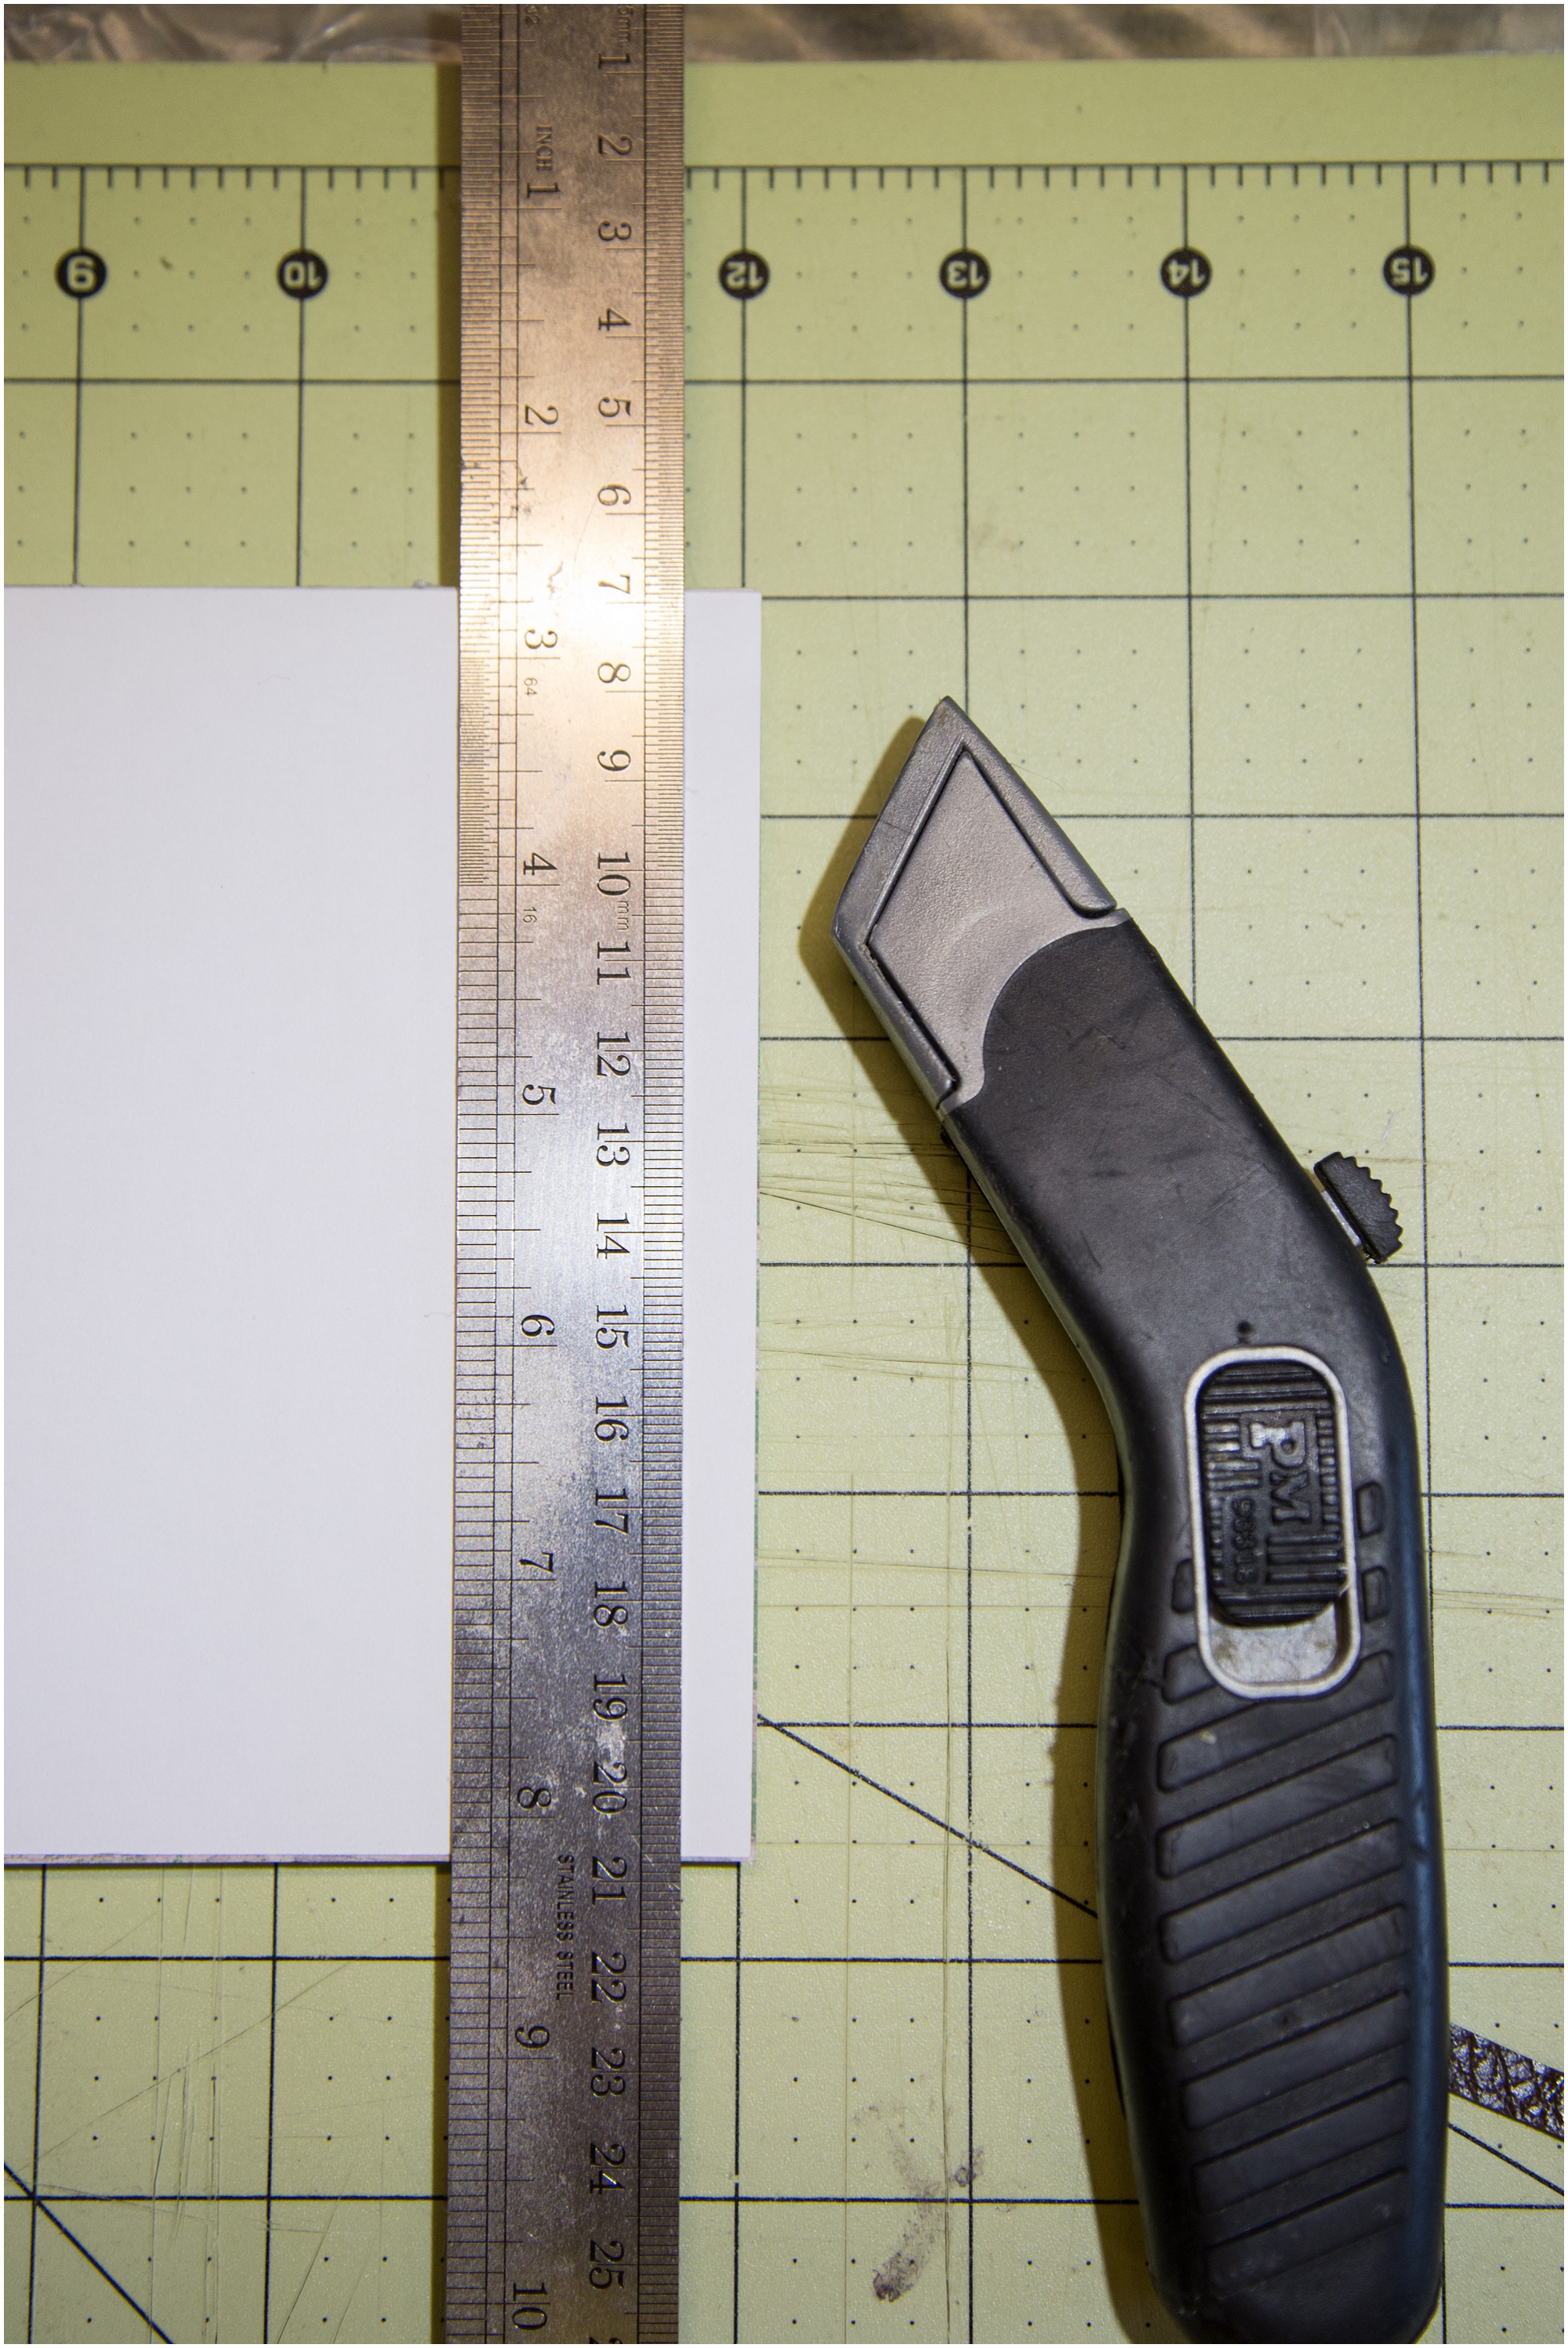
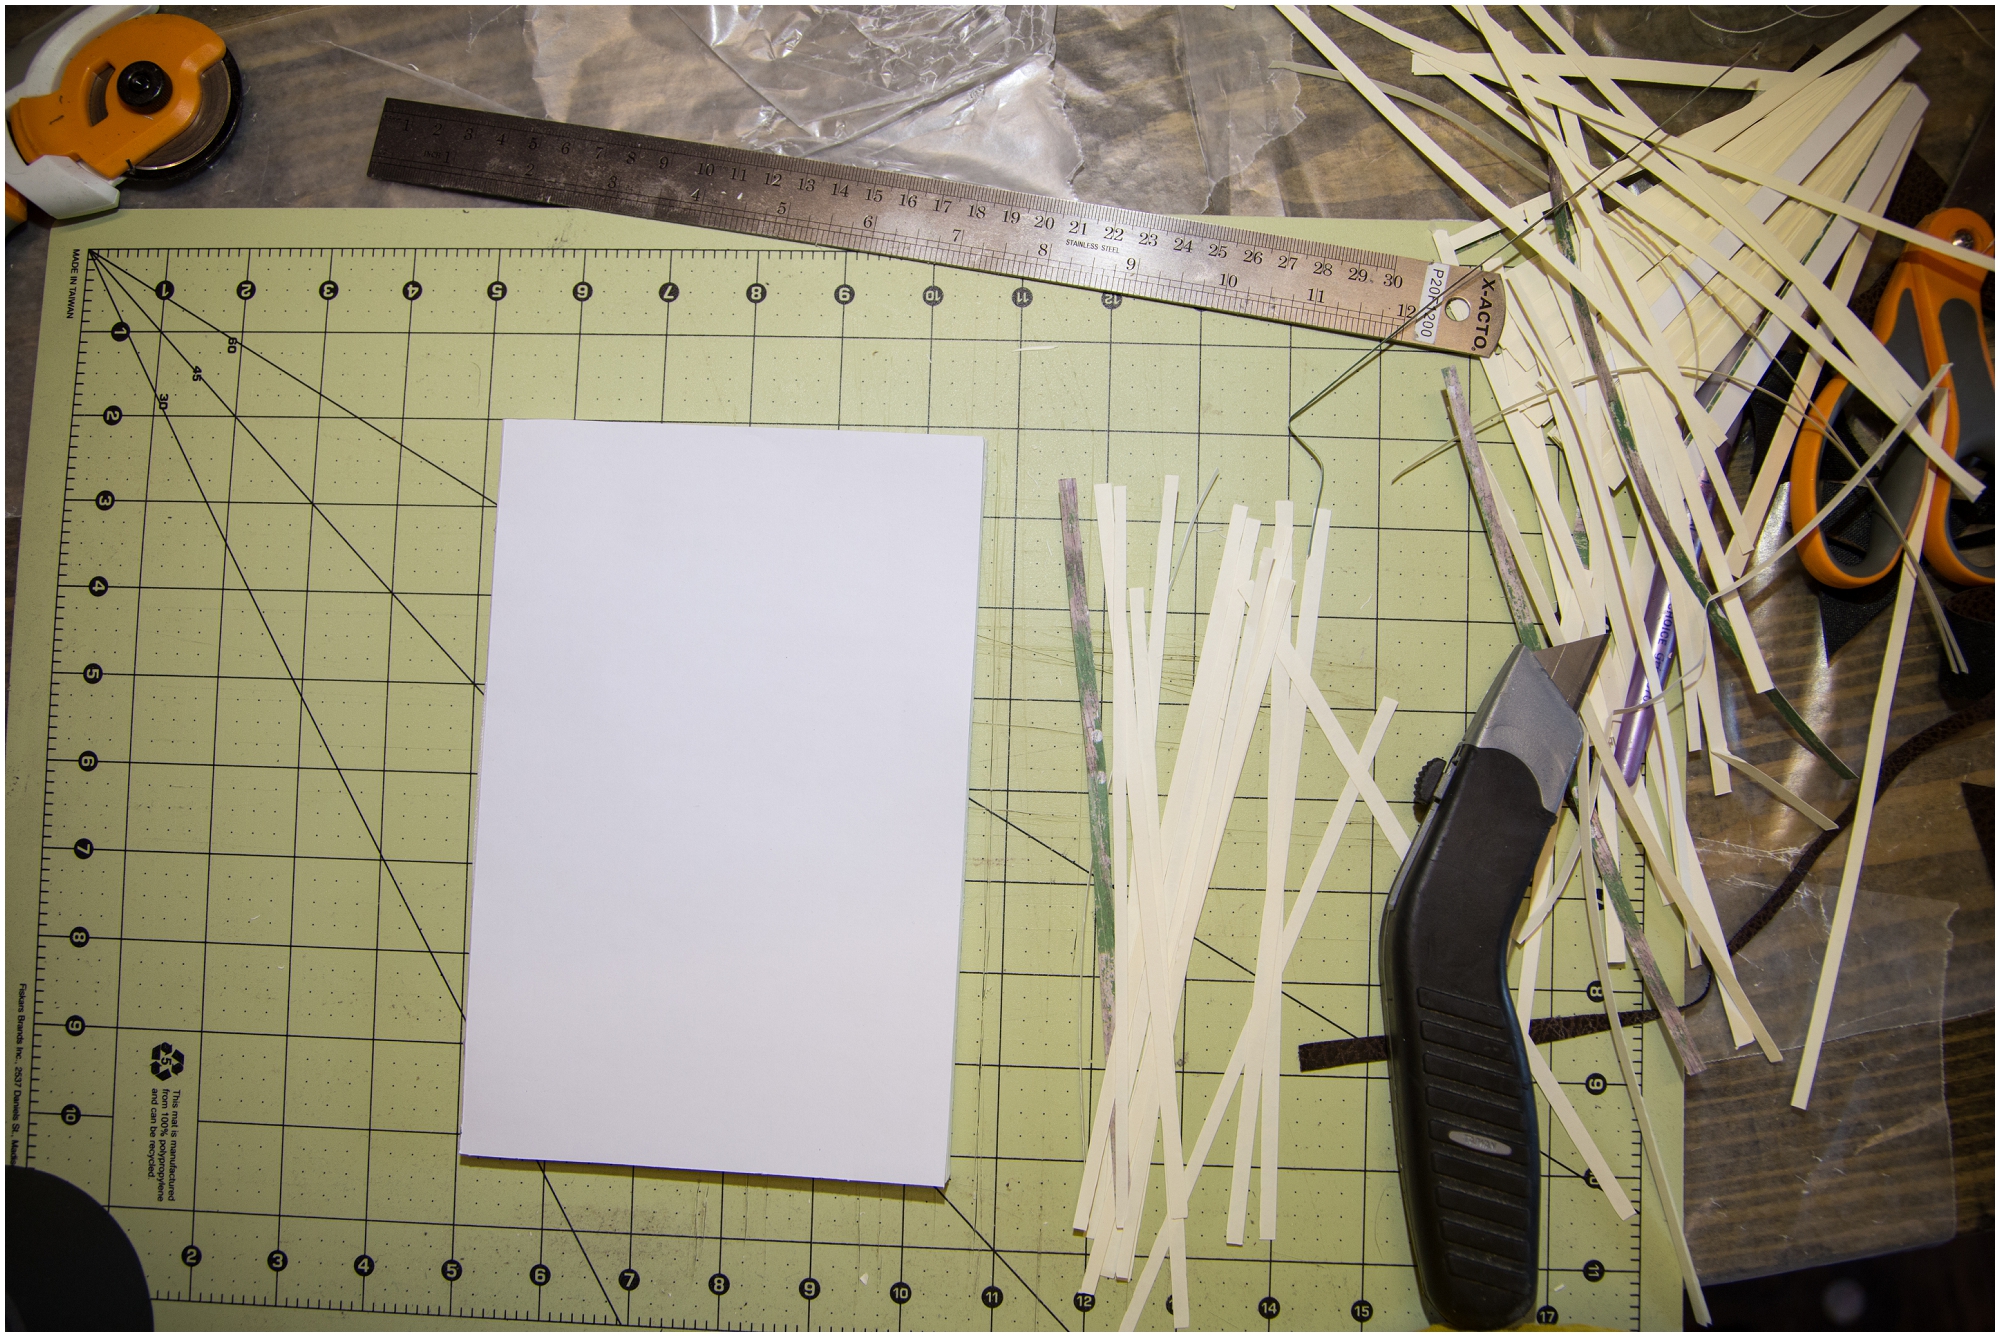
Metal Ruler
Utility Knife (of Exacto knife)
Cutting Mat
Chipboard
Fabric (for the cover)
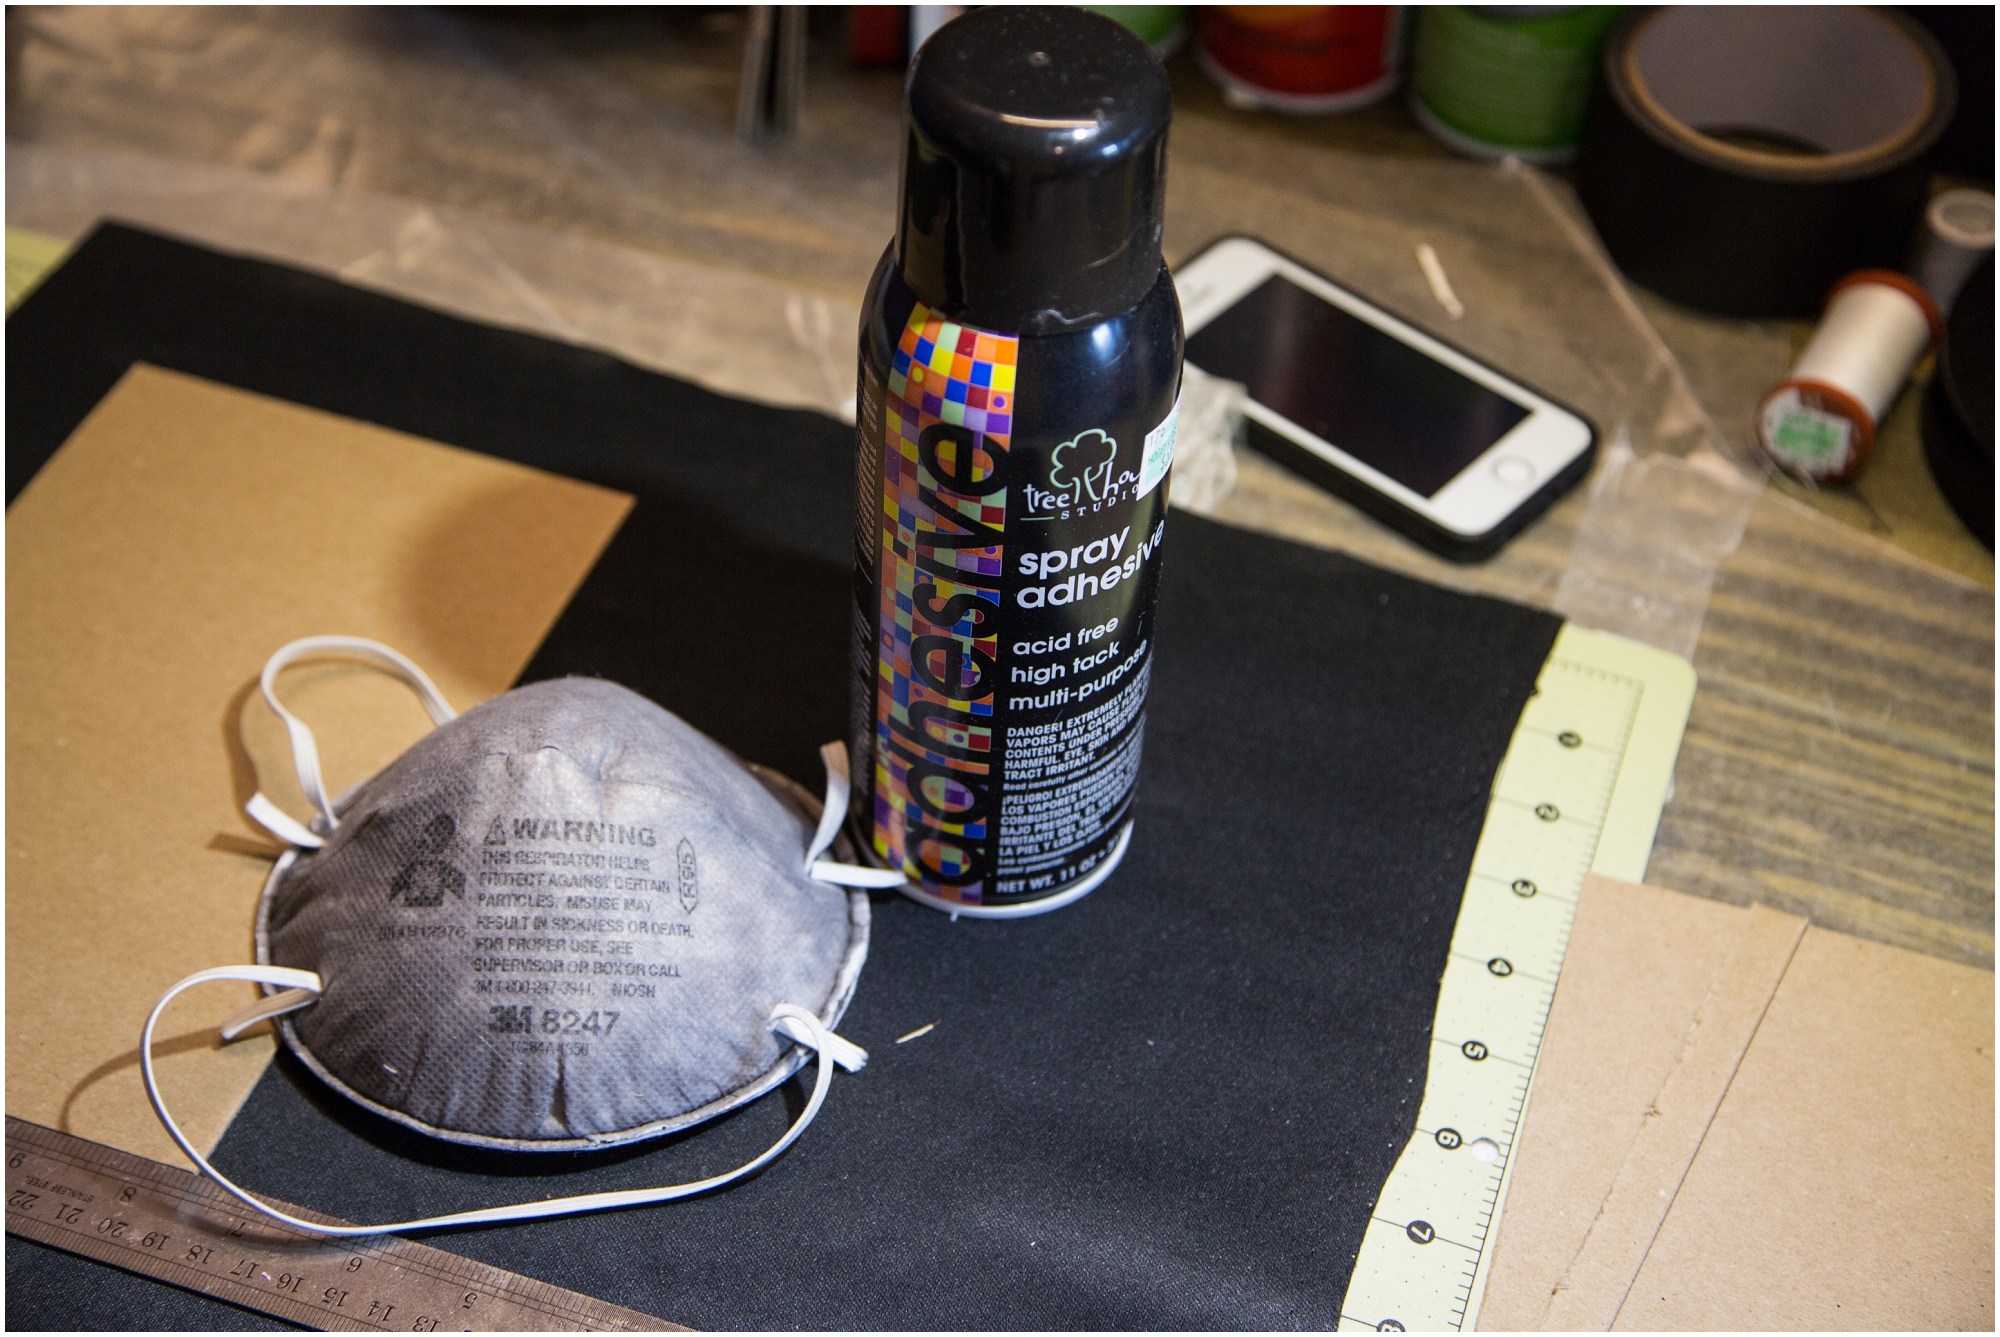
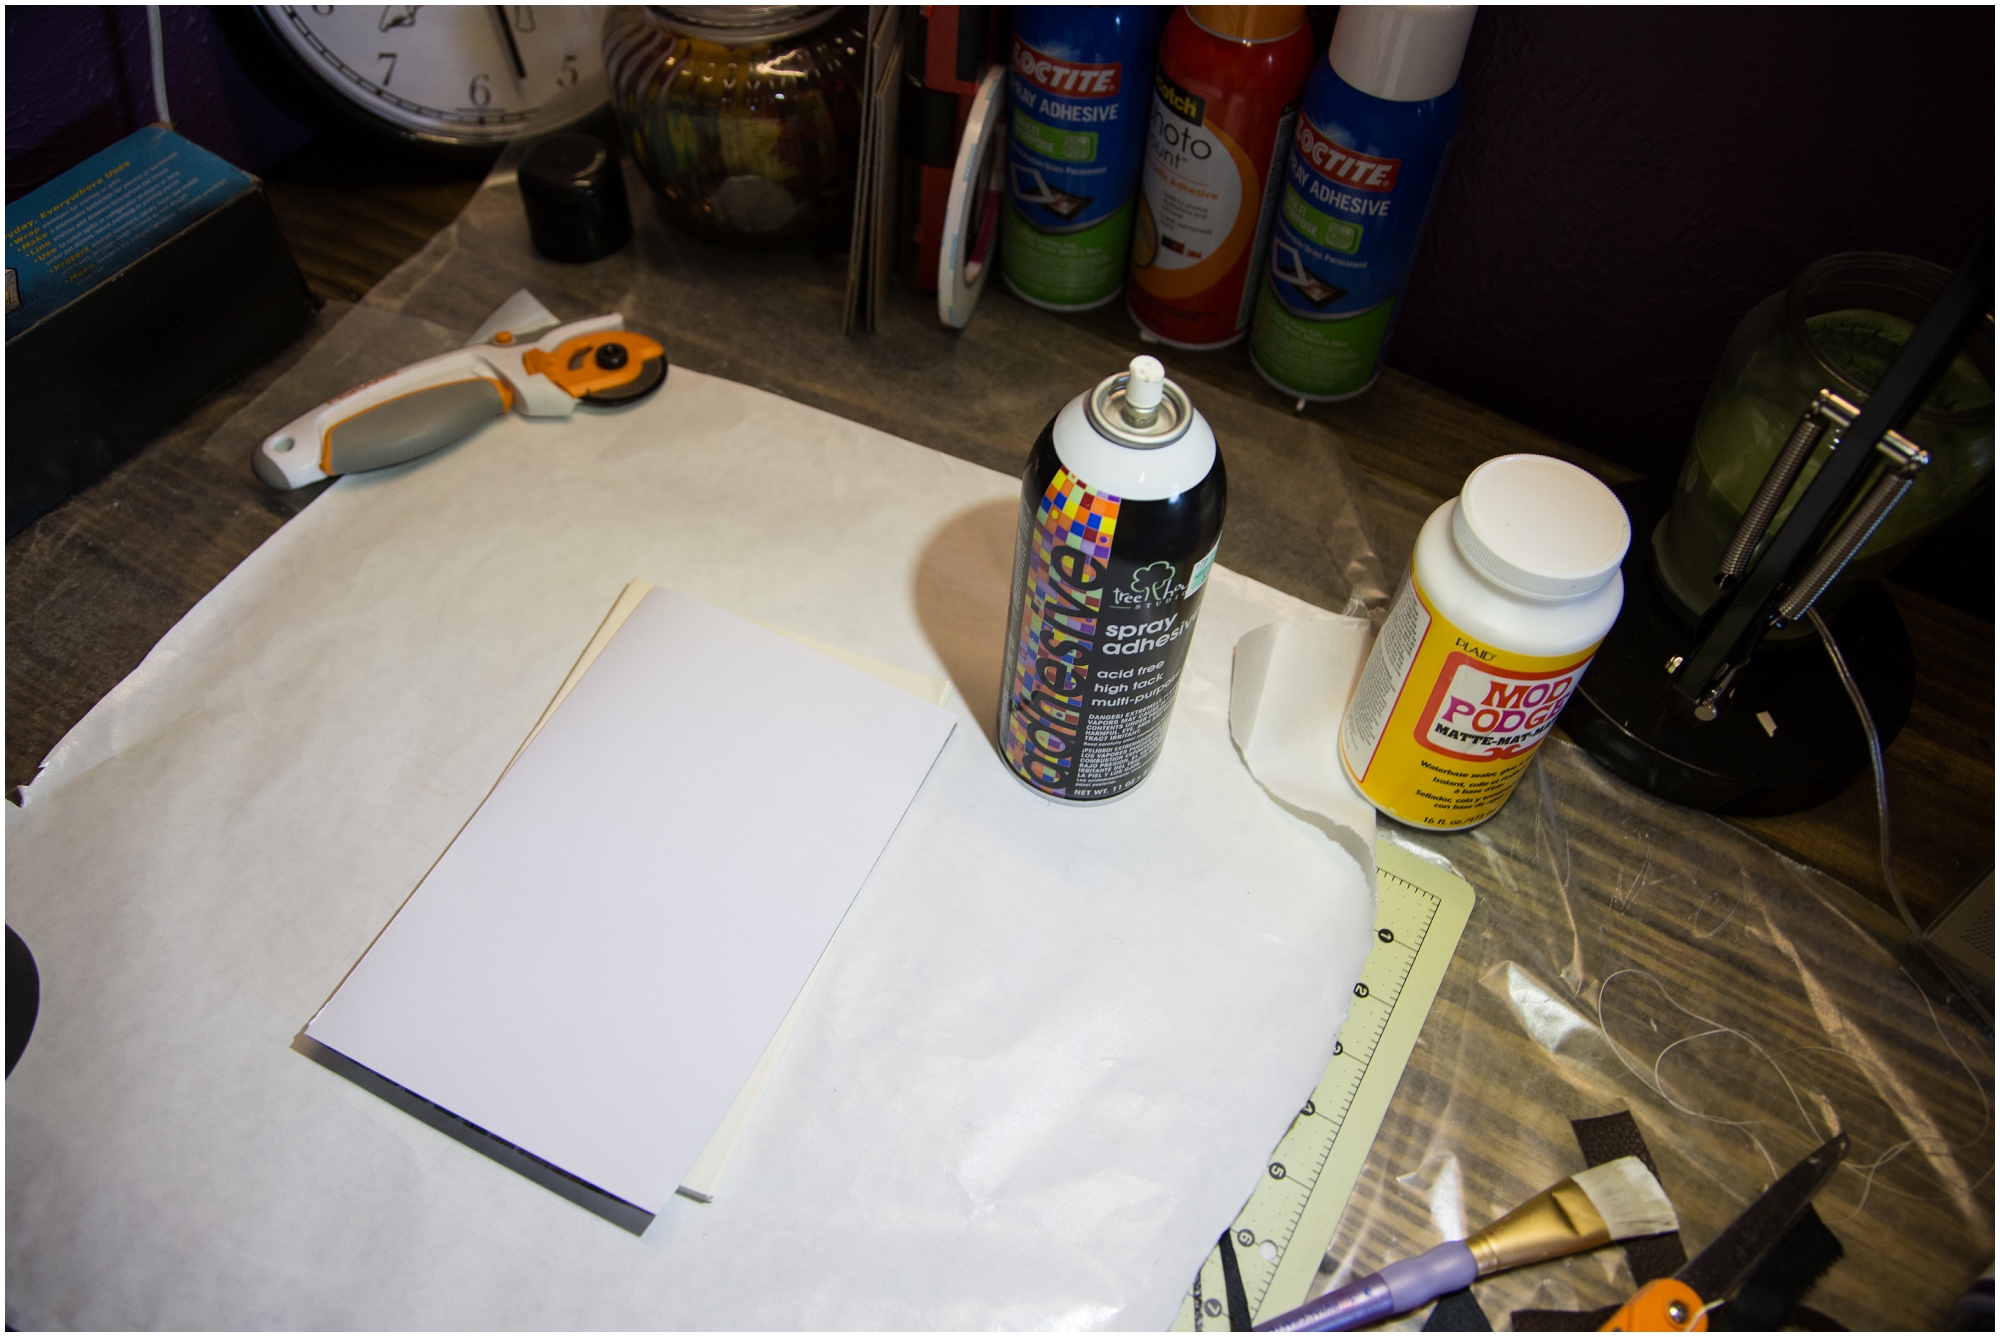
Spray adhesive (see photos for the exact one I use)
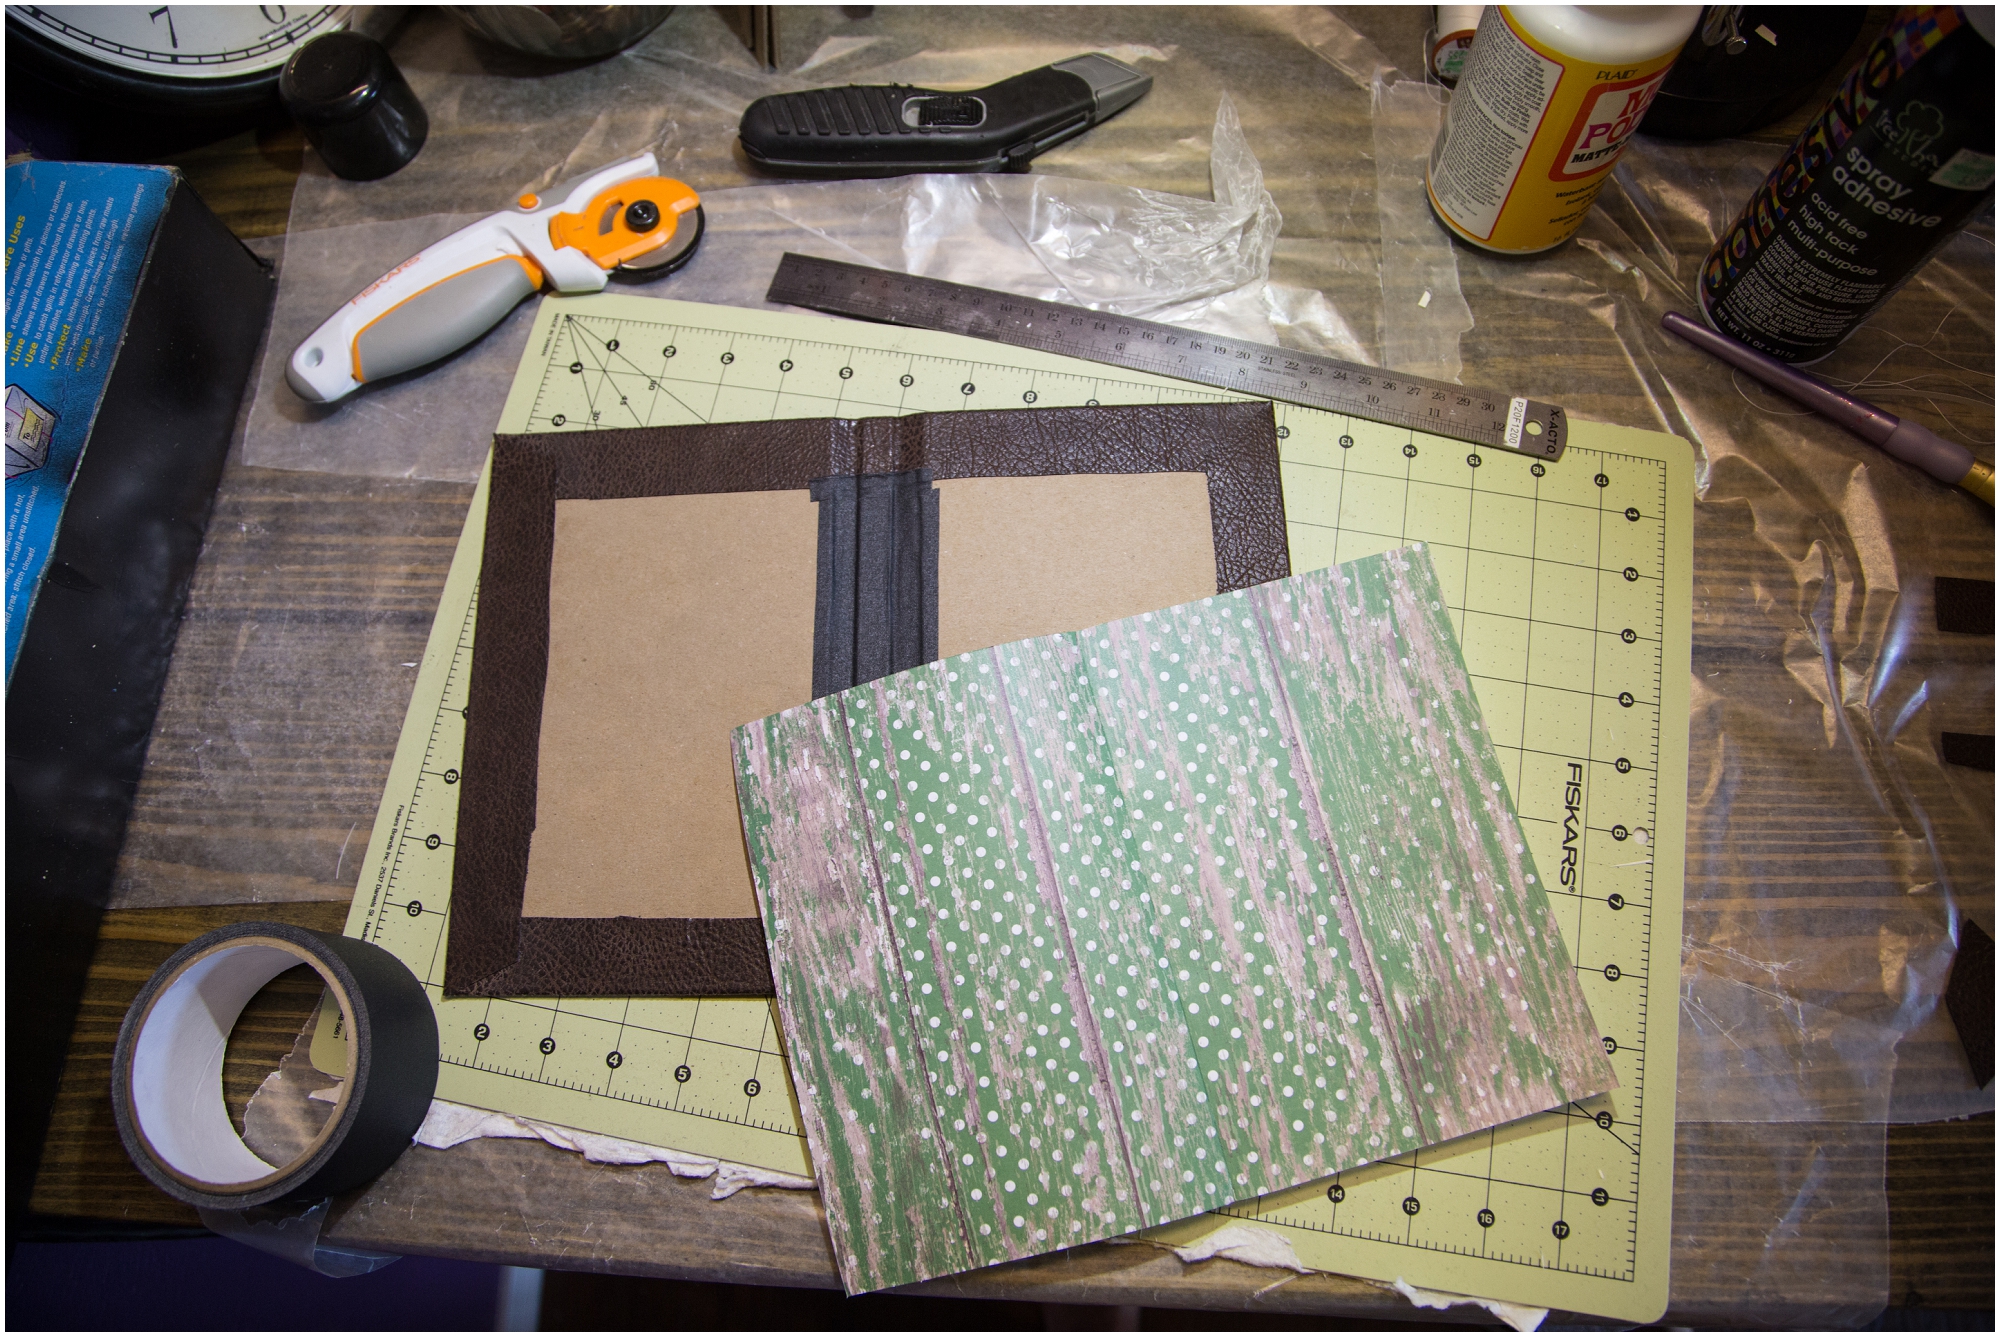
2 pieces of decorative scrapbook paper
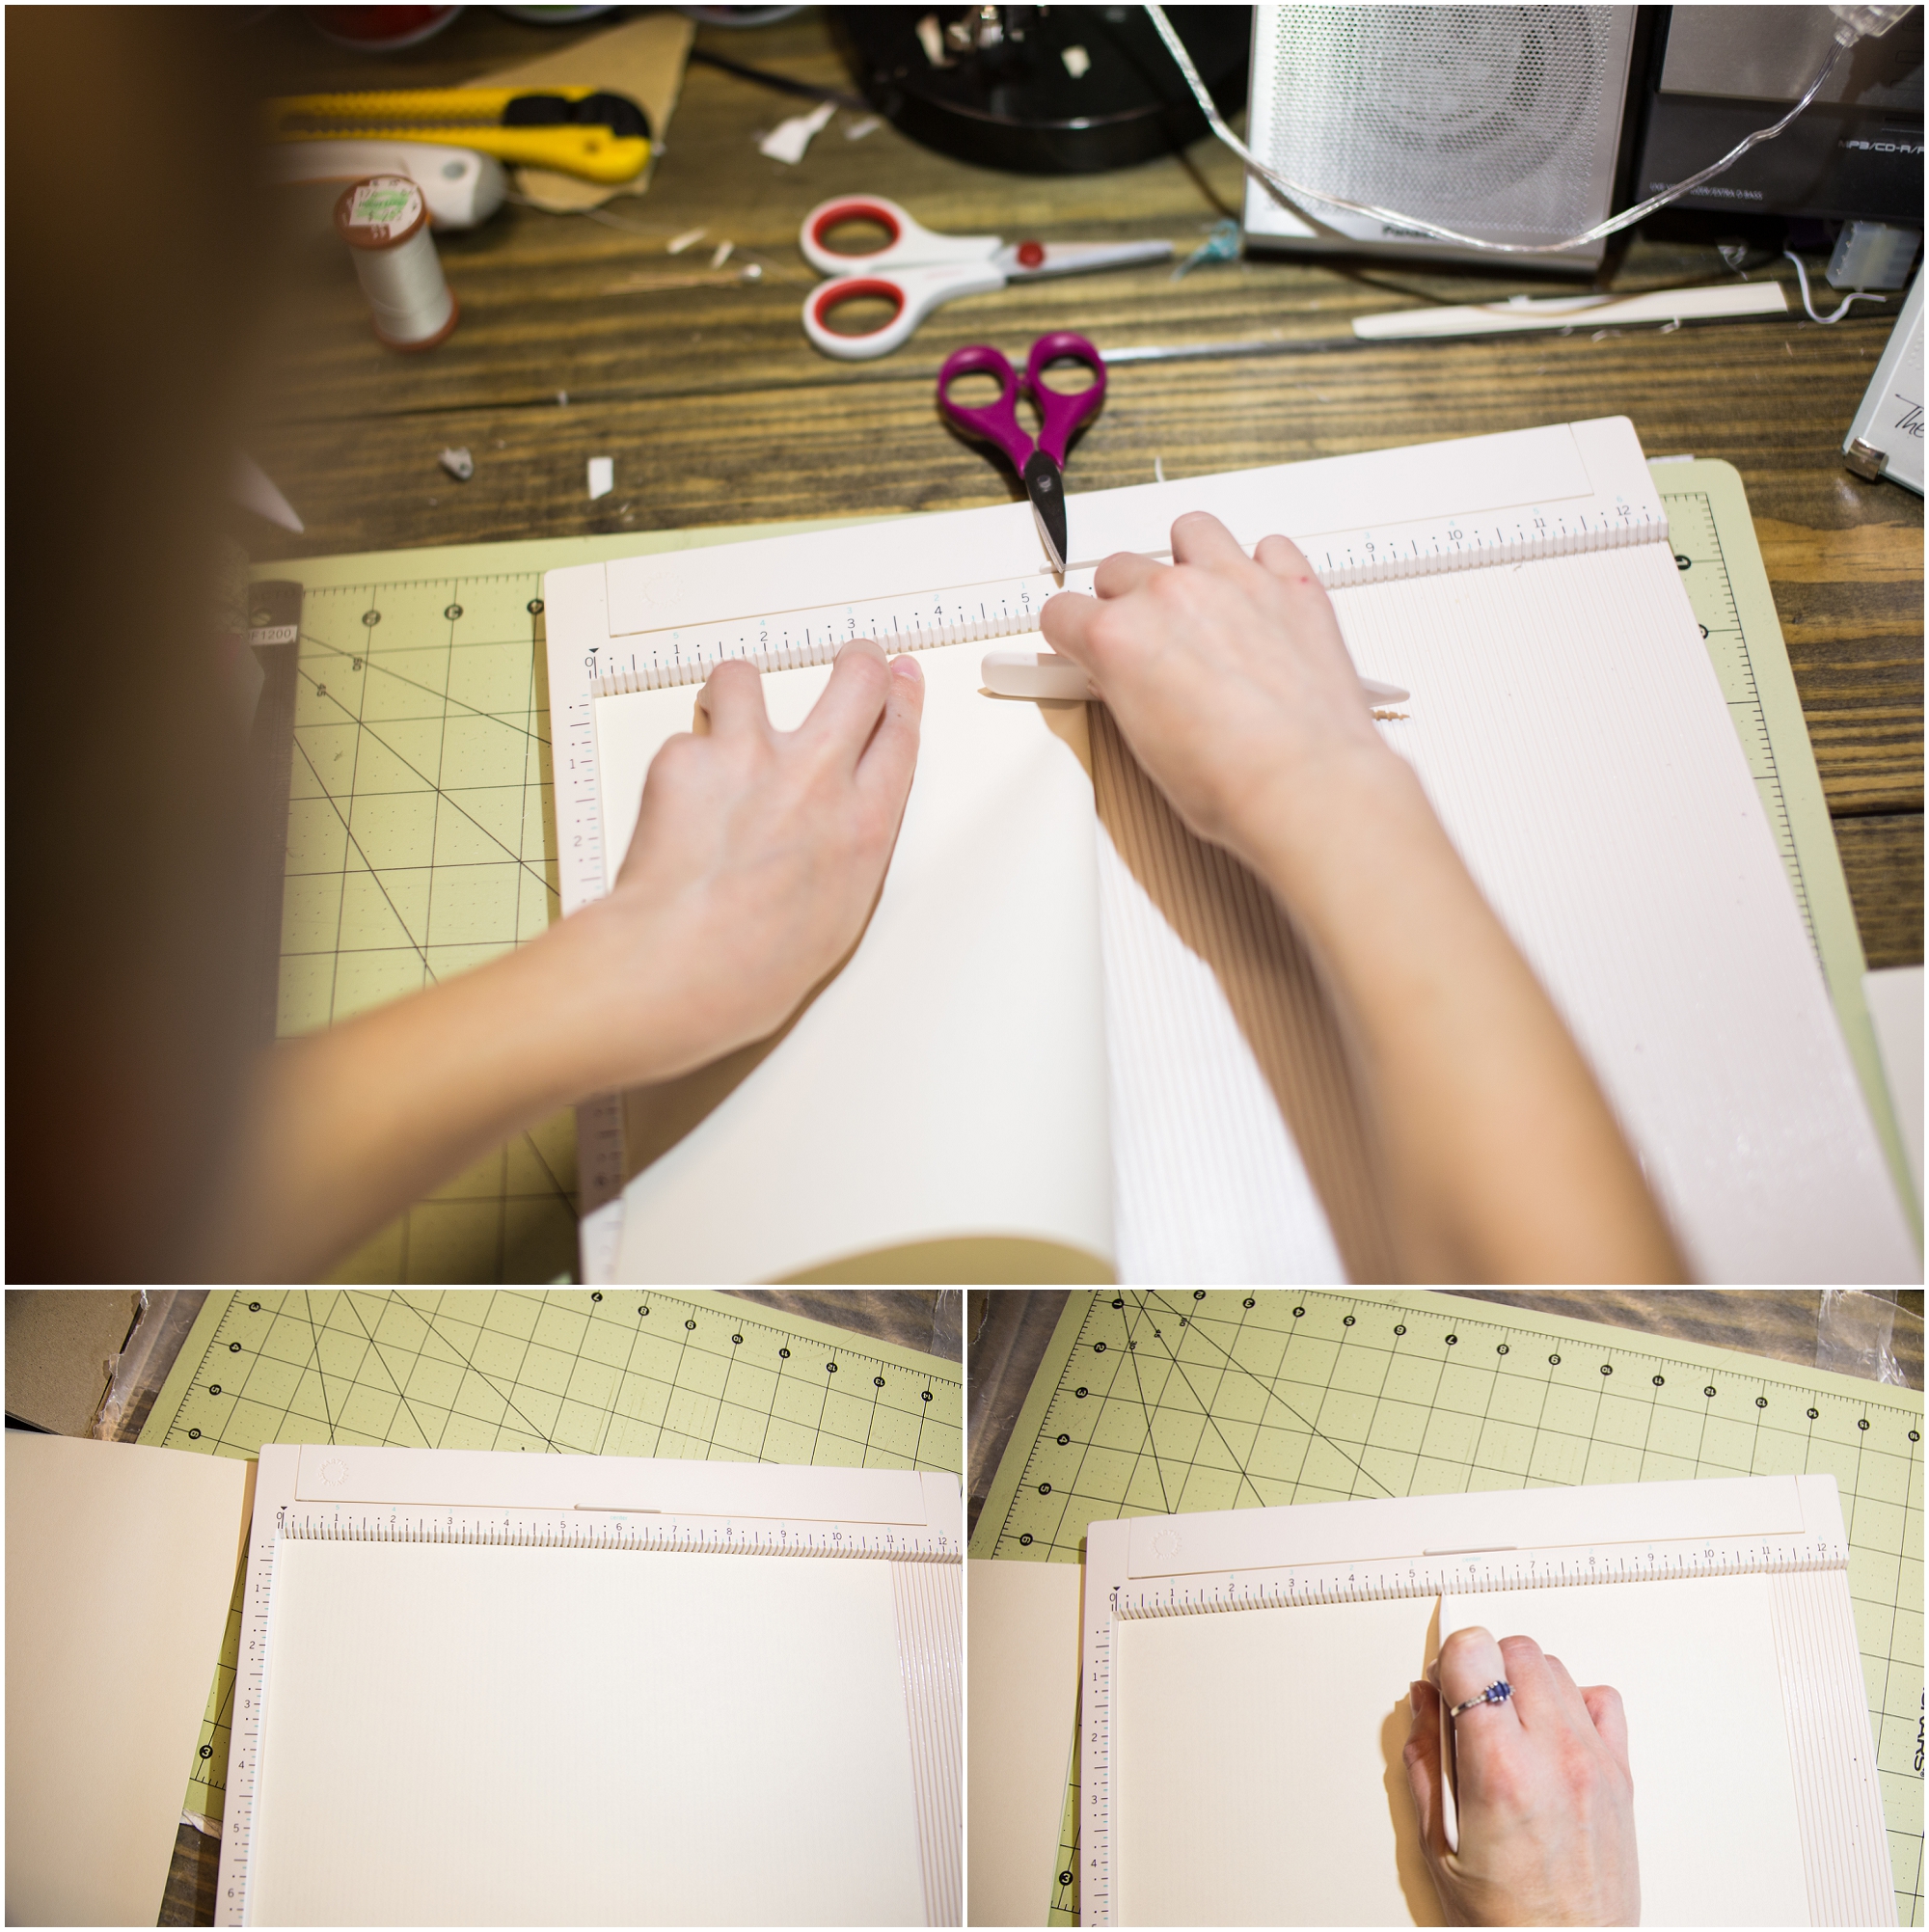
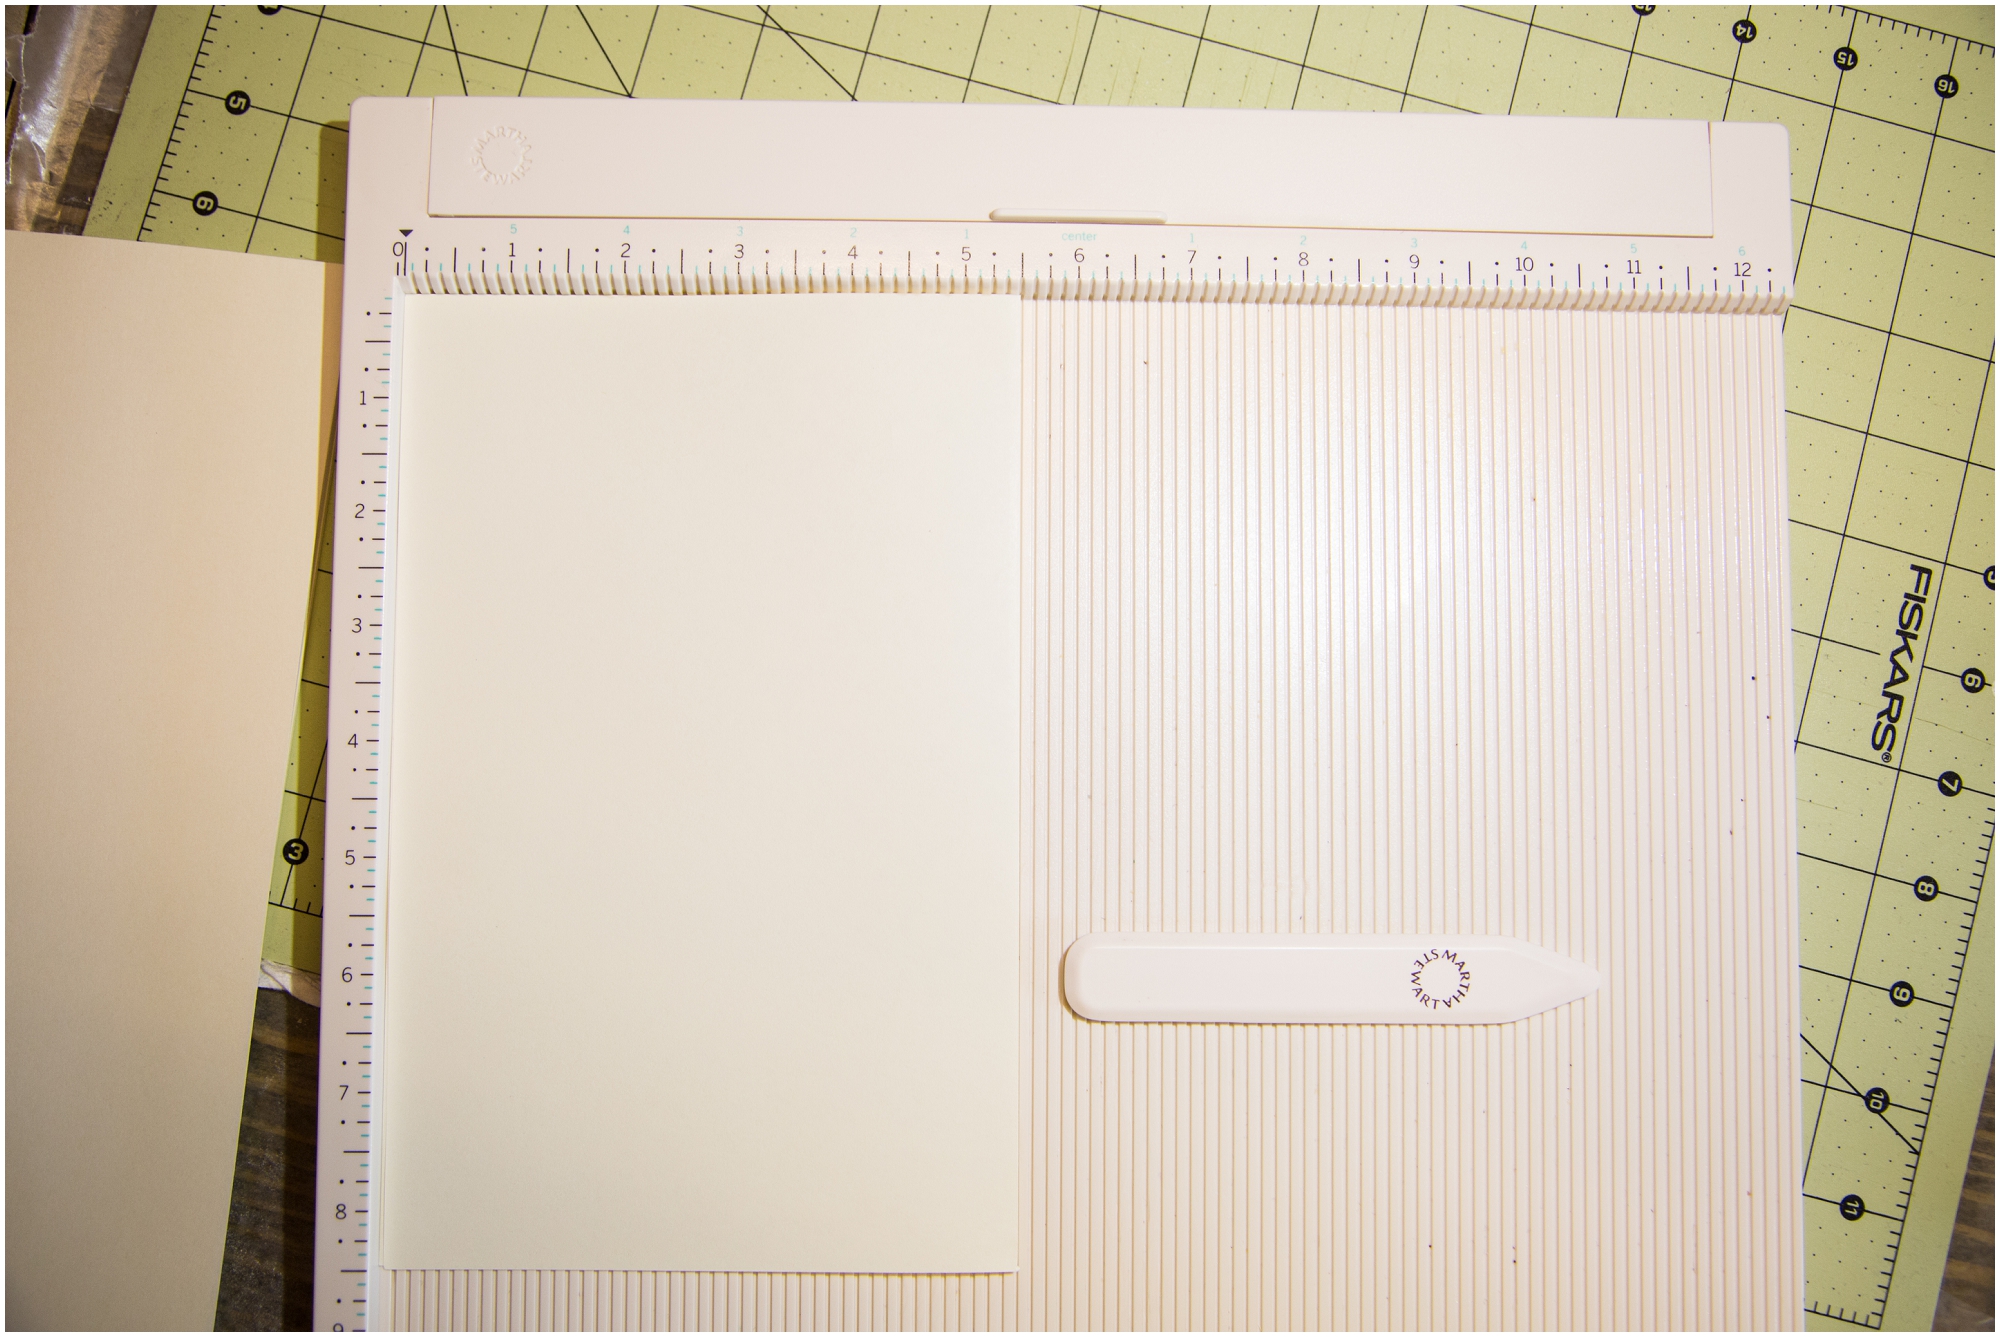
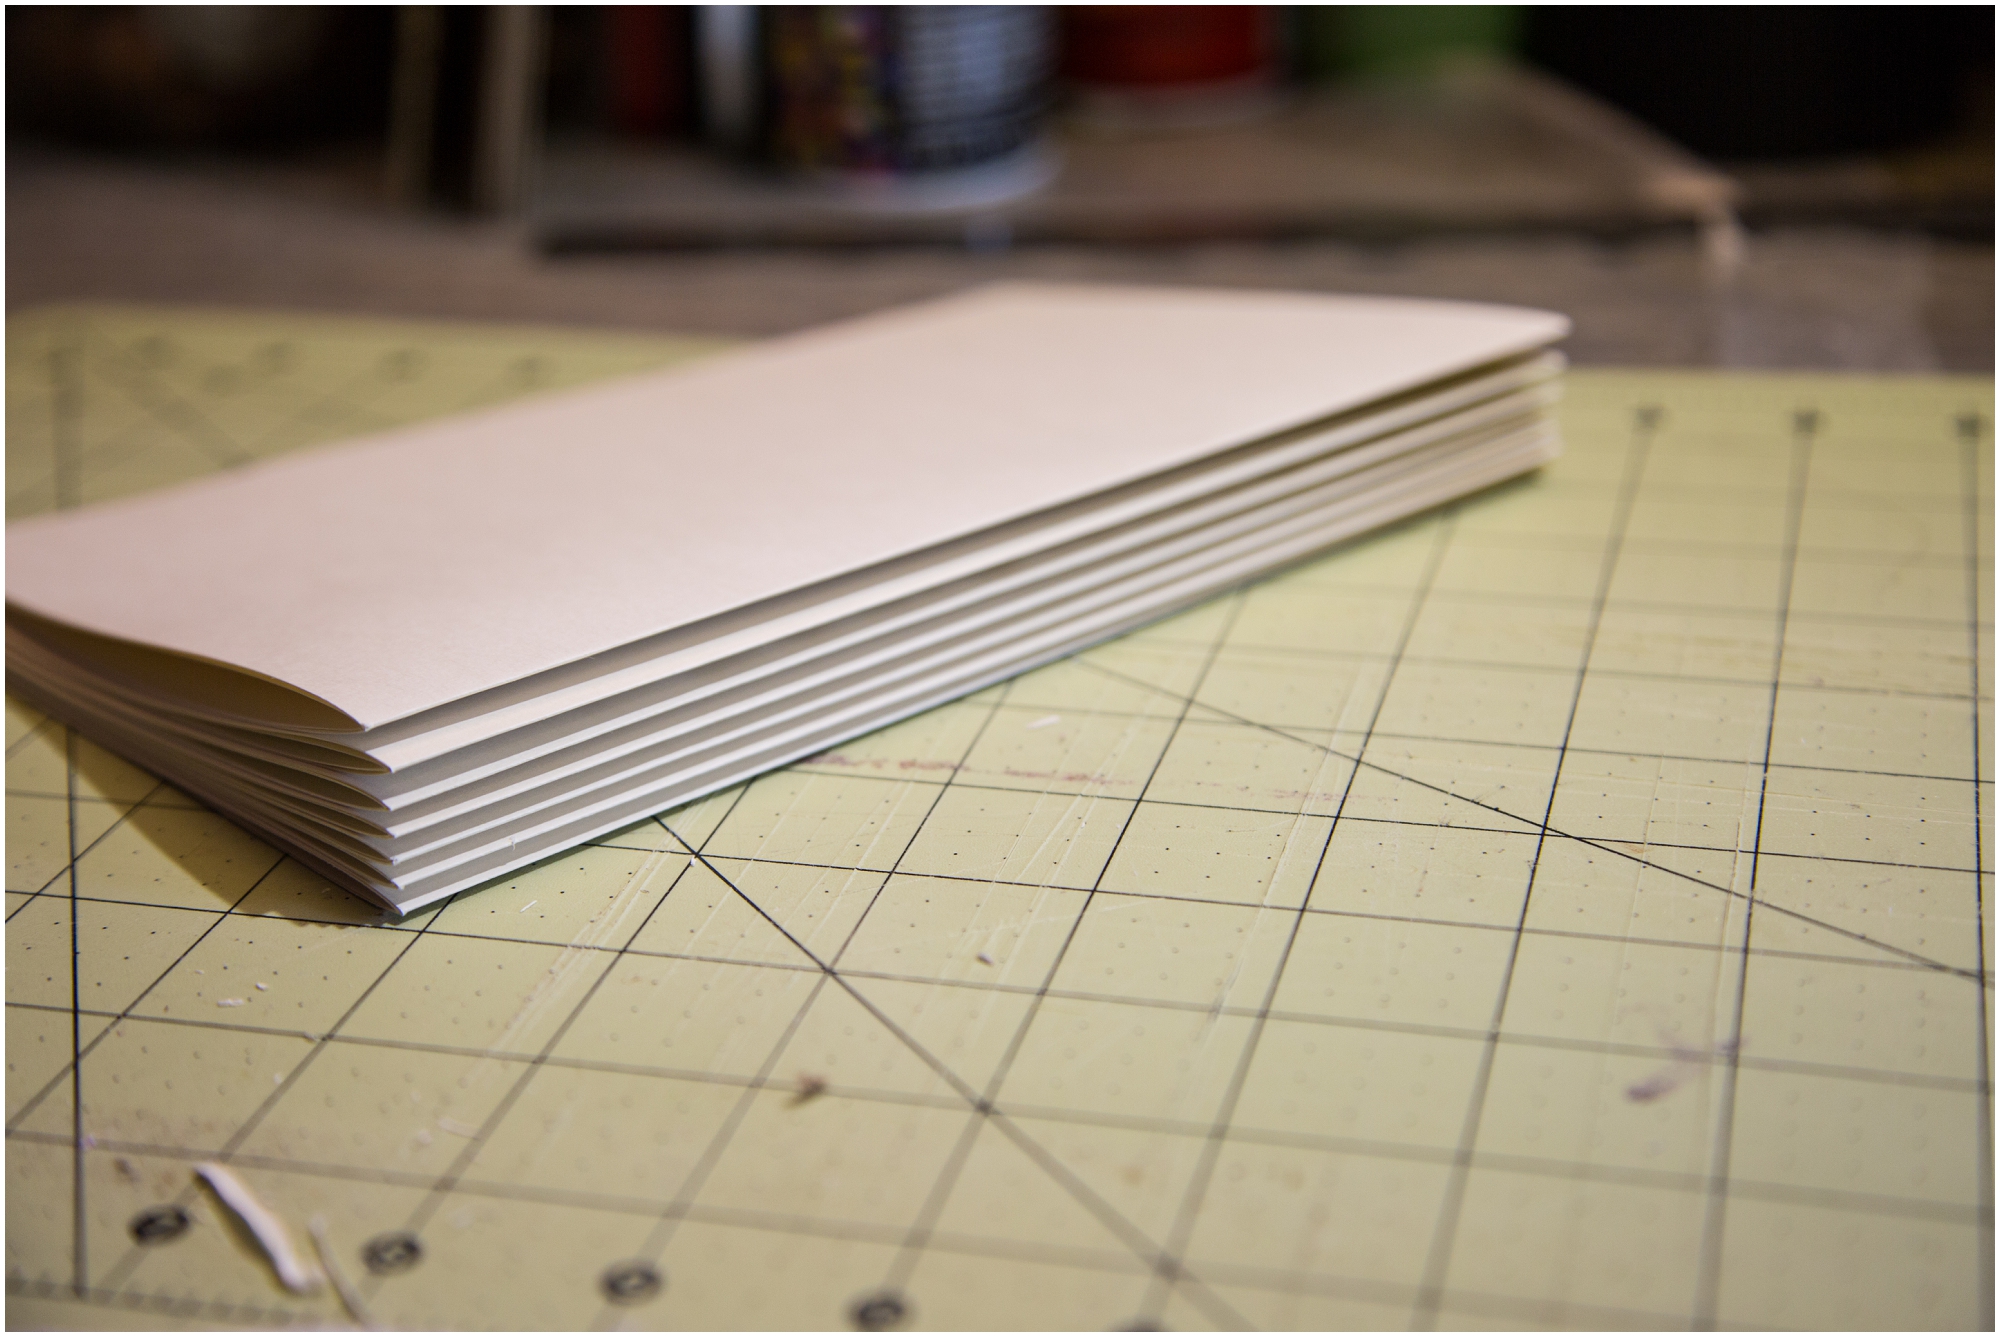
The first step is to fold the paper. I use computer paper for the pages of my journals. To fold the pages I use a scoring board. You can easily do this step without a scoring board, just fold them in half. I scor the paper at 5 1/2 in, and then fold and crease at the scor mark. For this journal you will need to fold 28 pages. 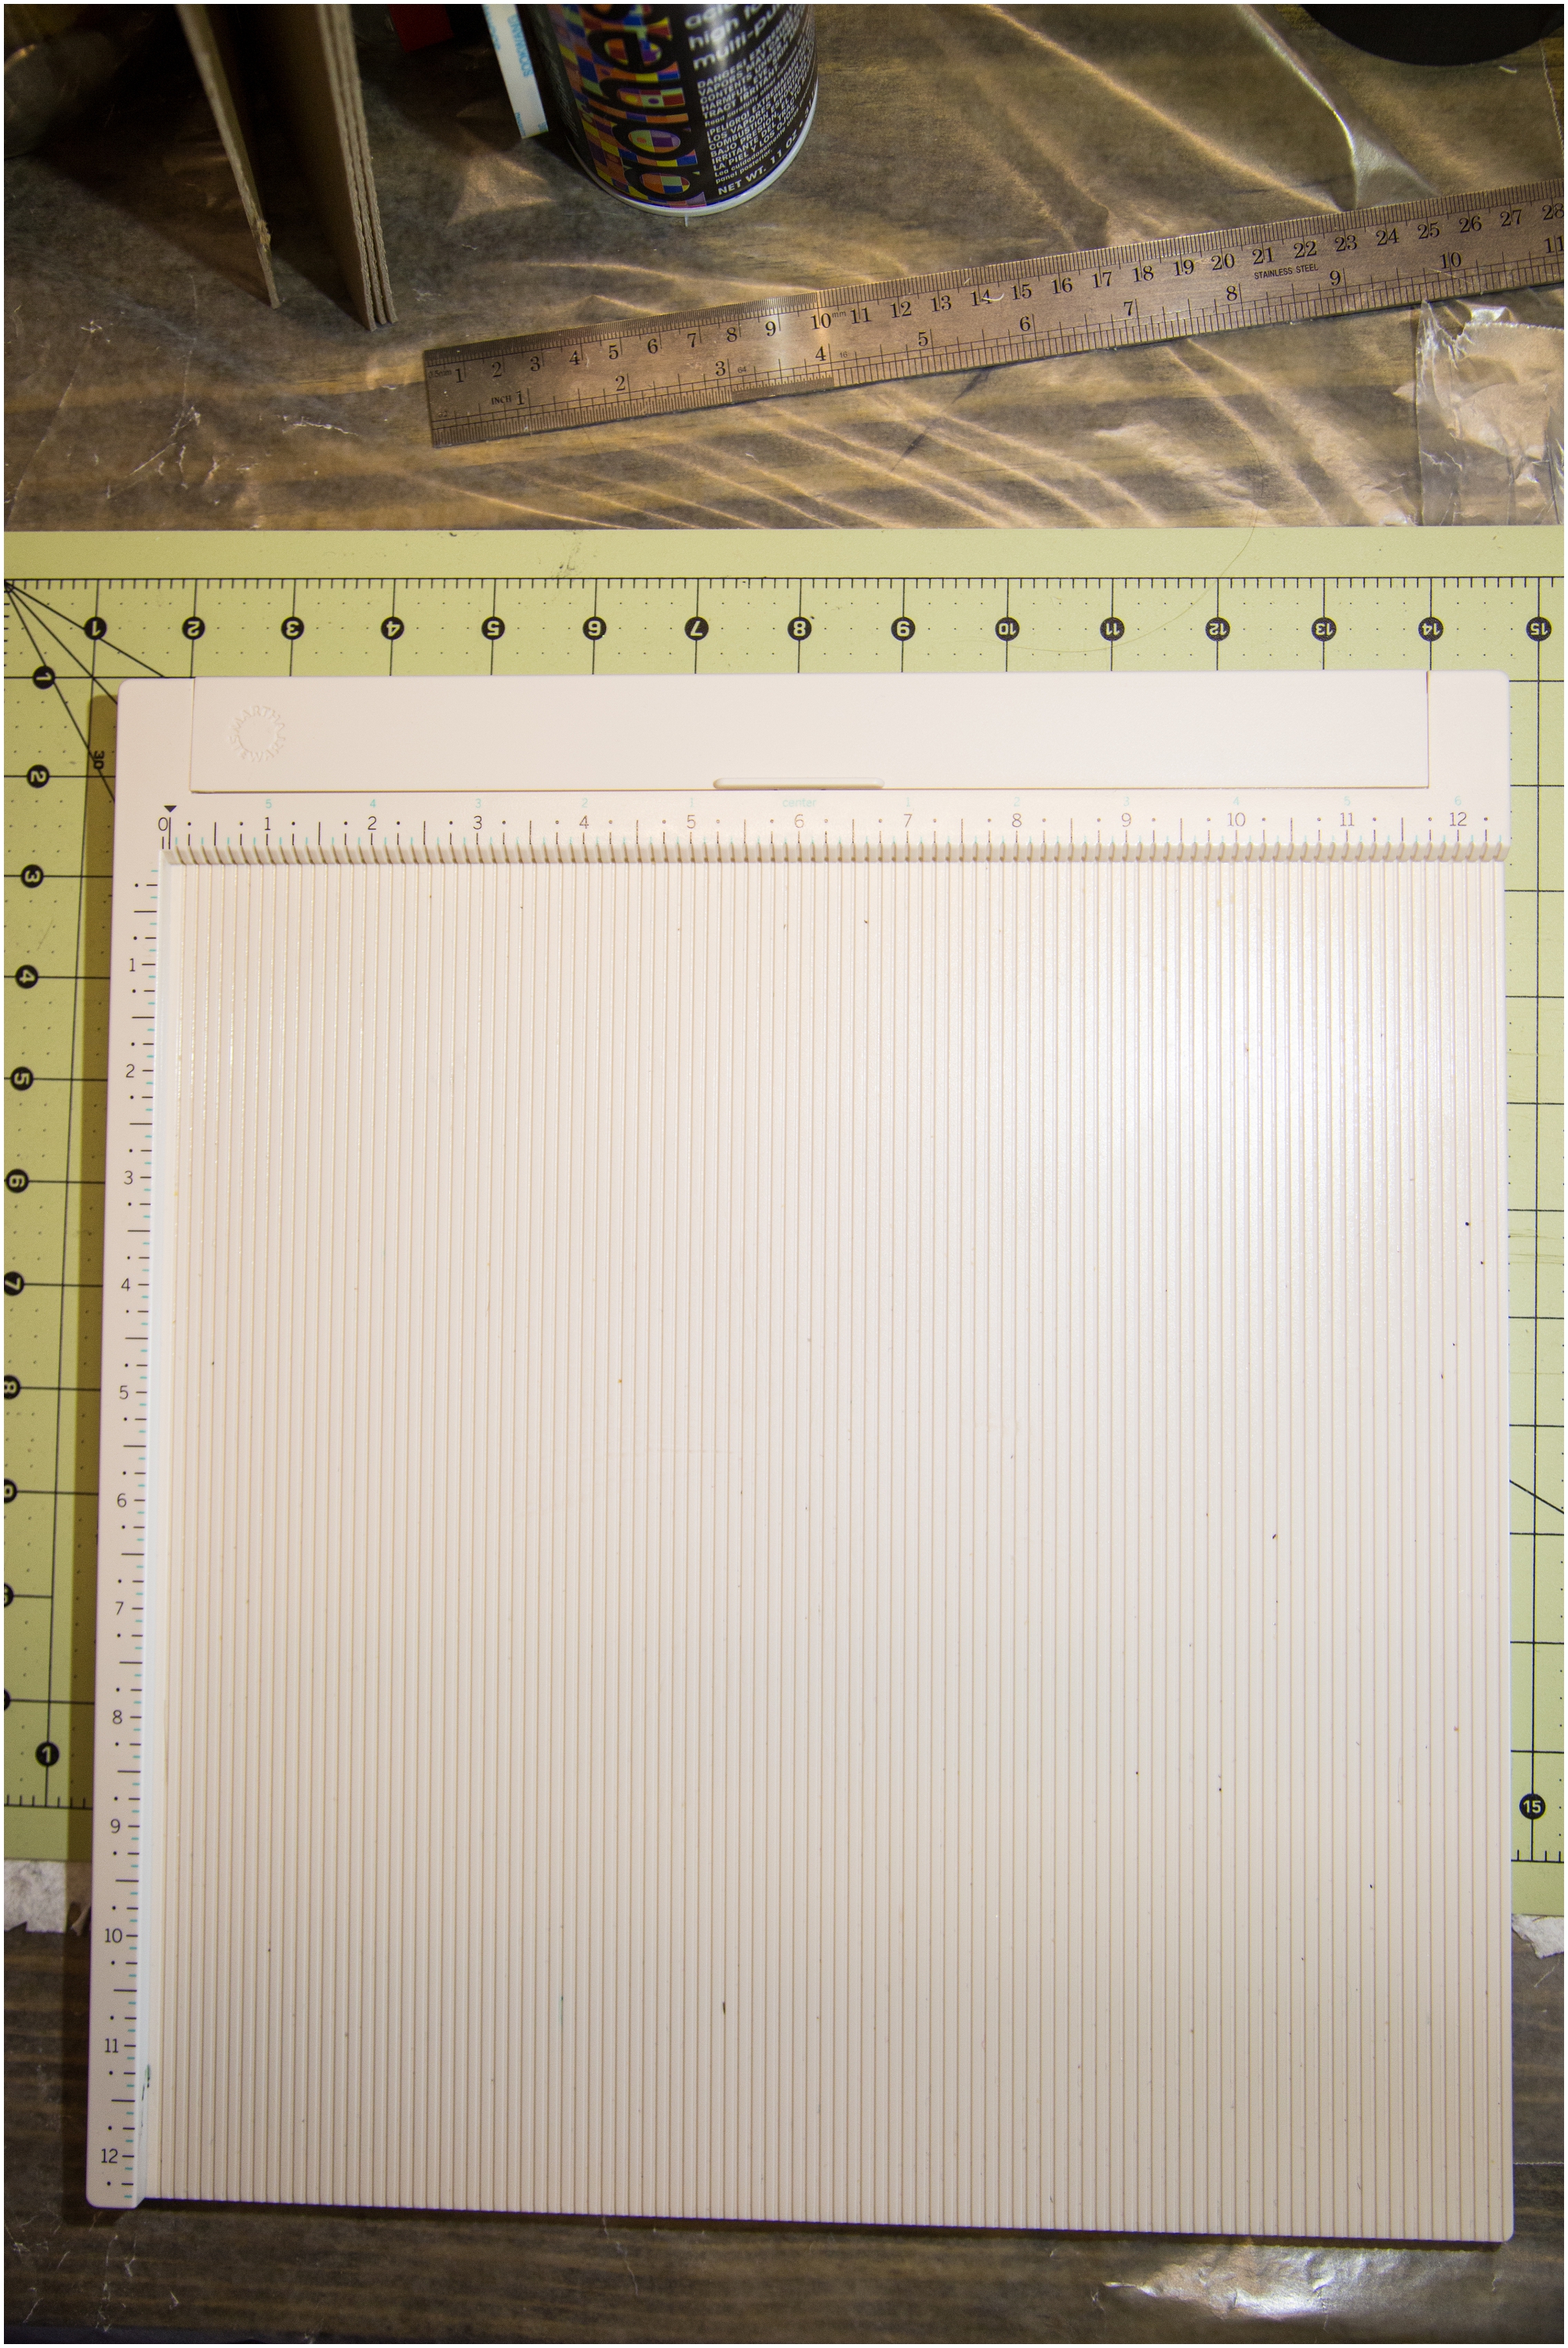
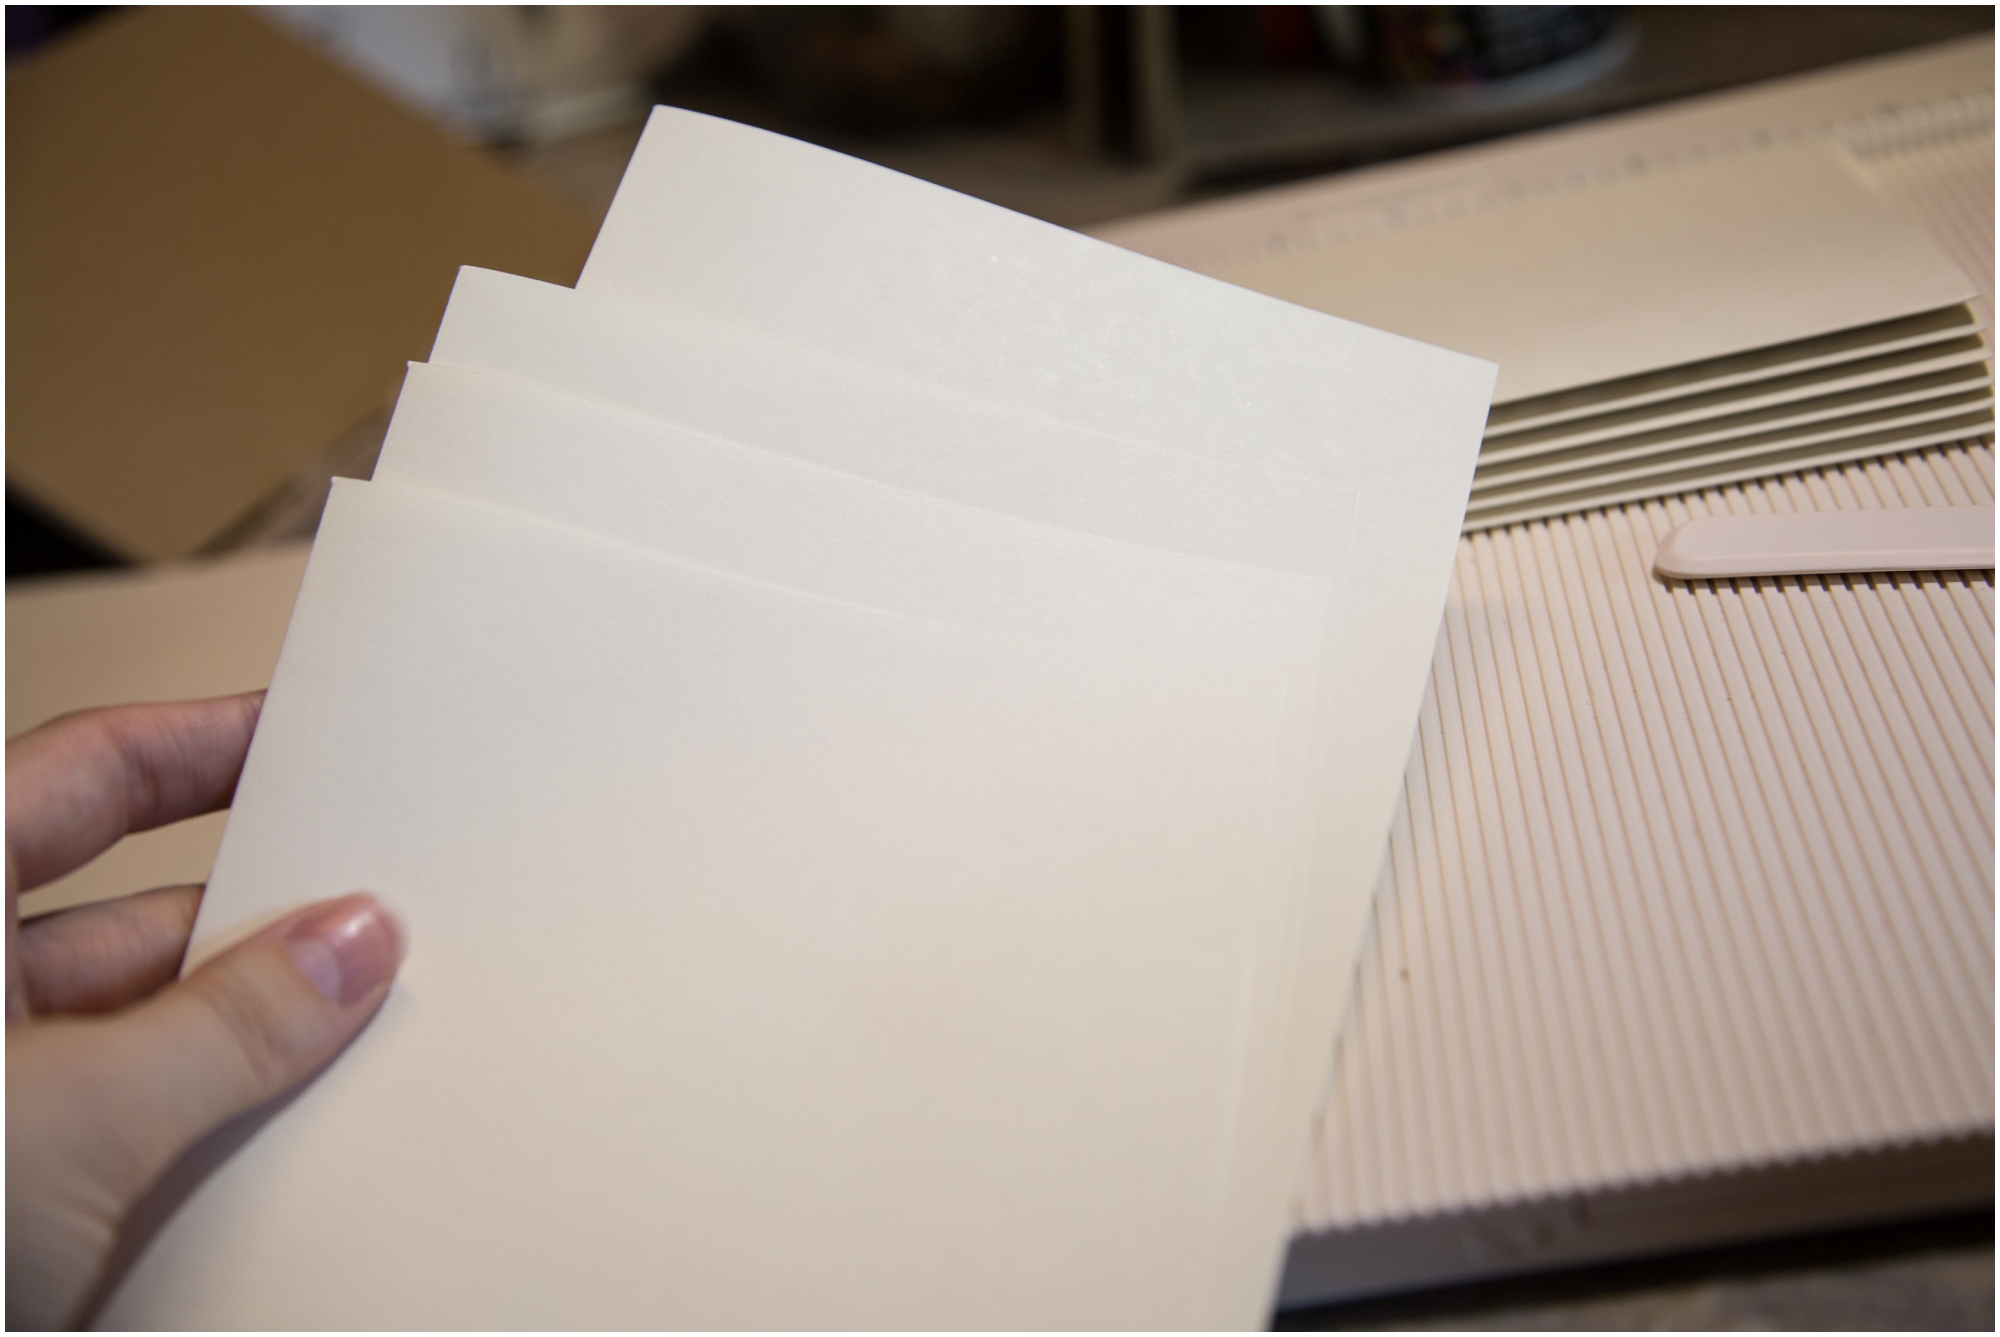
 Next, take four of the folded pages and put them in a grouping together (called a signature). You will end up with 7 signature when you are done.
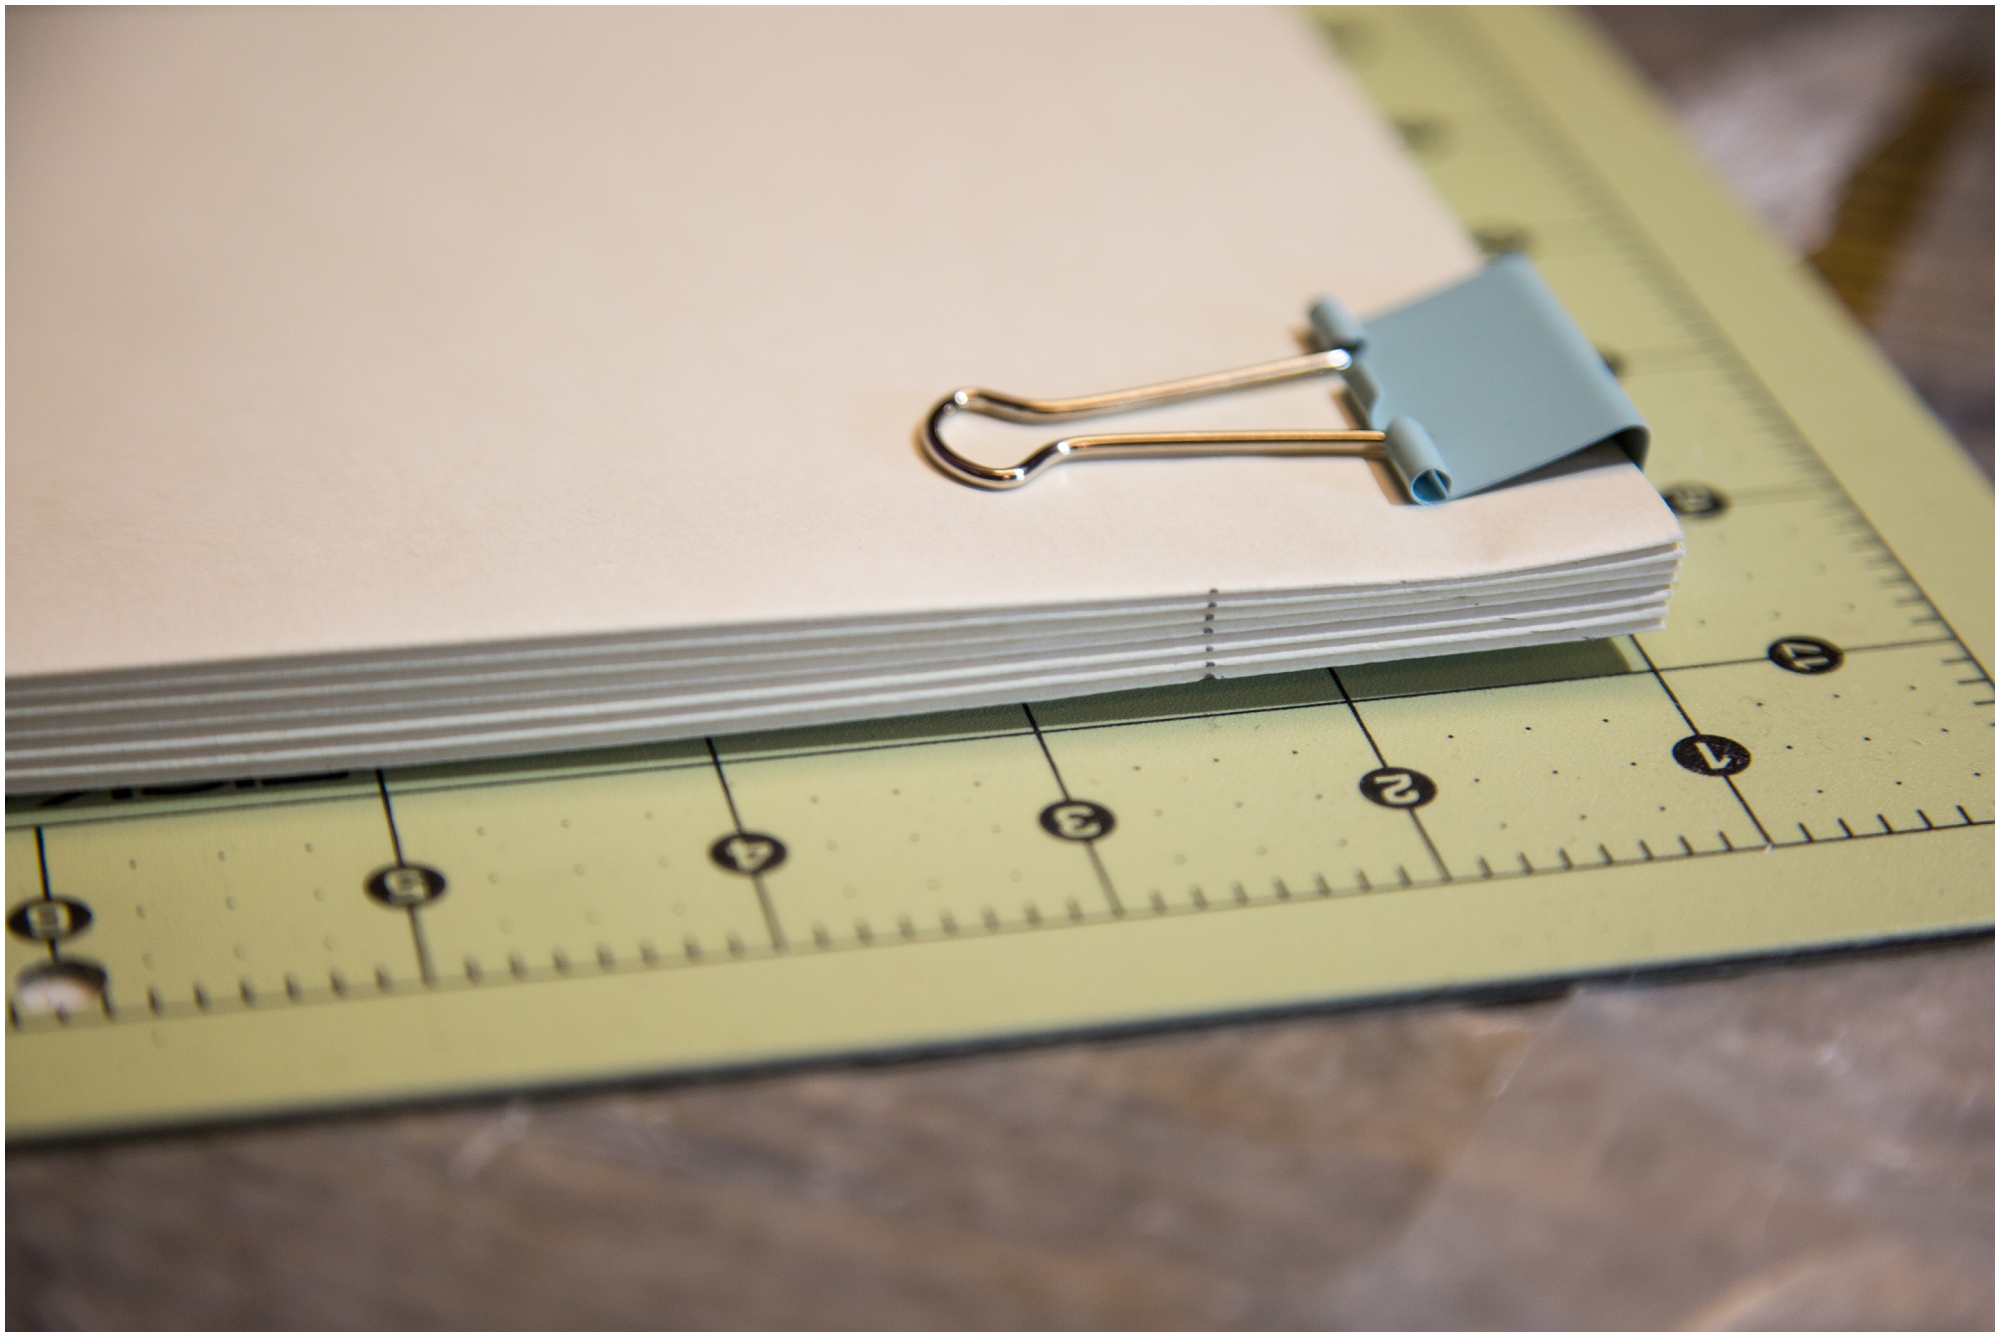
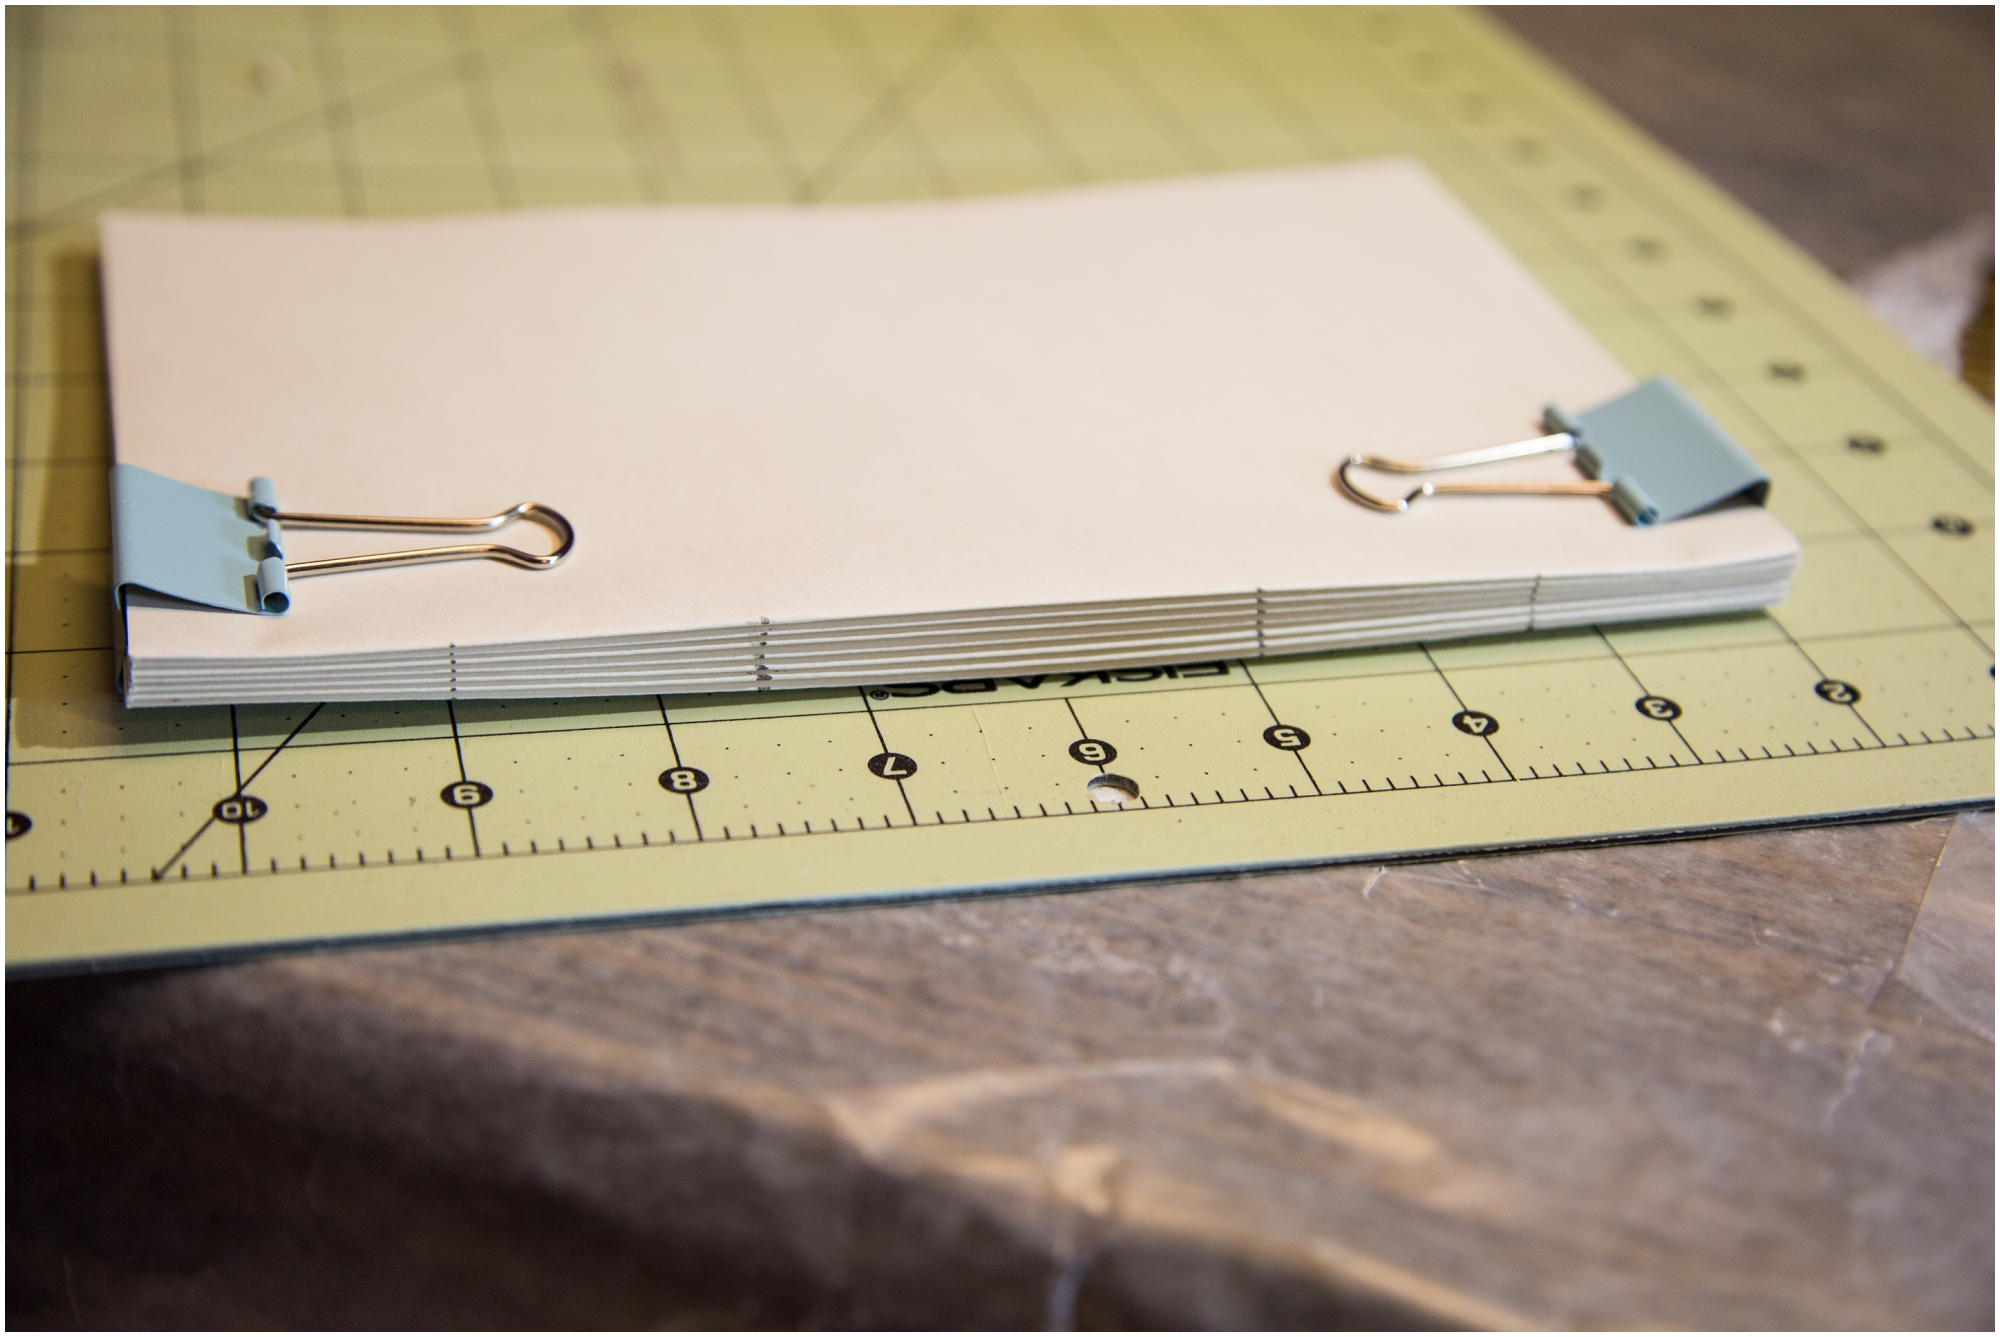
Take the signatures and line them up. I clip them together so that they do not move during the next step. Use a ruler or your cutting mat and mark your pages at 1 1/2 in. from both ends and then 1 1/2 in. from the marks you just made.
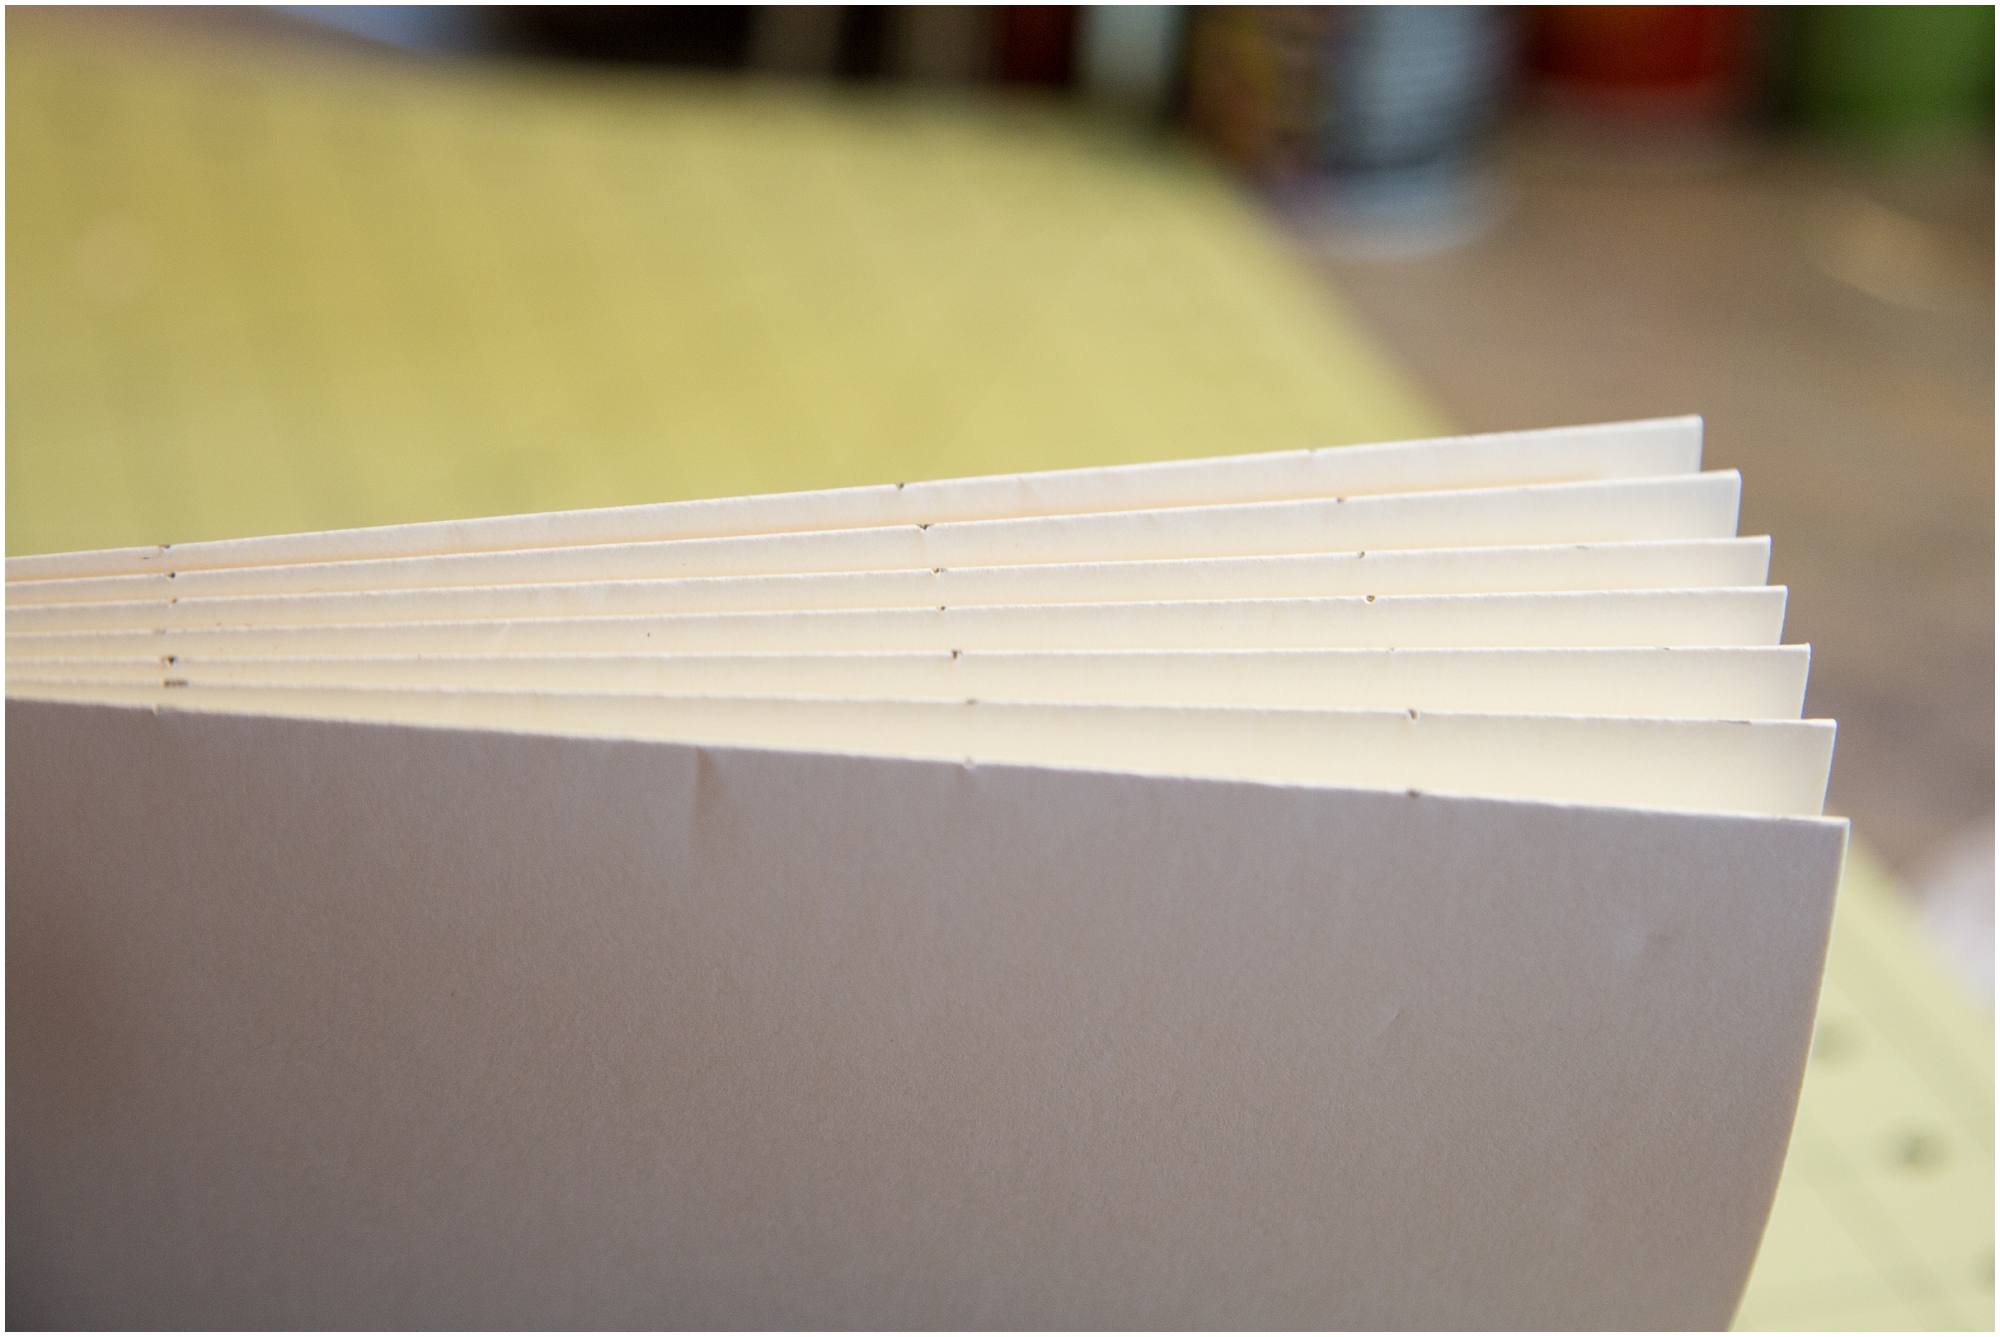
The next step is to make holes in the marks. You can use your sewing needle or a push pin. They actually make a tool called an awl that is designed for this purpose, but a needle works just fine.

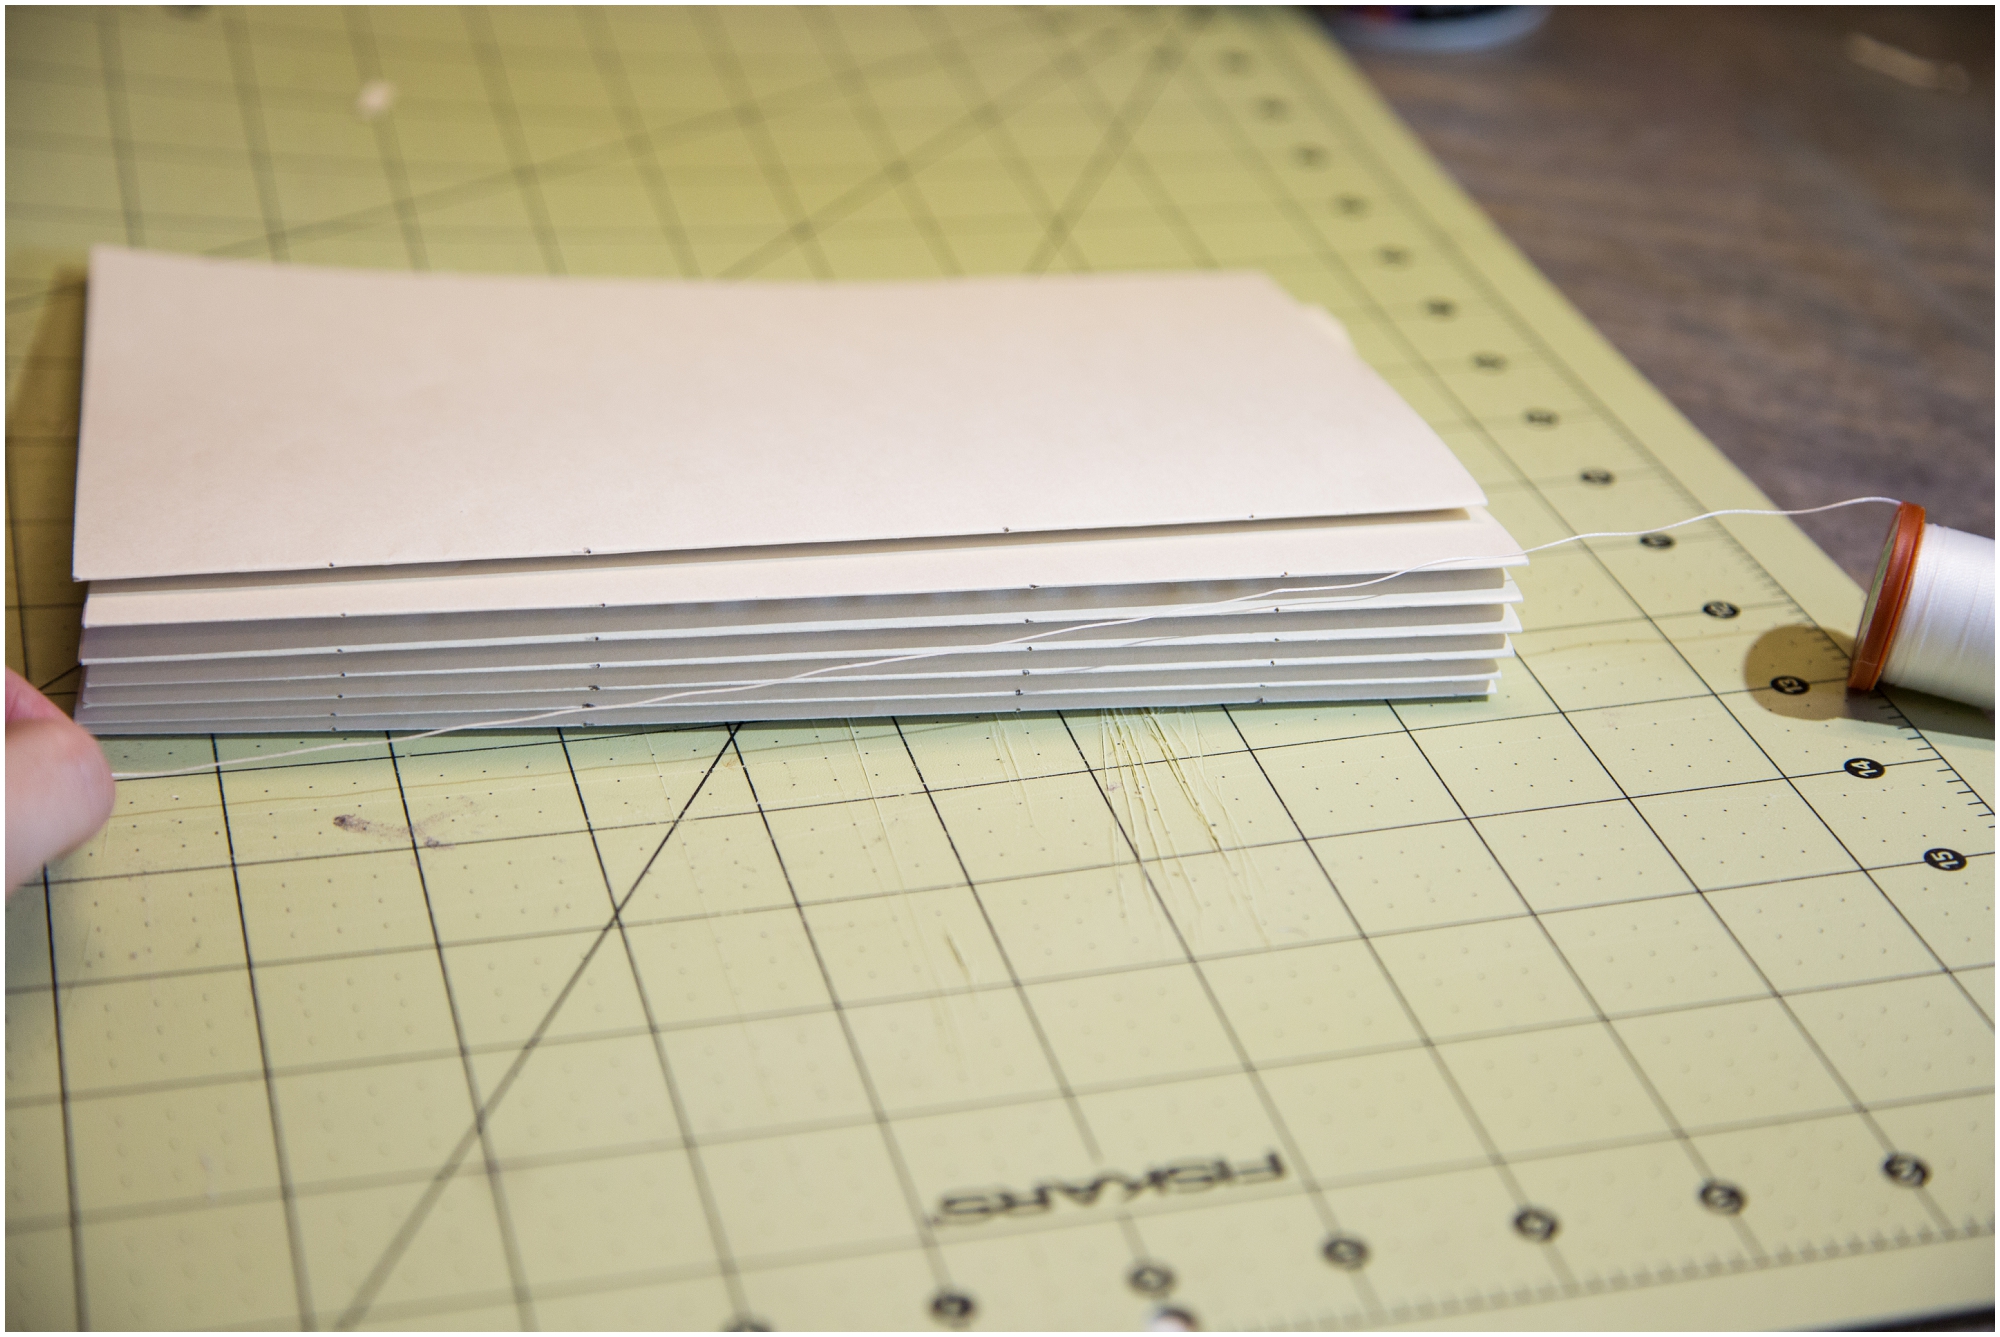
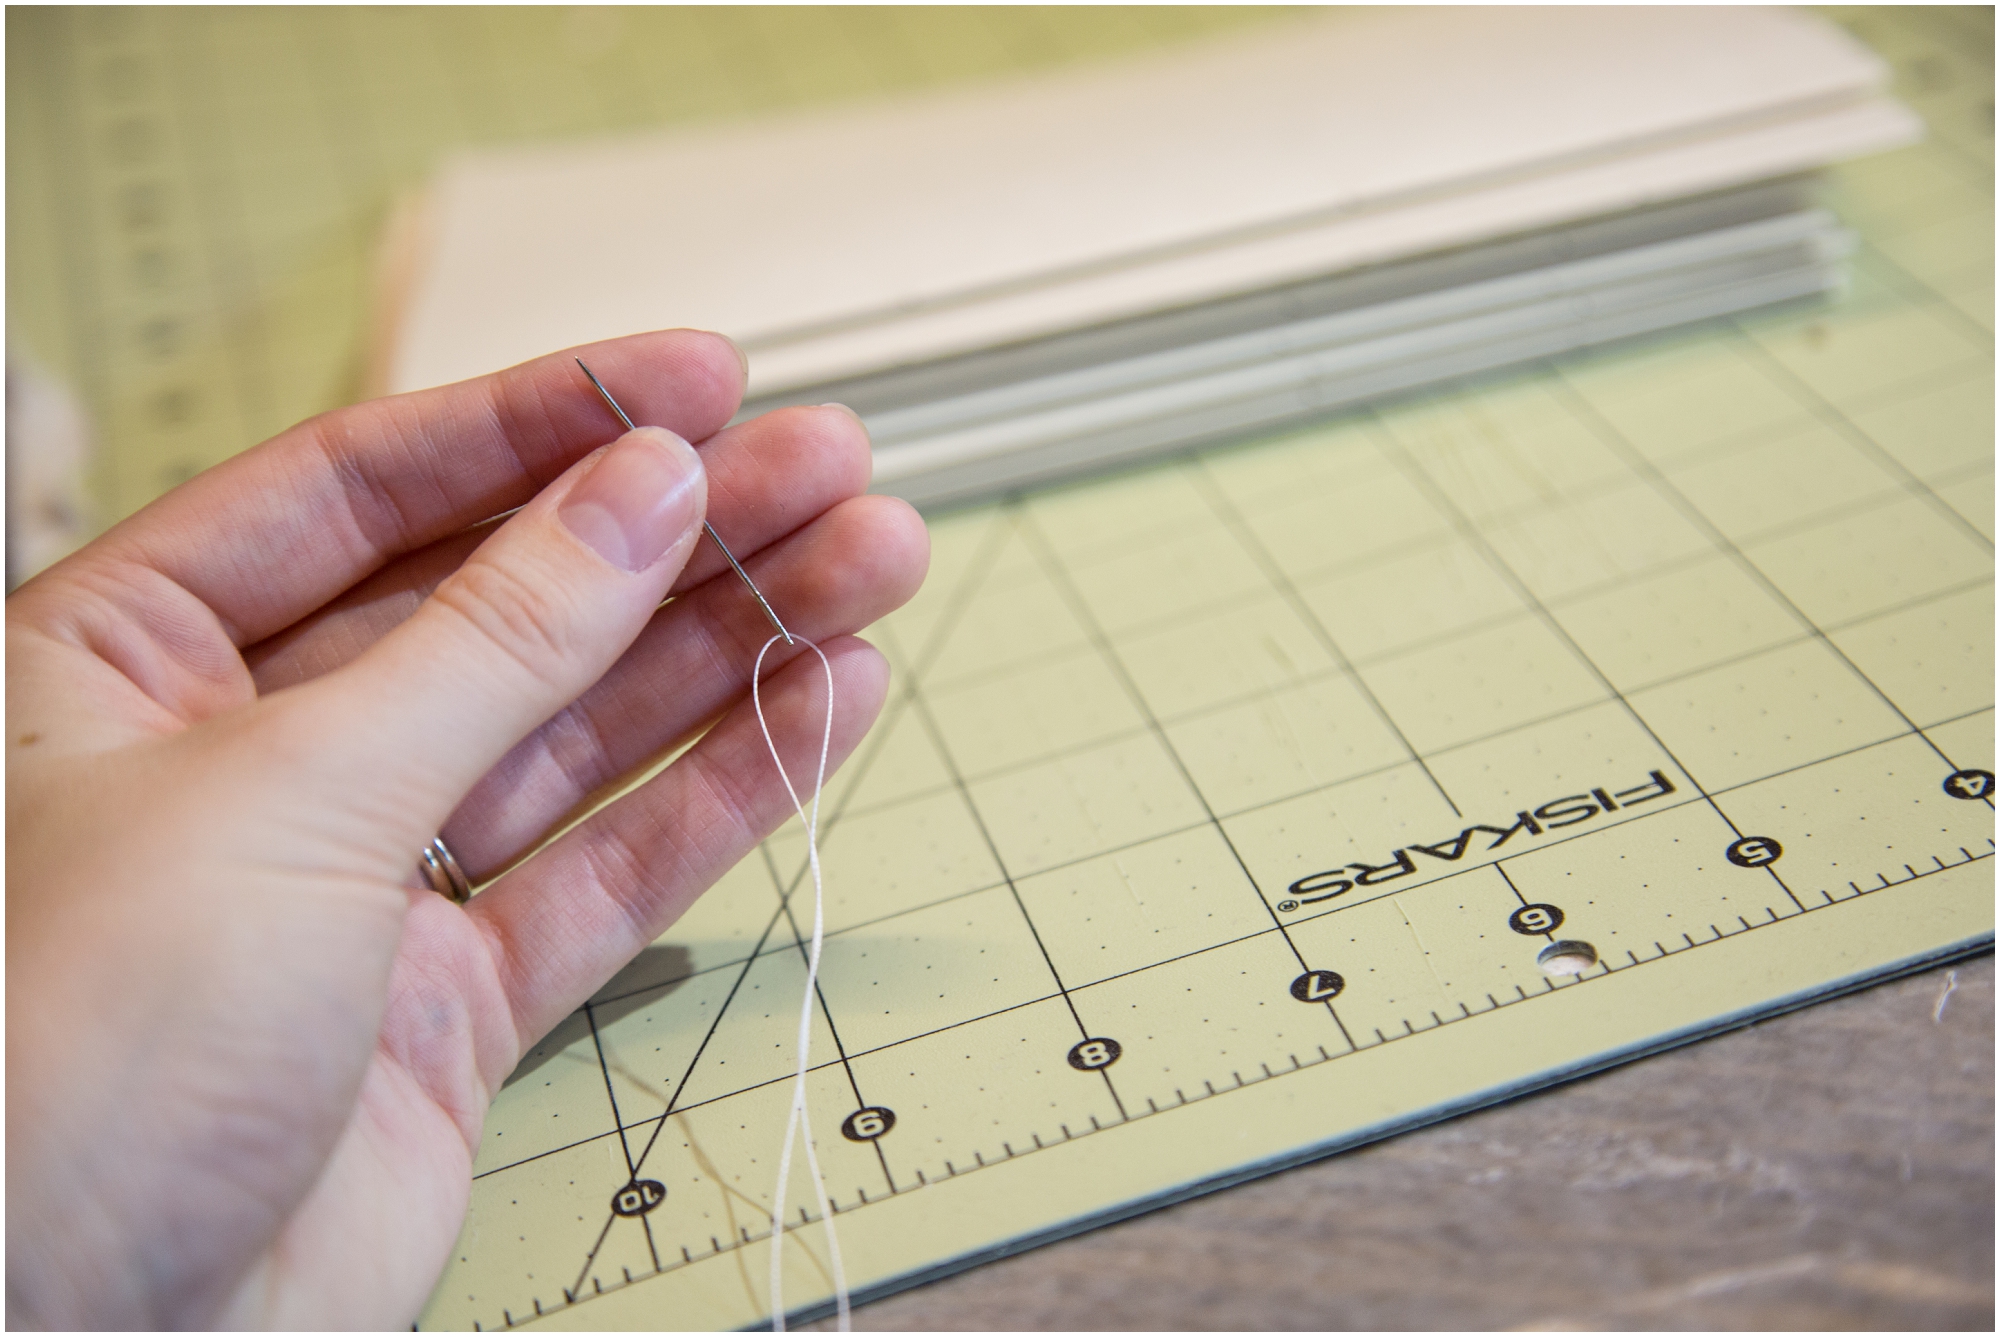
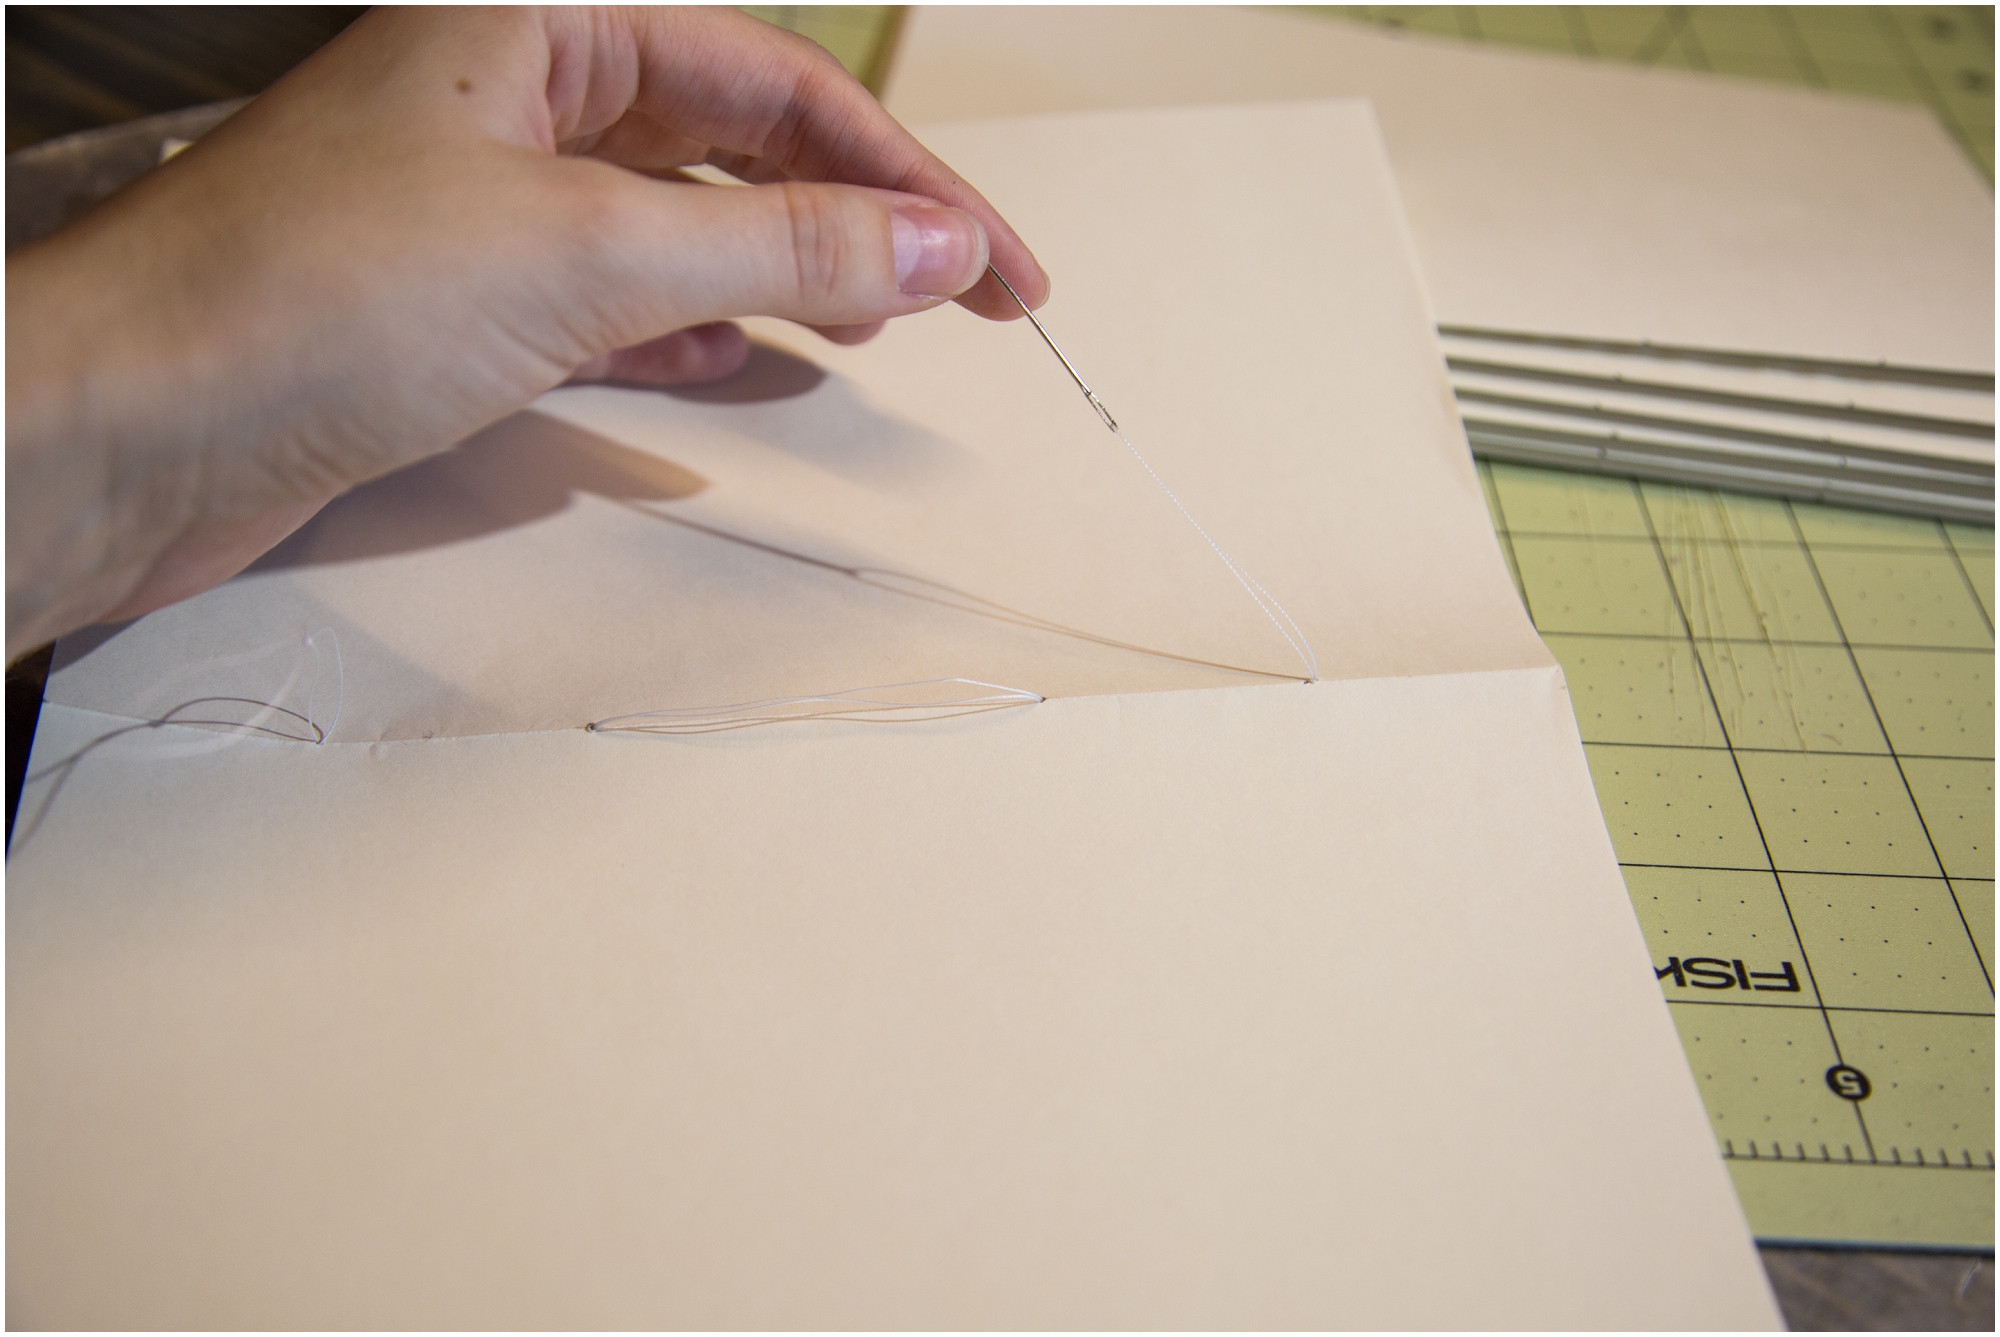
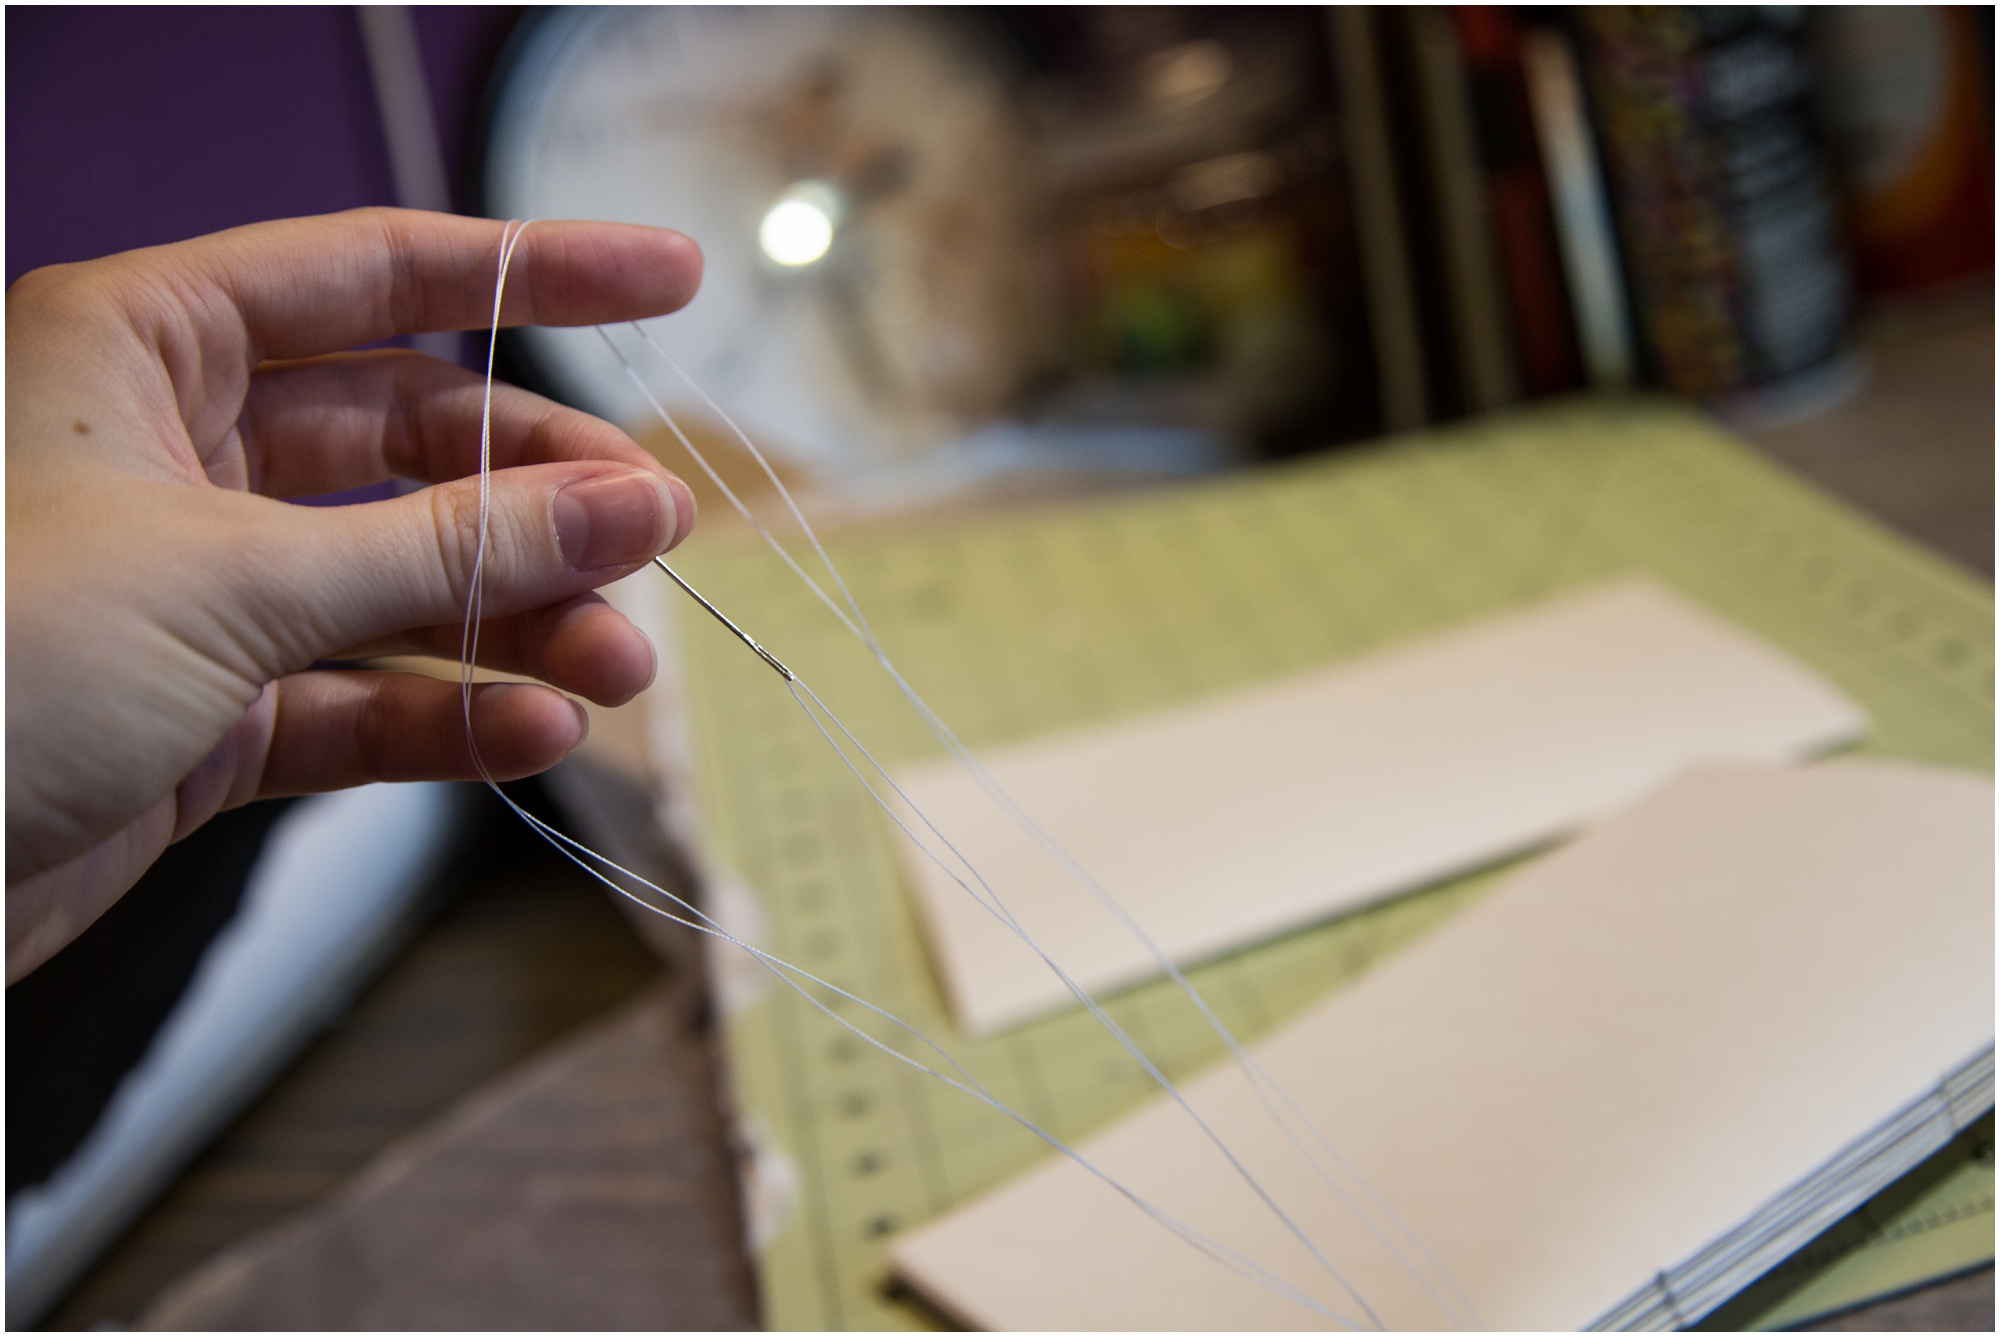
The next step is to sew your signatures together. This step takes a little practice but it ended up being easier than I thought it would be. First you need to get the correct amount of thread. To estimate how much you need take your thread and measure out the length of your signature 14 times. Then thread your needle and bring the ends of the thread together and tie a knot.
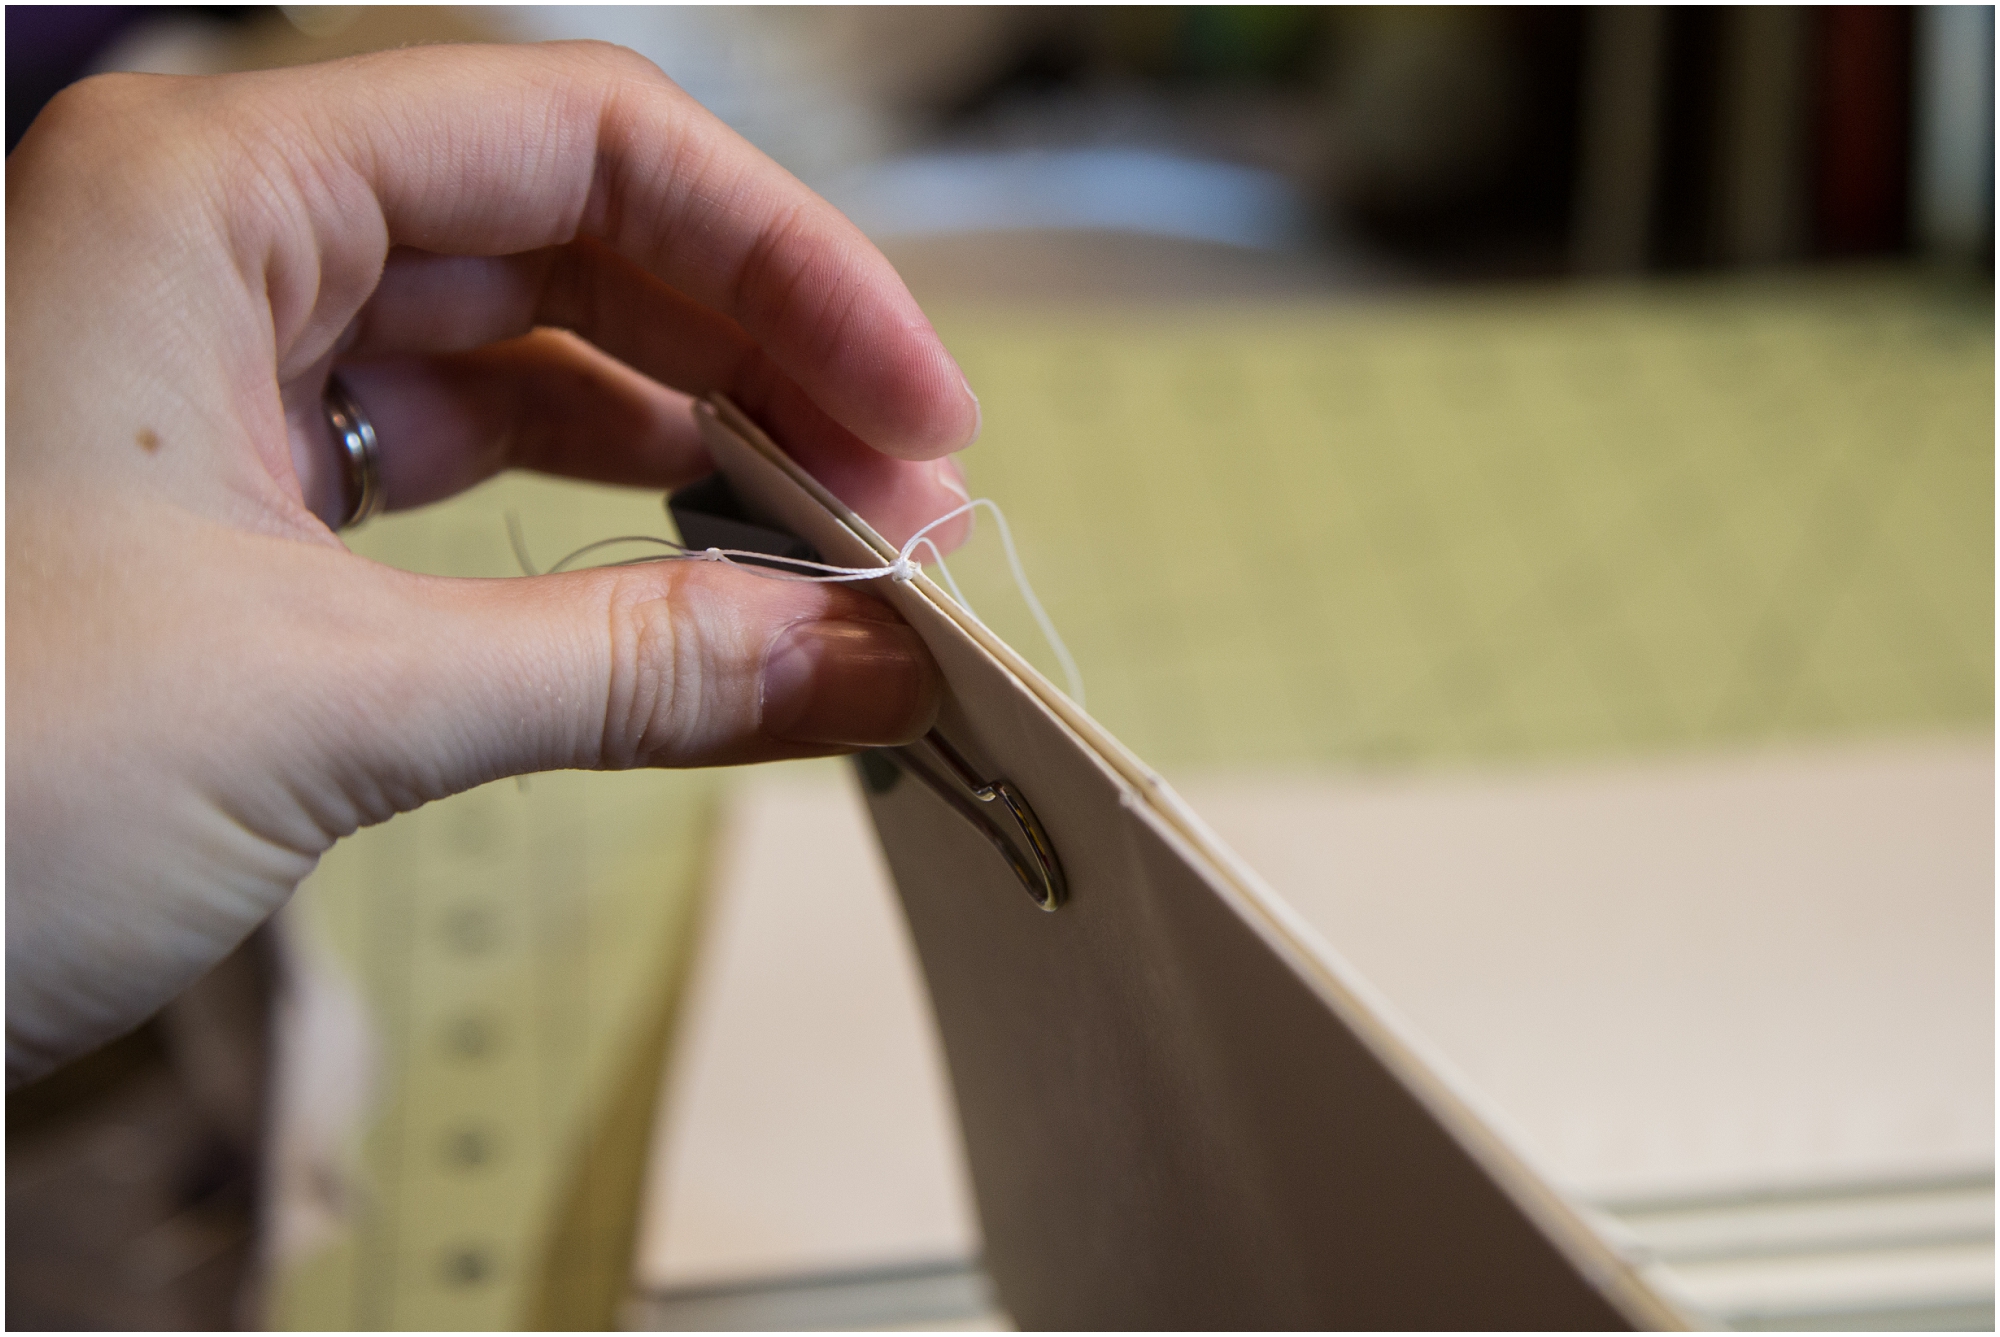
Now it is time to start sewing! Start at the end and outside of a signature.
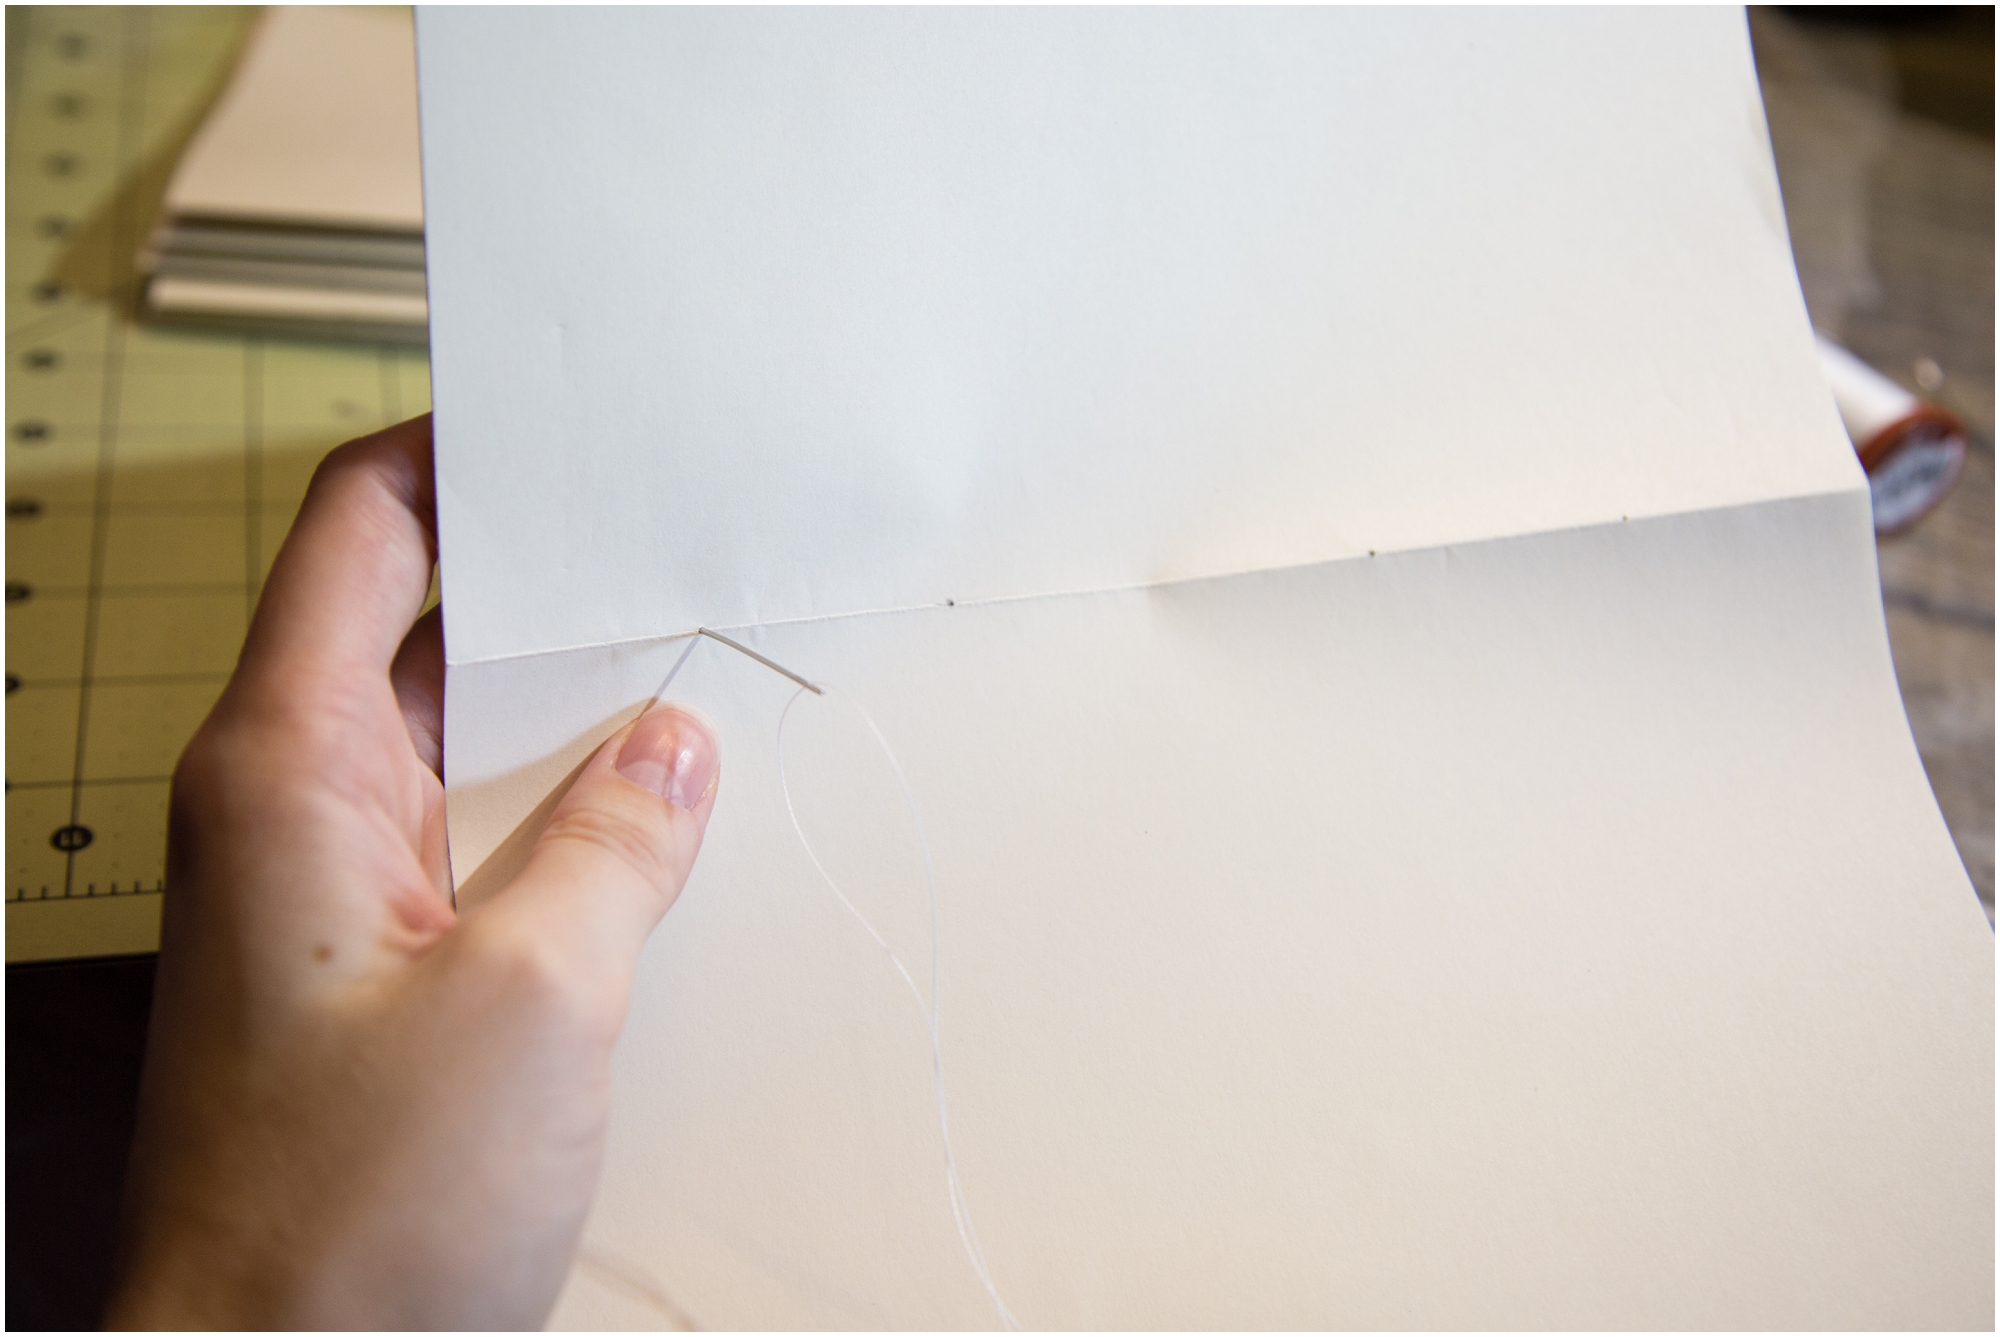
Pull the thread through, leaving a couple inches of thread on the outside. And continue sewing in and out down the signature.
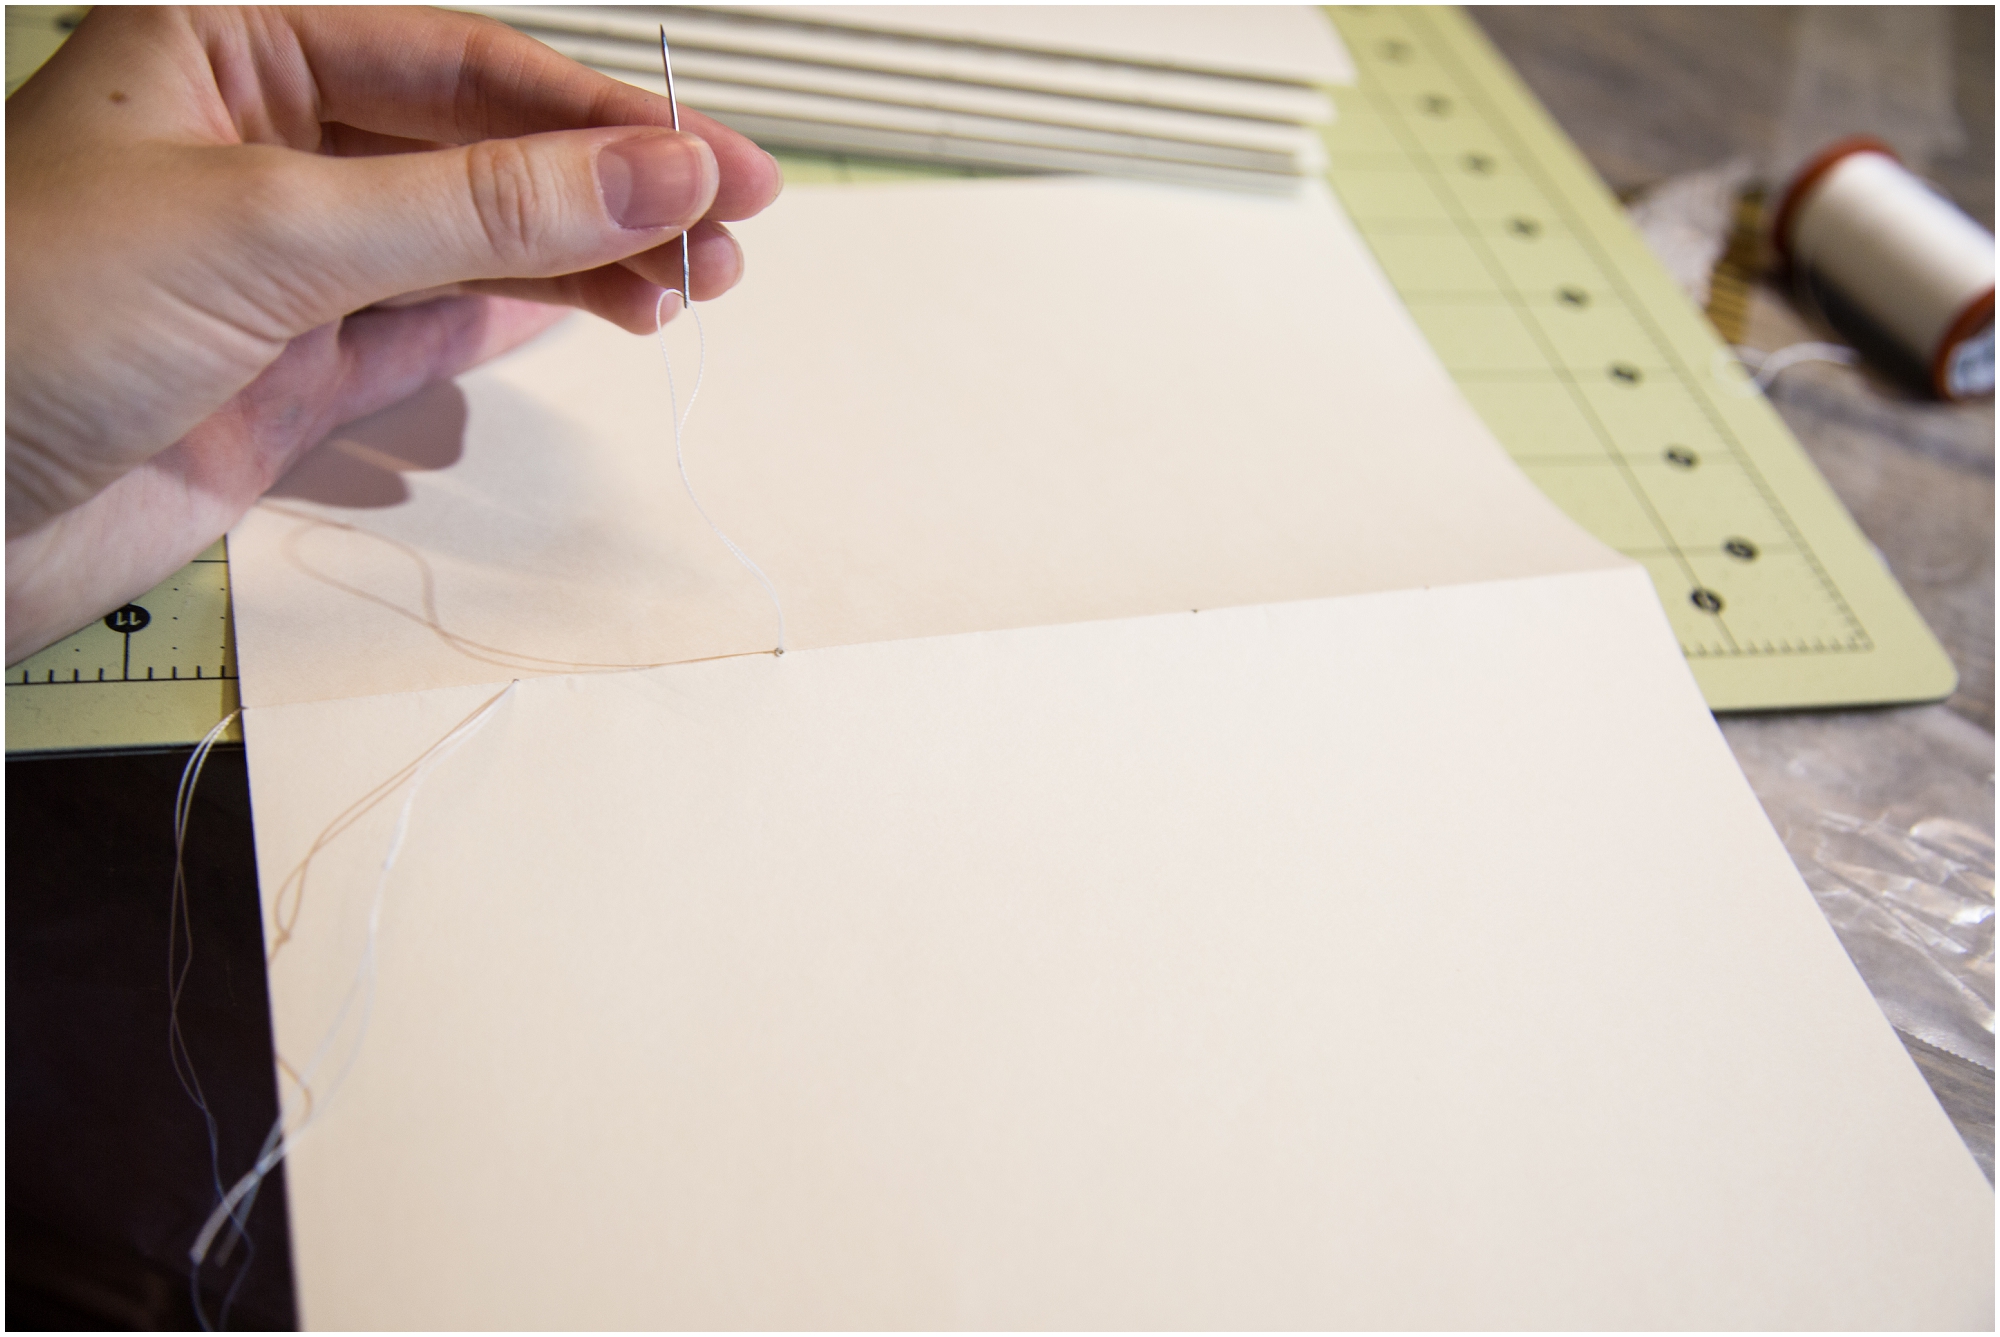
Once you have reached the end pull the thread tight. Make sure that you pull the thread to the sides and not up. If you pull the ends up it may tear your paper. It is very important to keep you thread tight throughout, if you do not then your pages will not stay together very well.
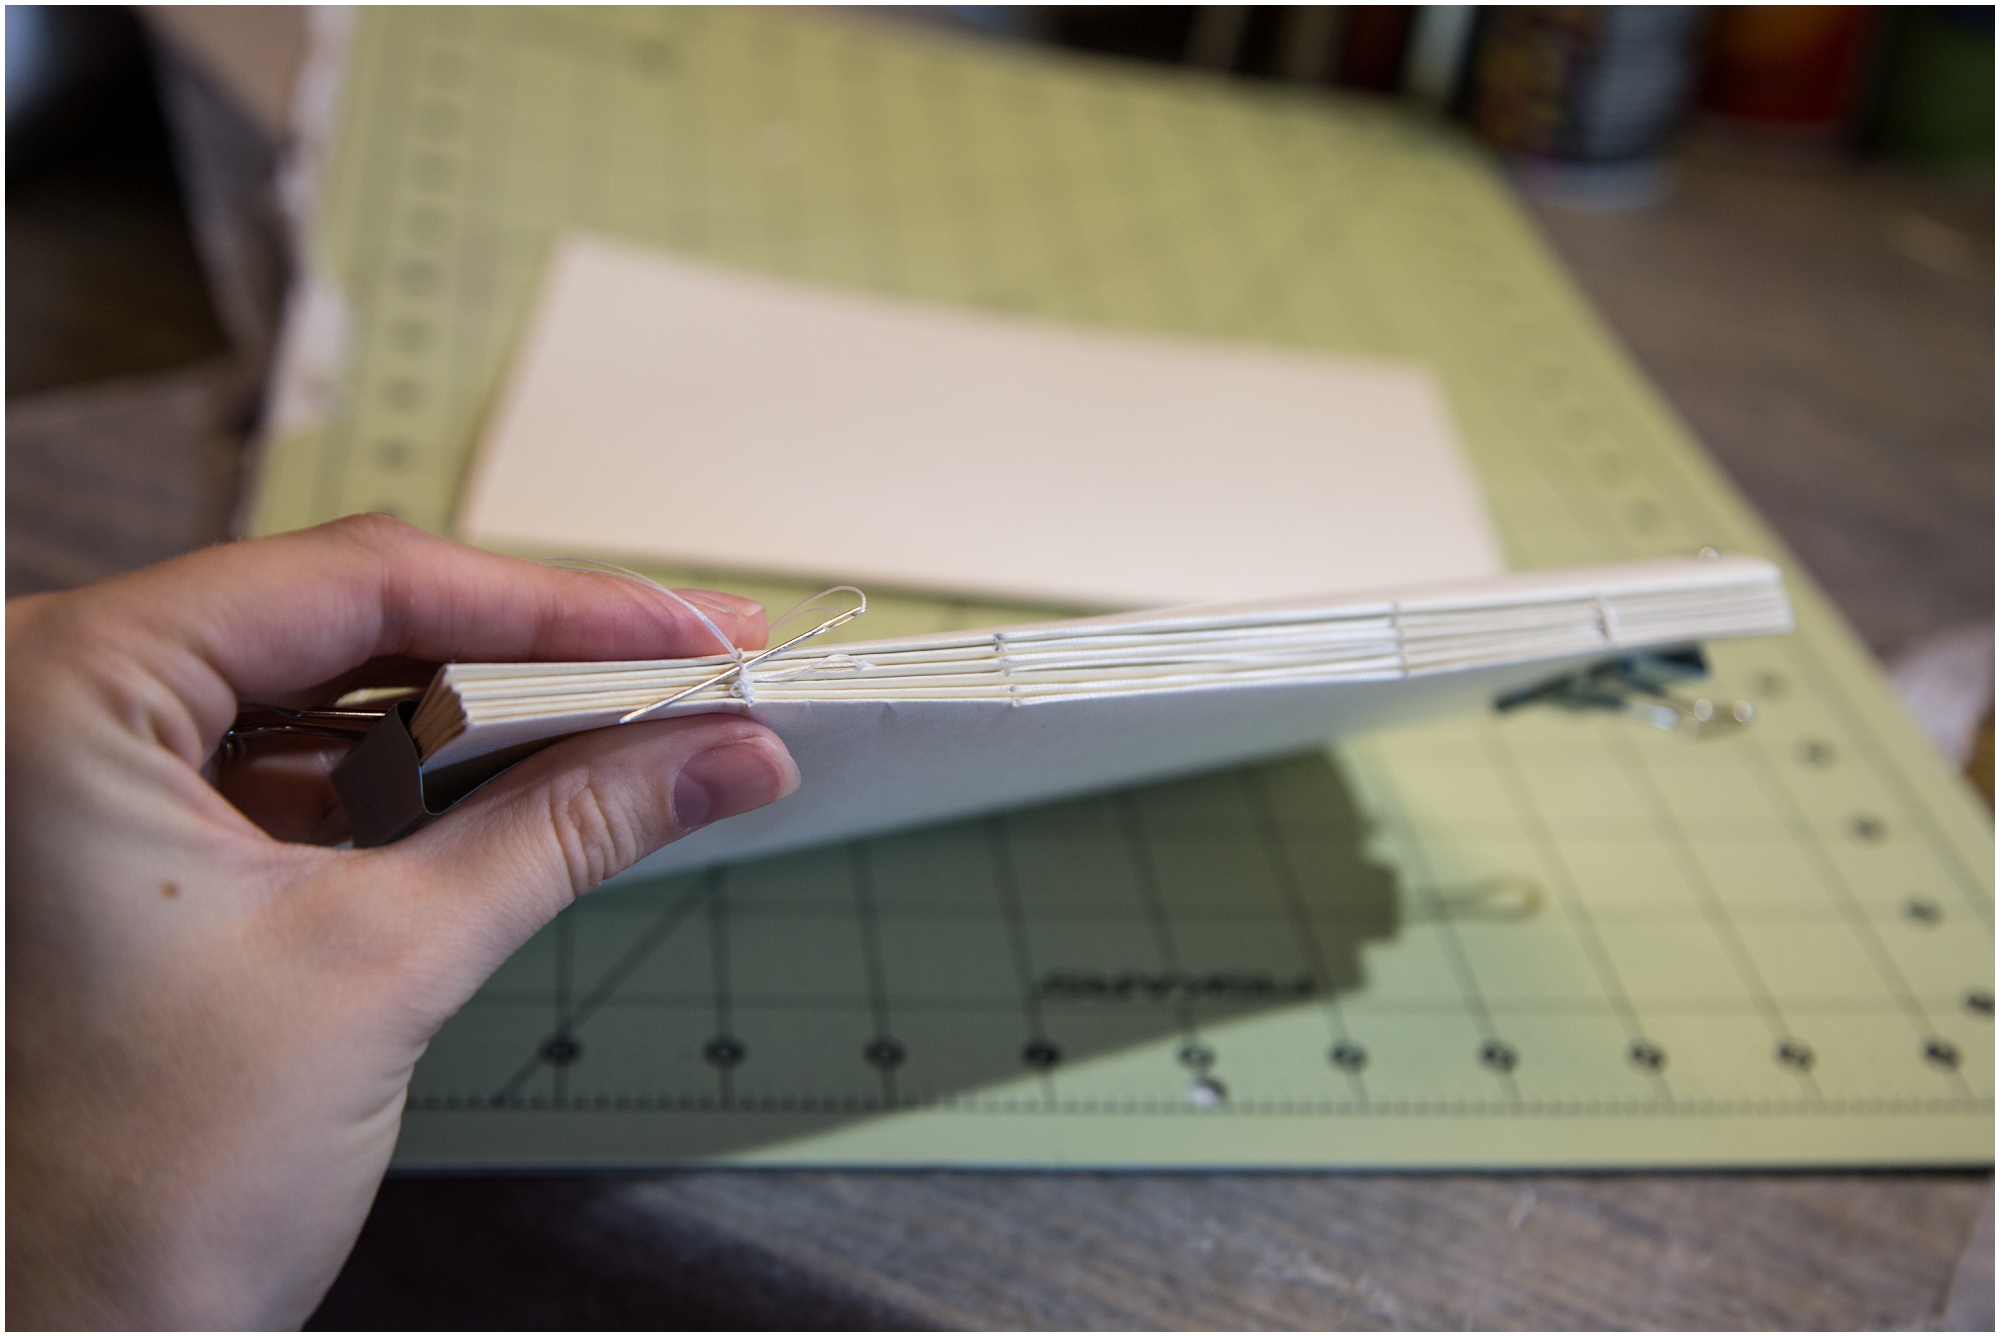
Get your next signature and start on the end and continue sewing in and out as you did on the previous one. Once you reach the end you will take the end of your beginning thread and tie a knot to thread you just pulled through the last hole in the second signature.
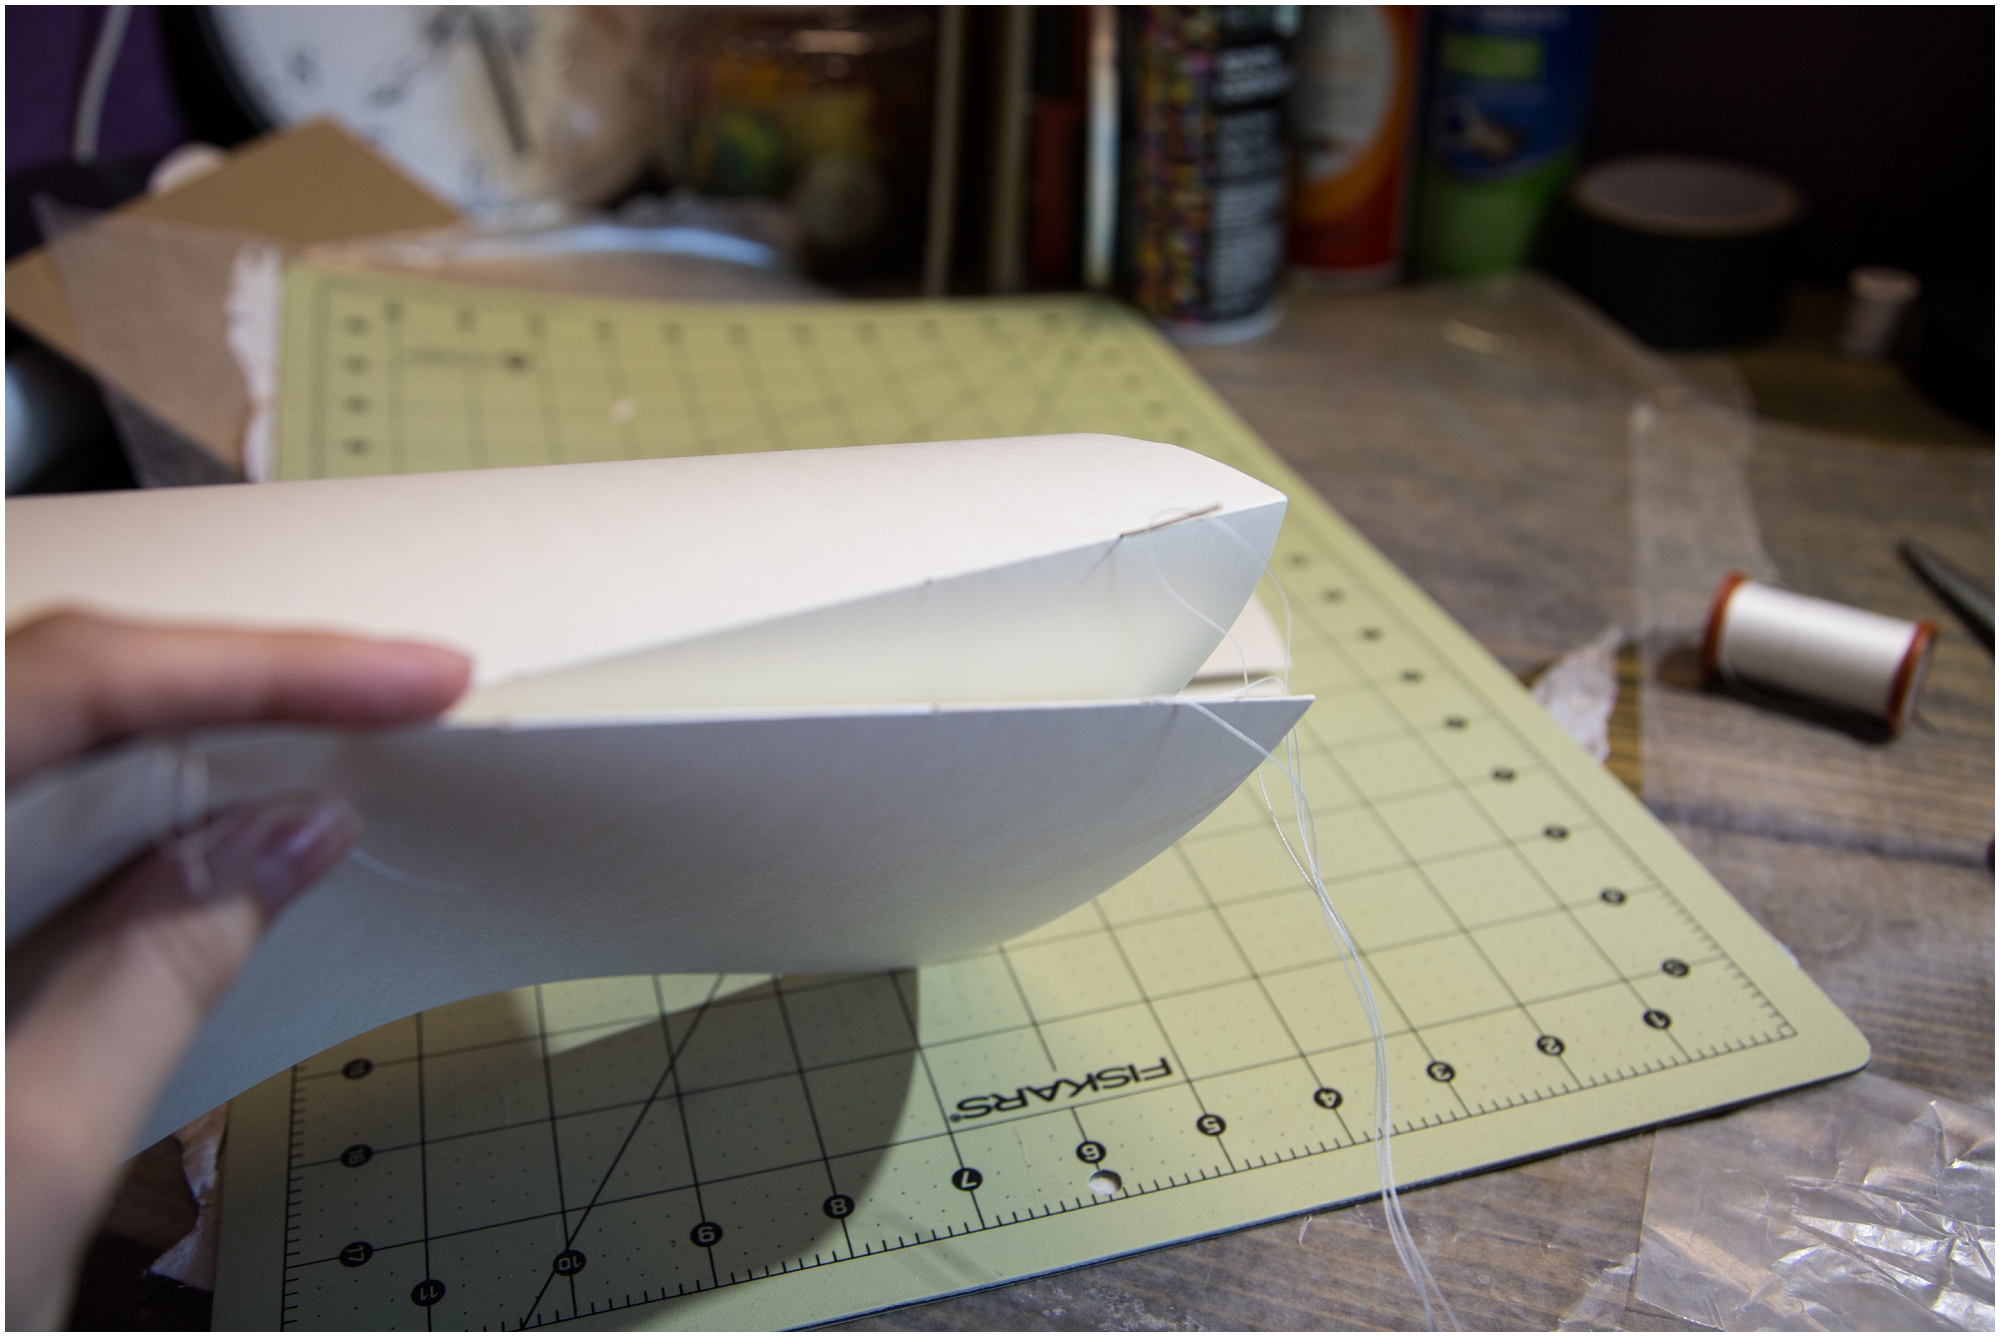
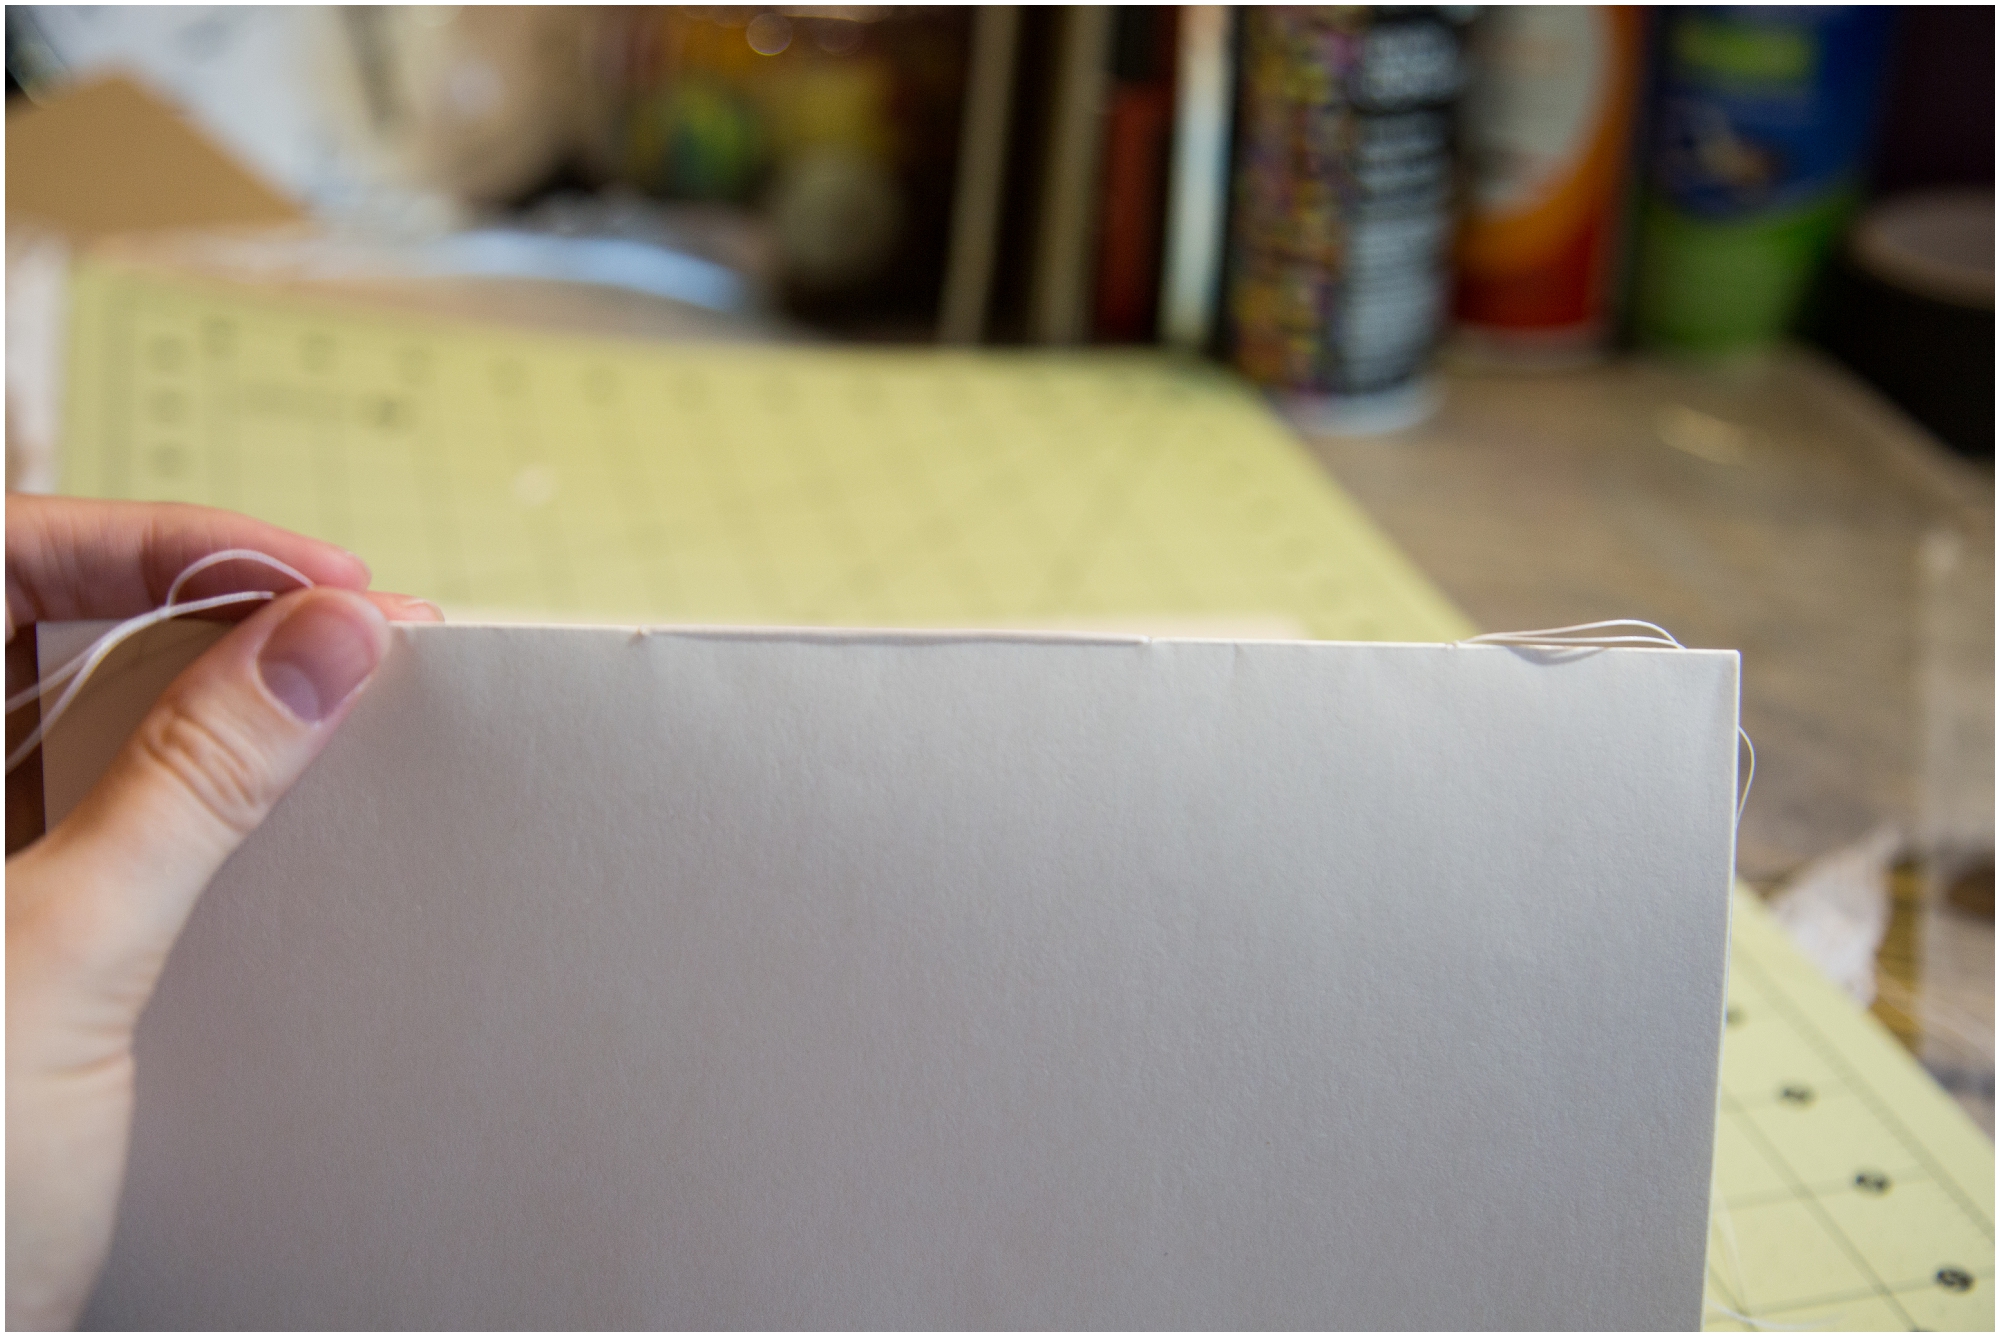
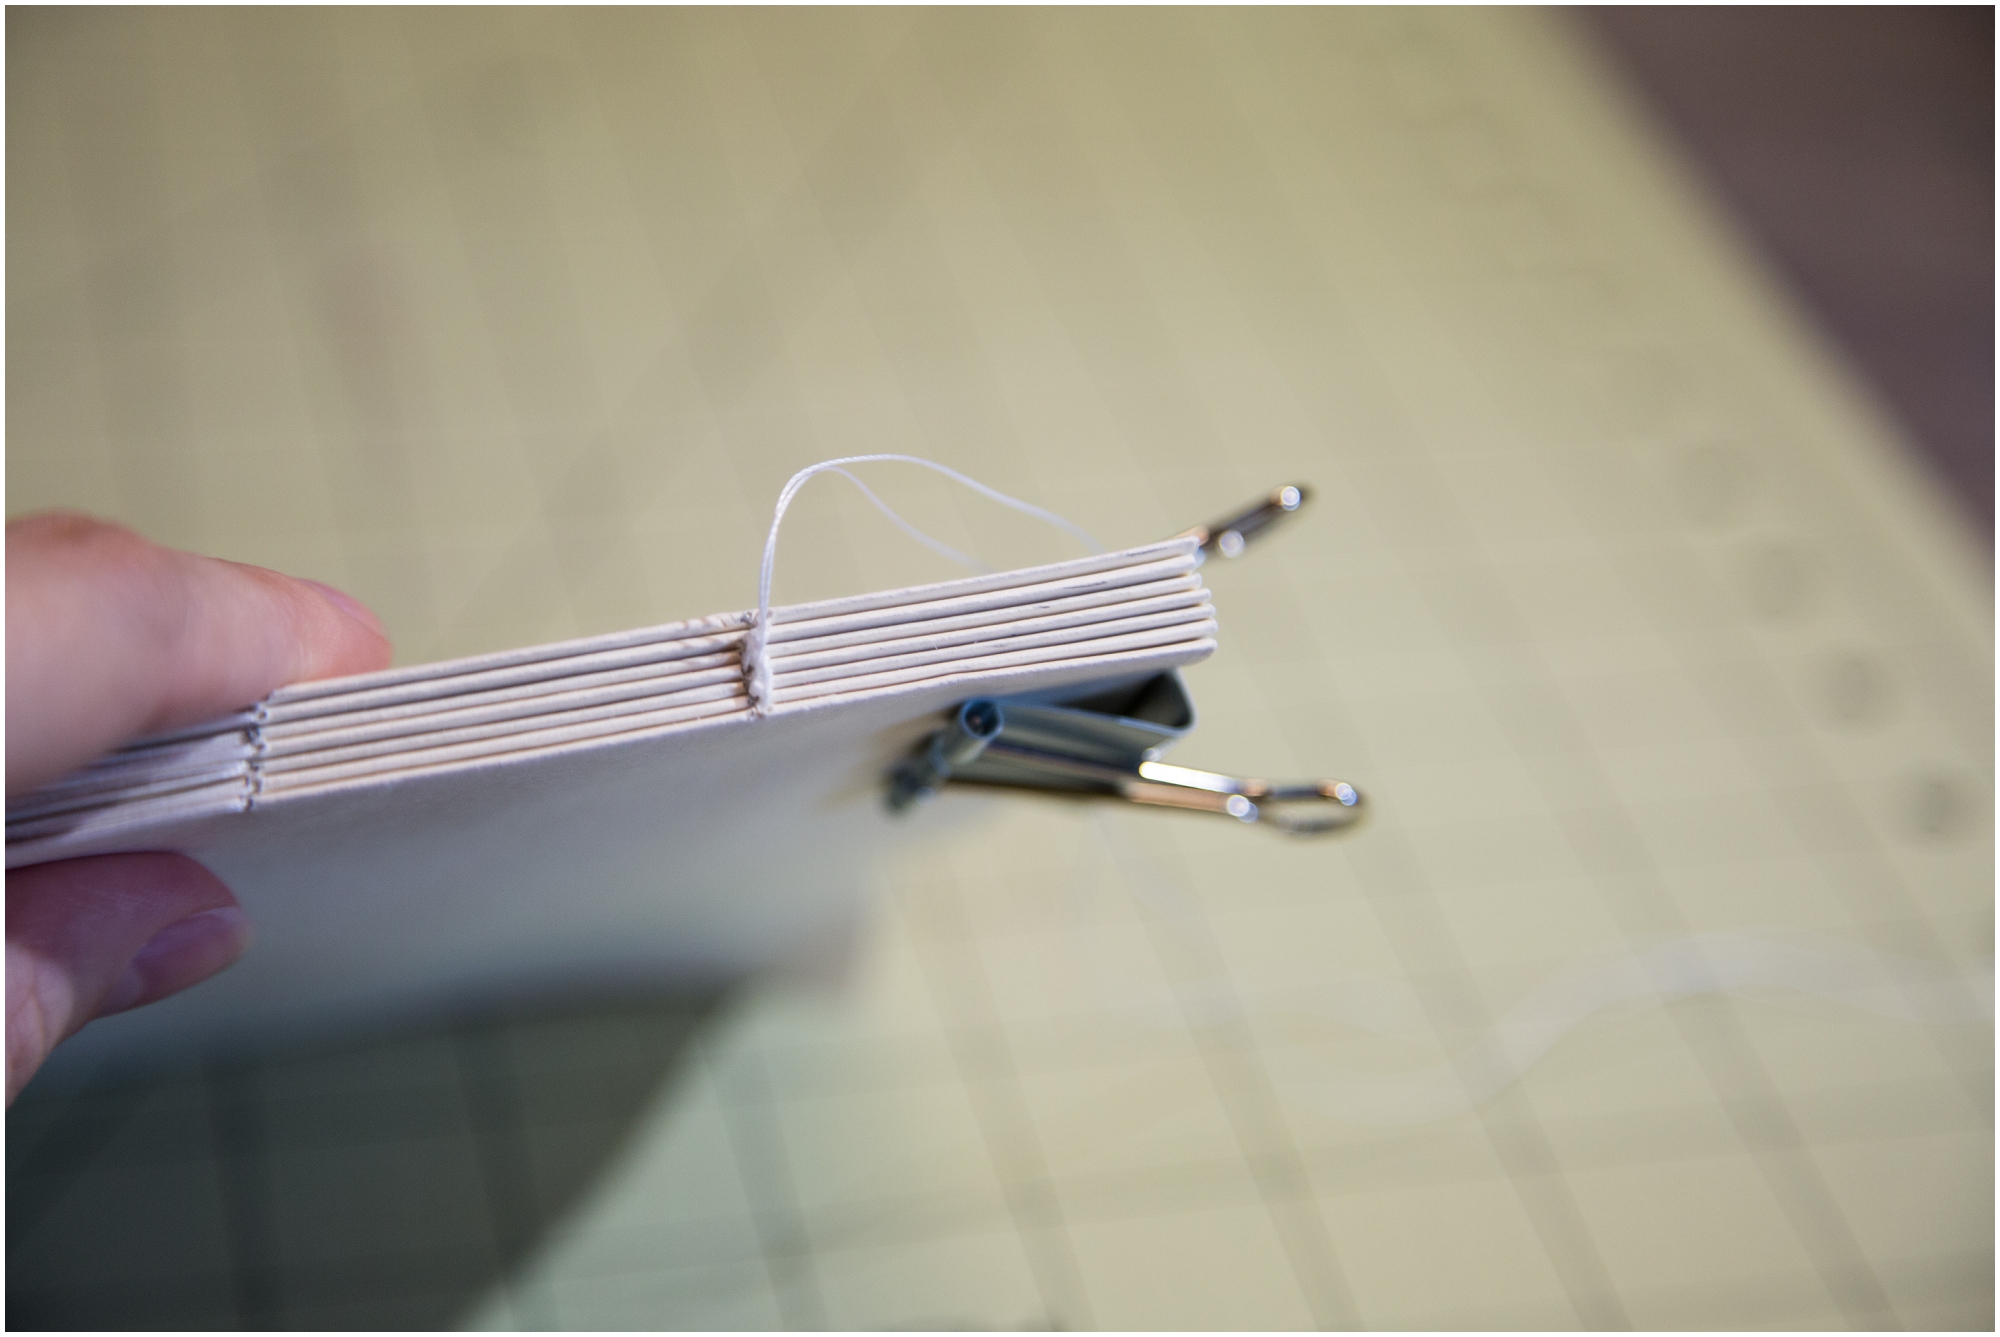
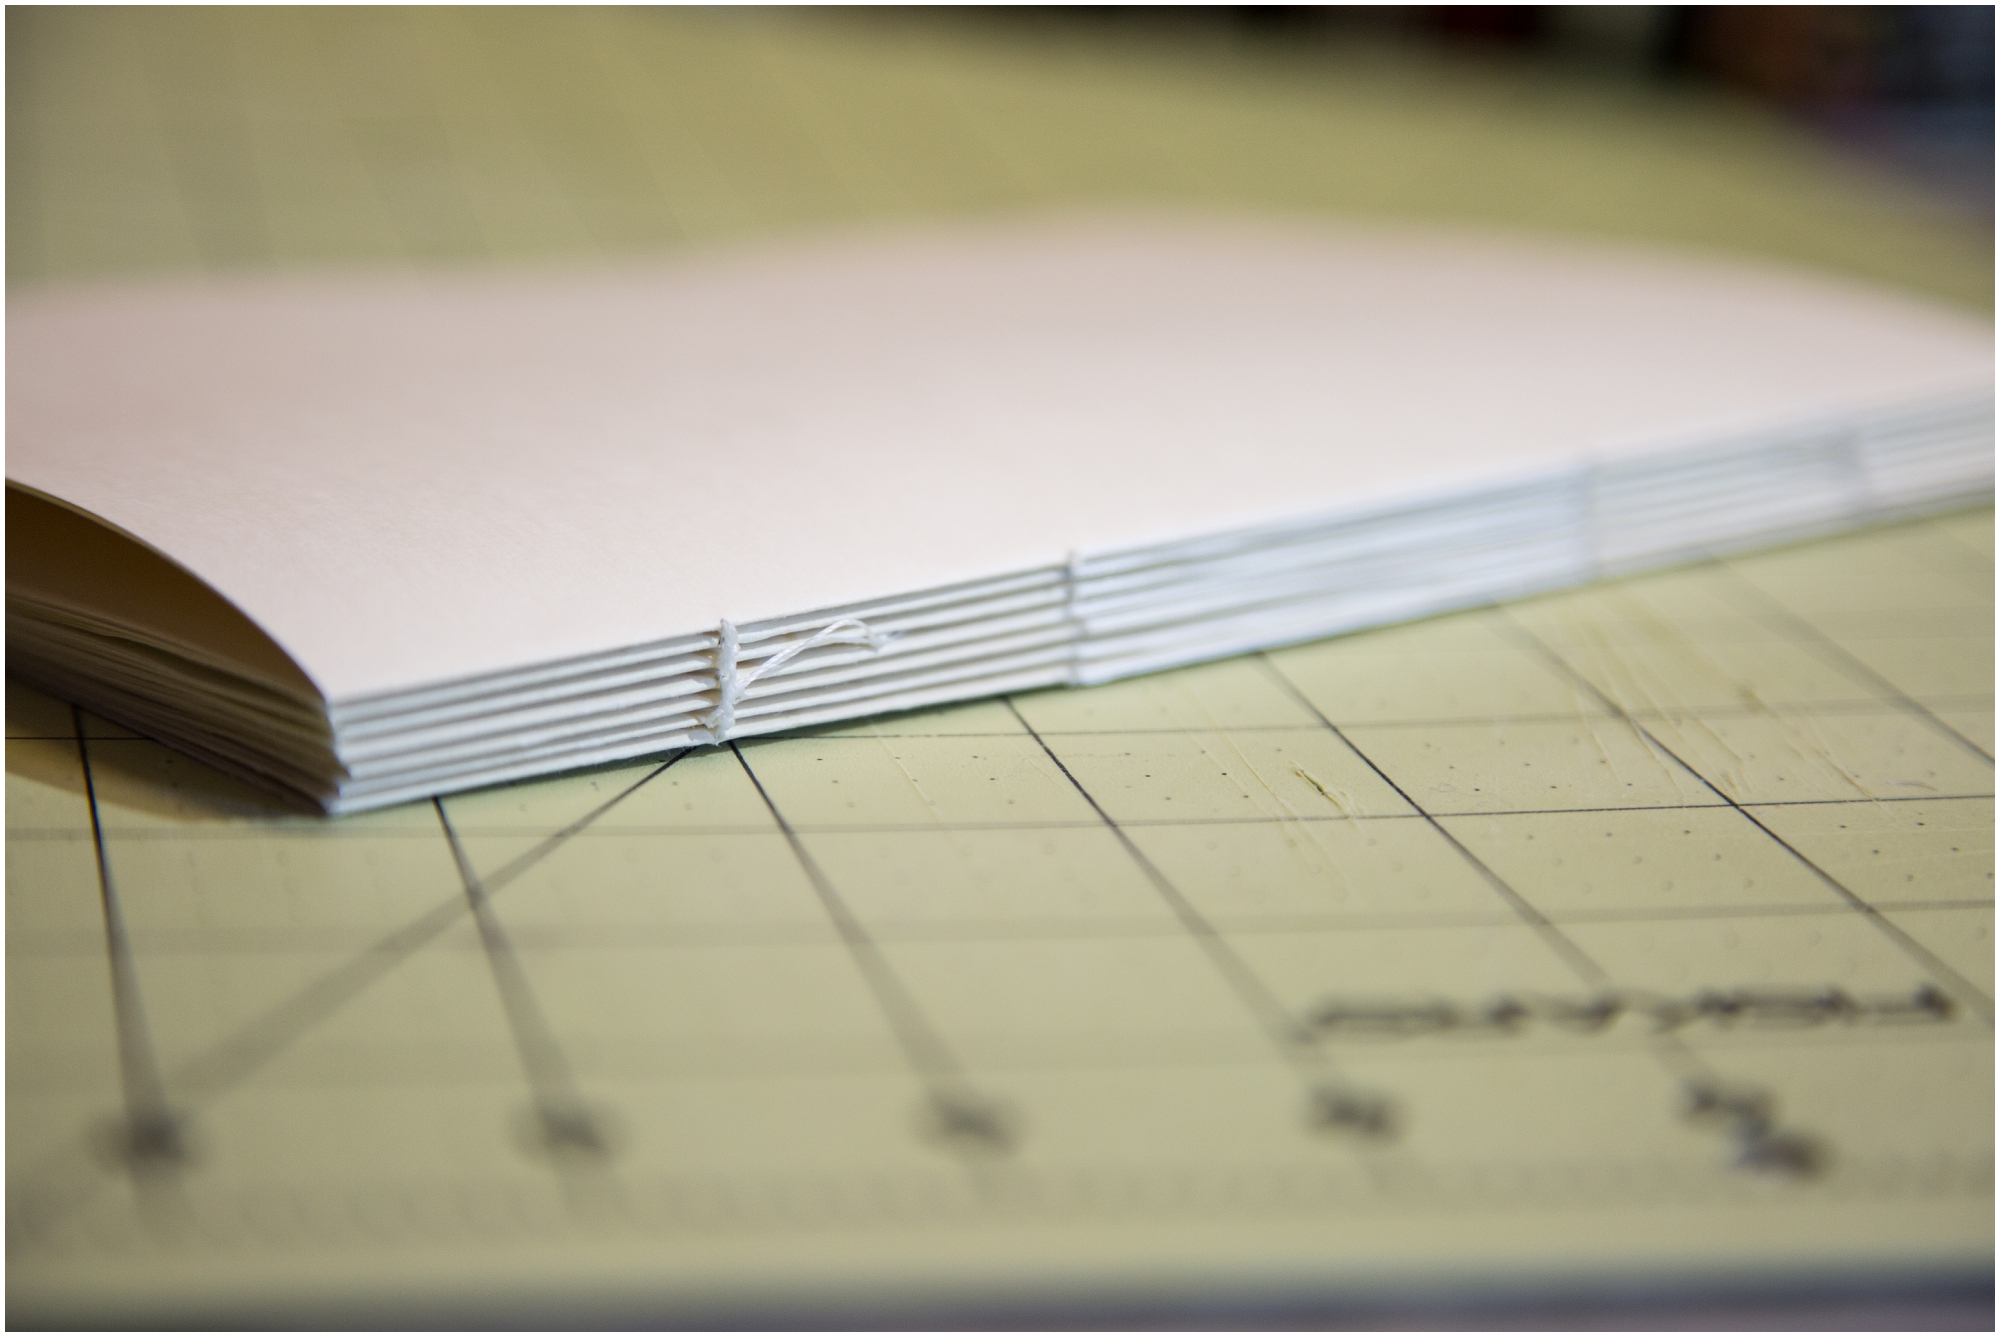
These two signatures have now been joined together. 🙂 Now you just need to sew the rest of them. Get the next one and sew in and out the same way, but this time when you get to the end you will need to join it to the previous one a little differently. Take your needle and stick it under the previous connecting spot, then pull your needle up through the loop that it makes. Do this twice. See the photos if this doesn’t make sense. I was not sure how to explain it, hopefully the photos will help. 🙂
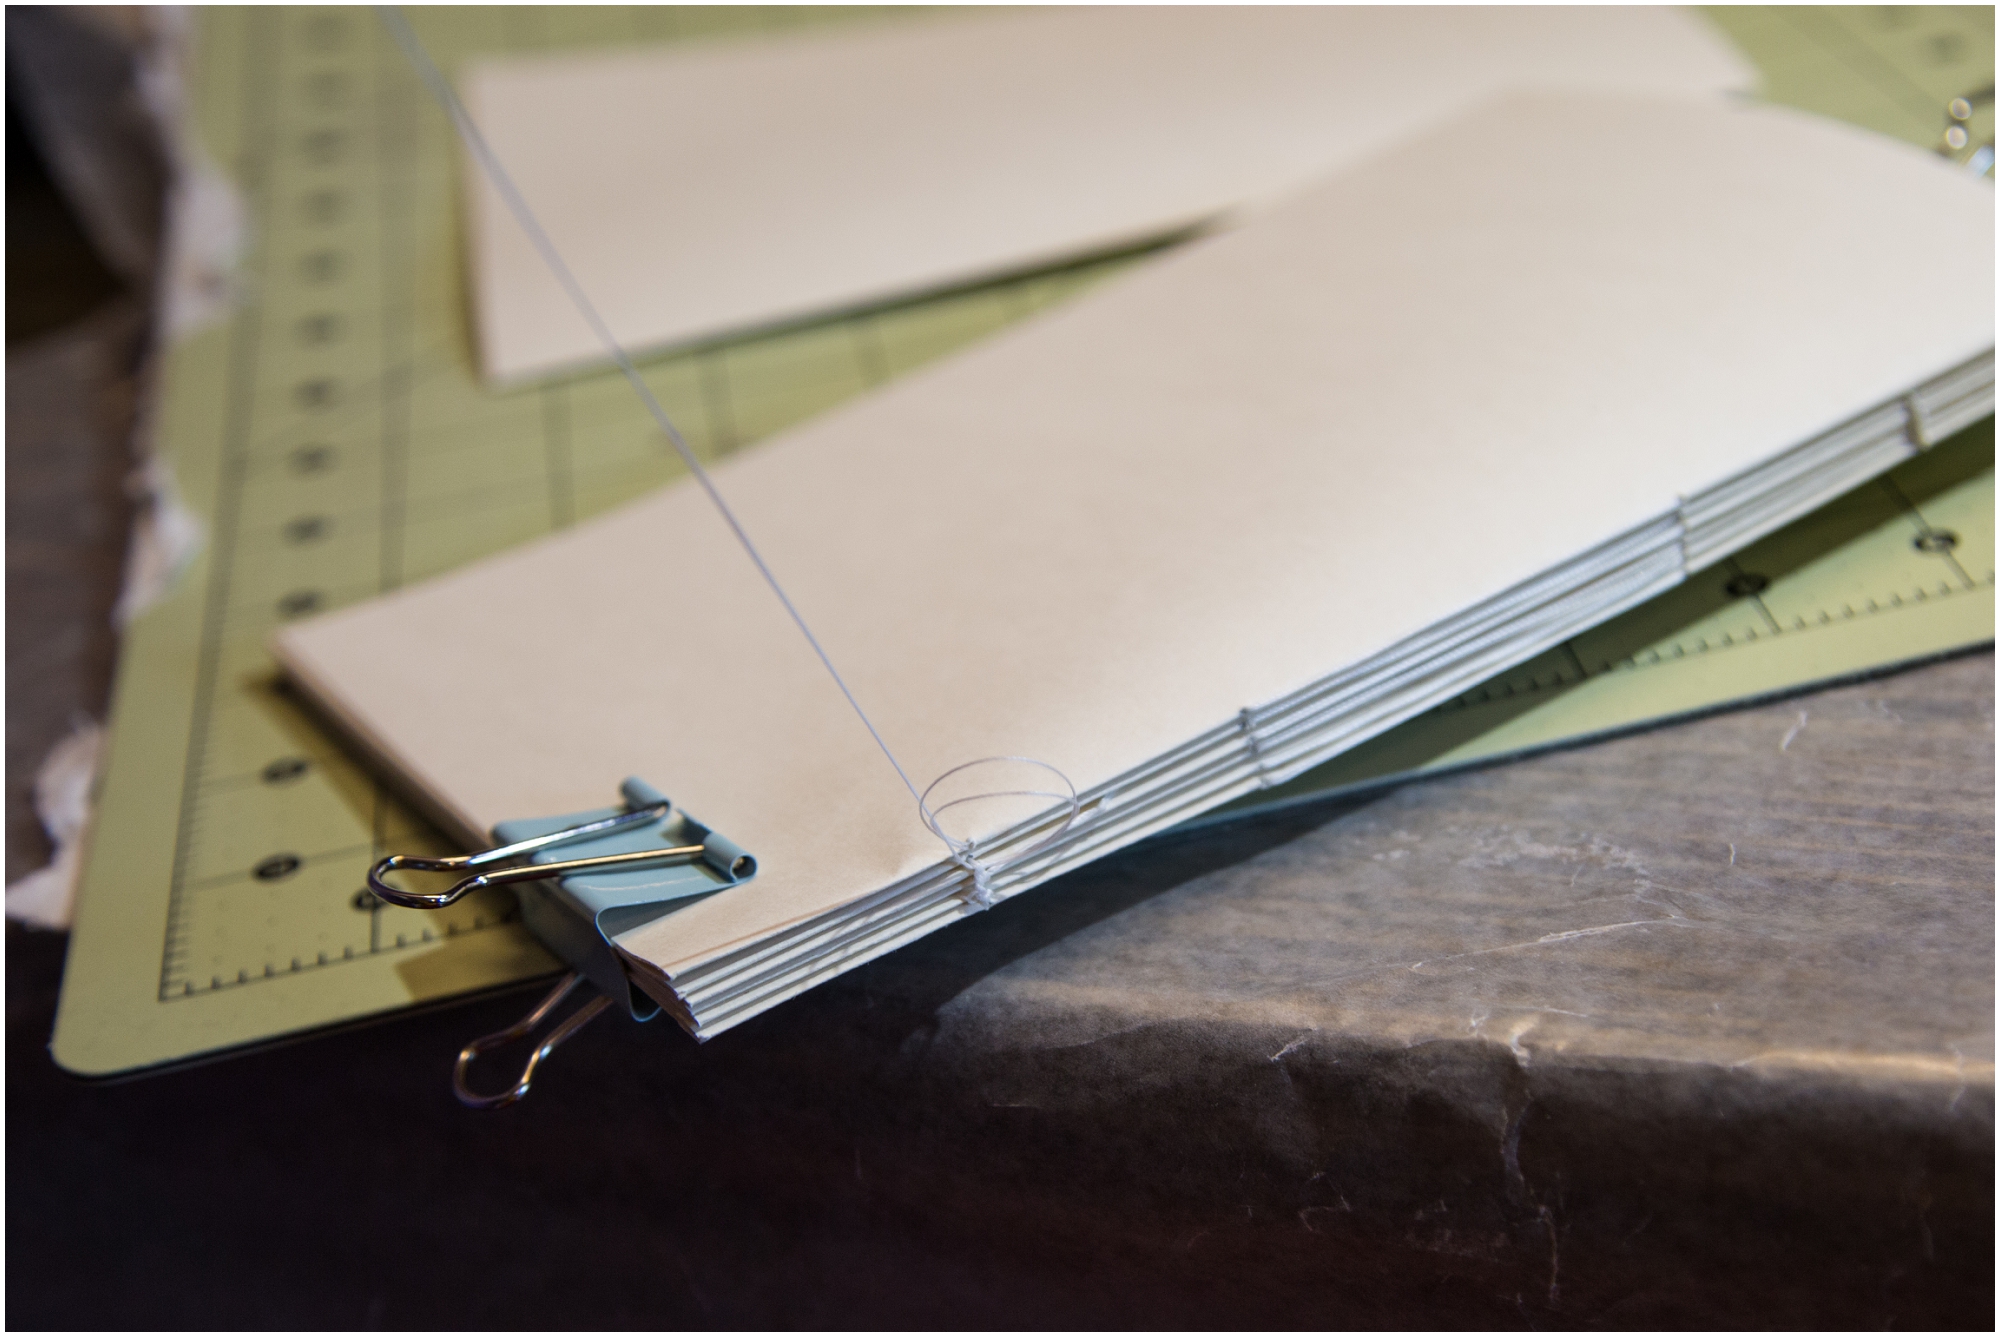
This is how you will connect the remaining signatures. Once you reach the end cut the remaining thread off. This is what you will end up with.
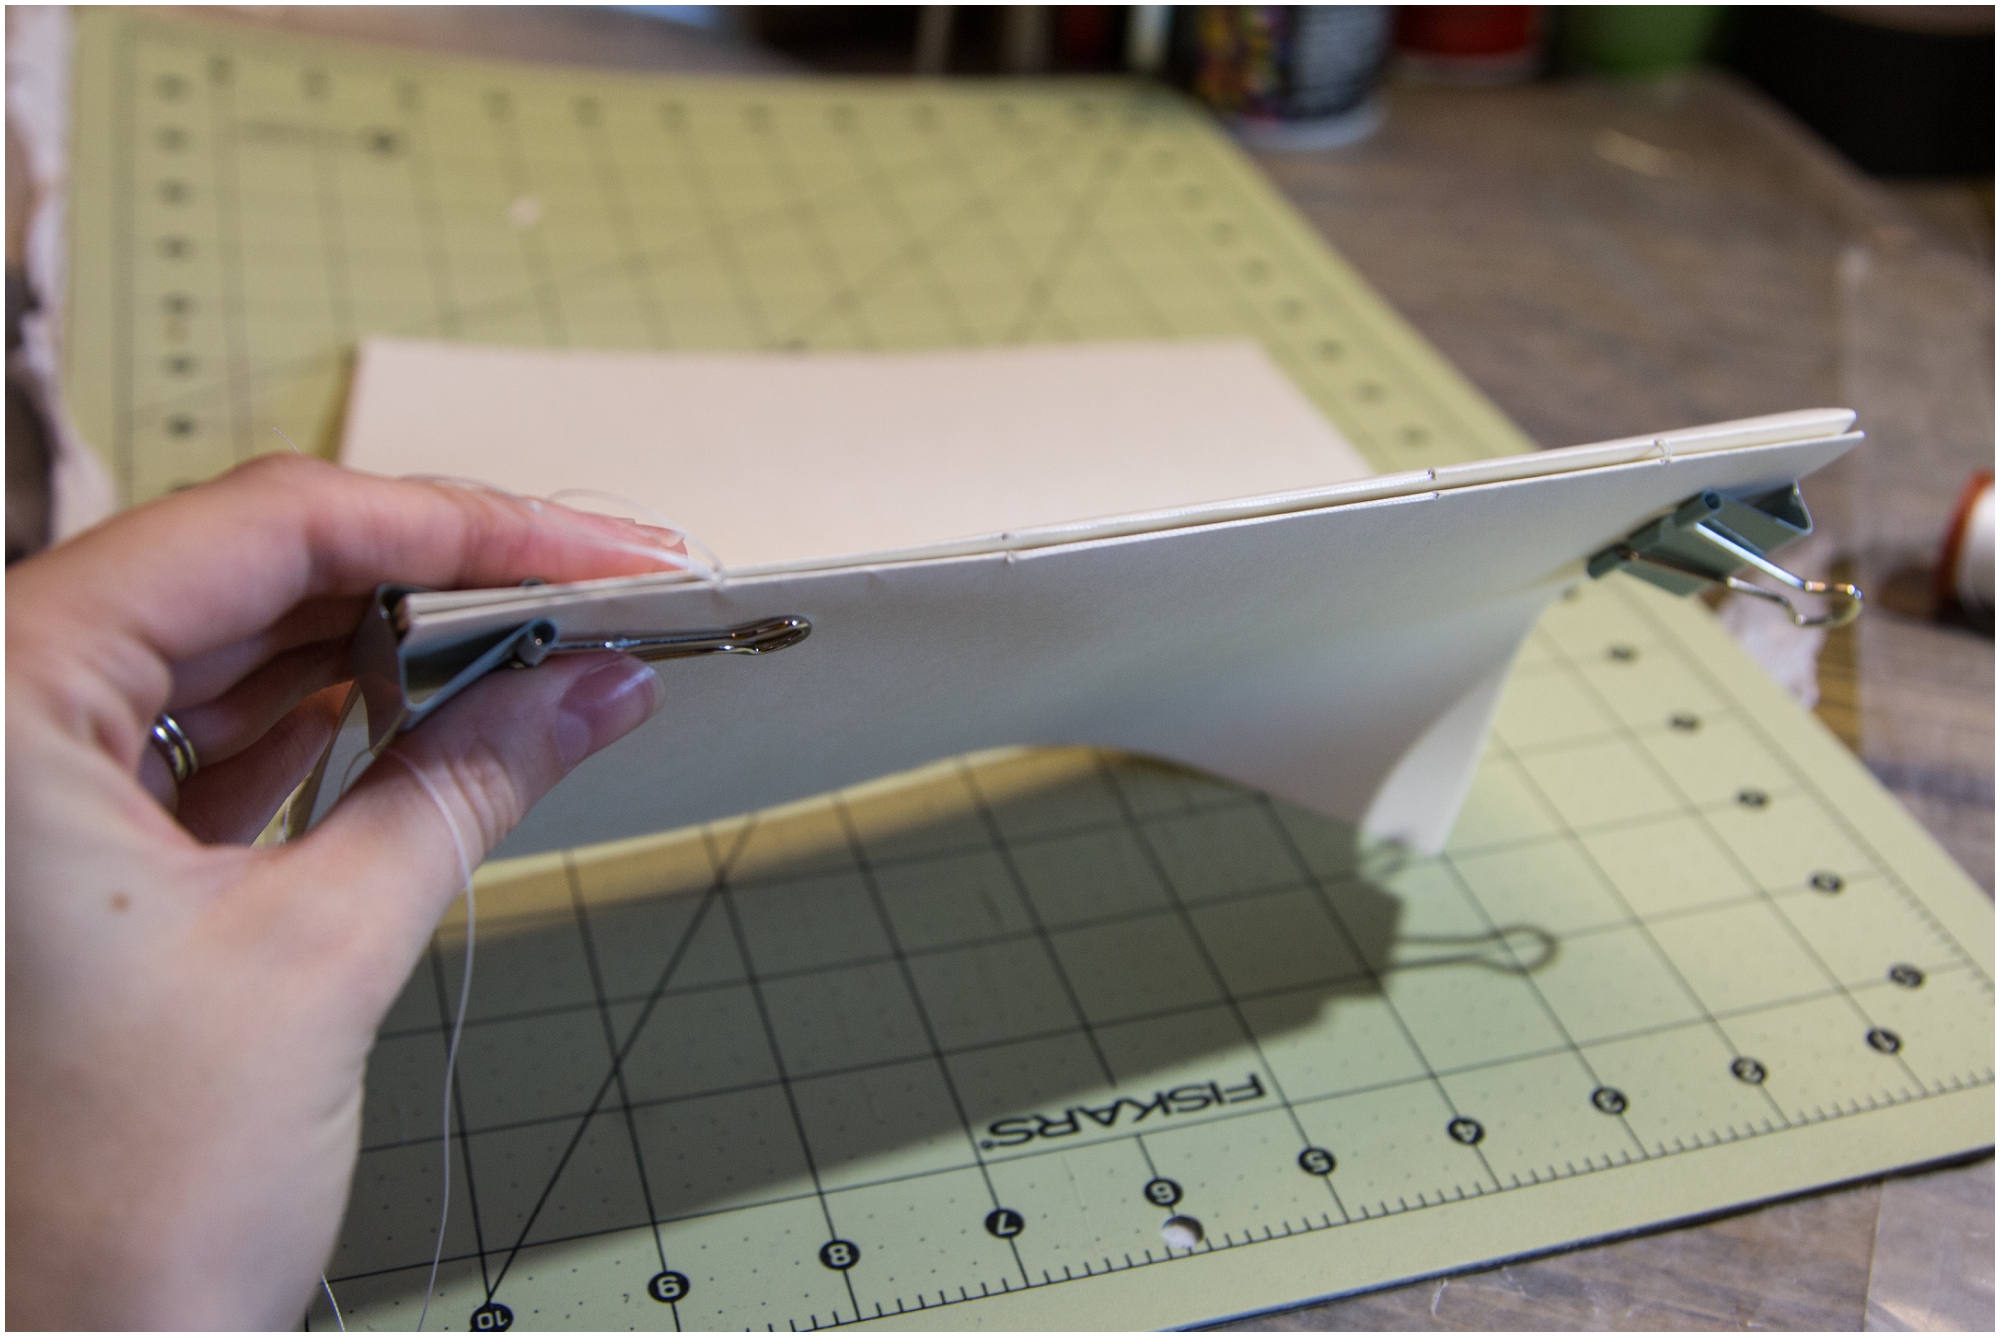
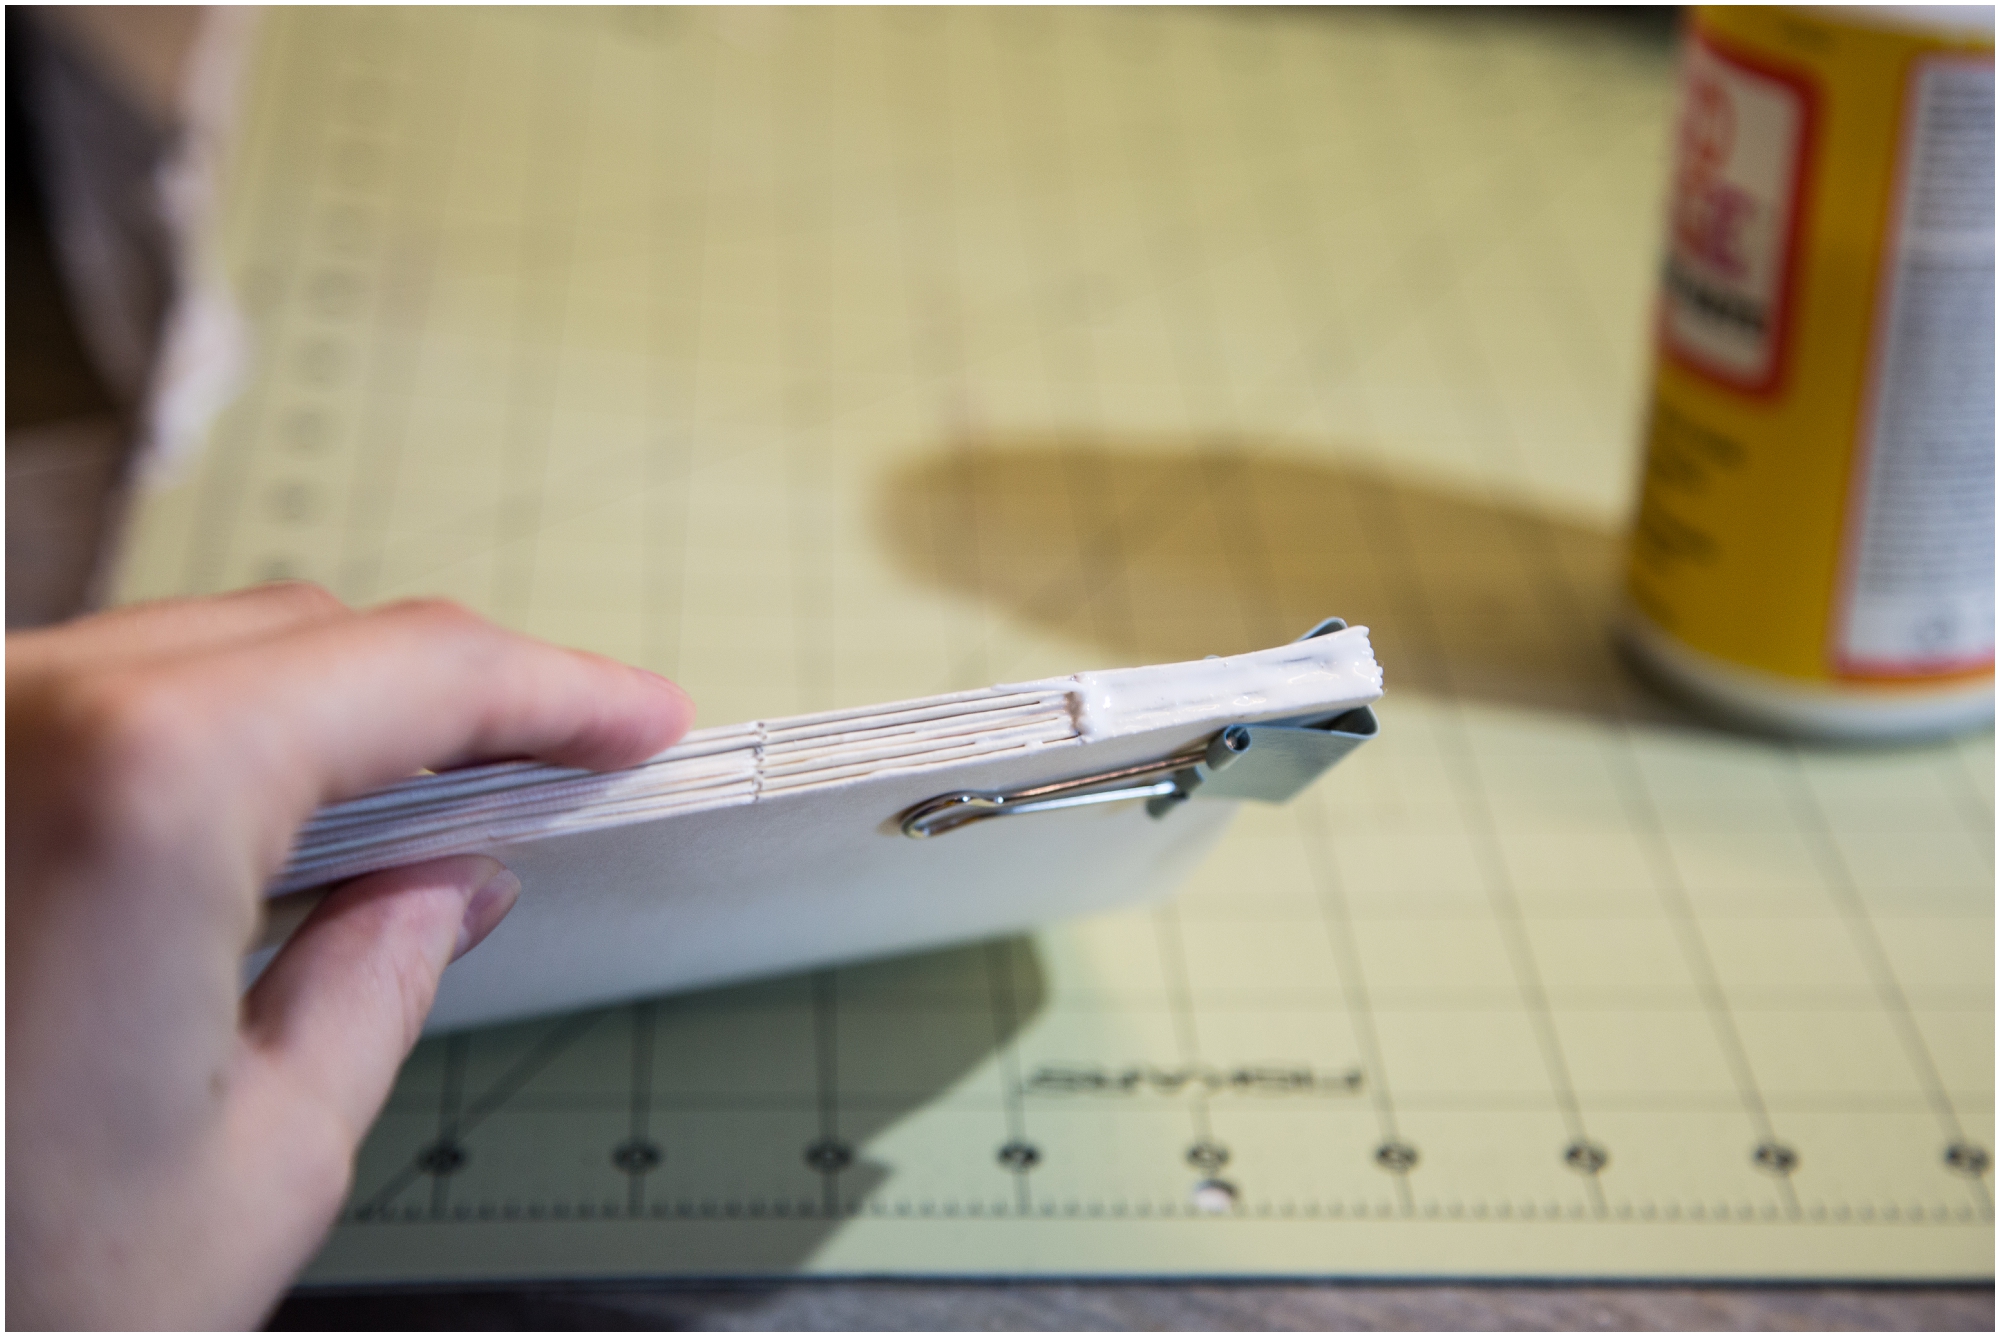
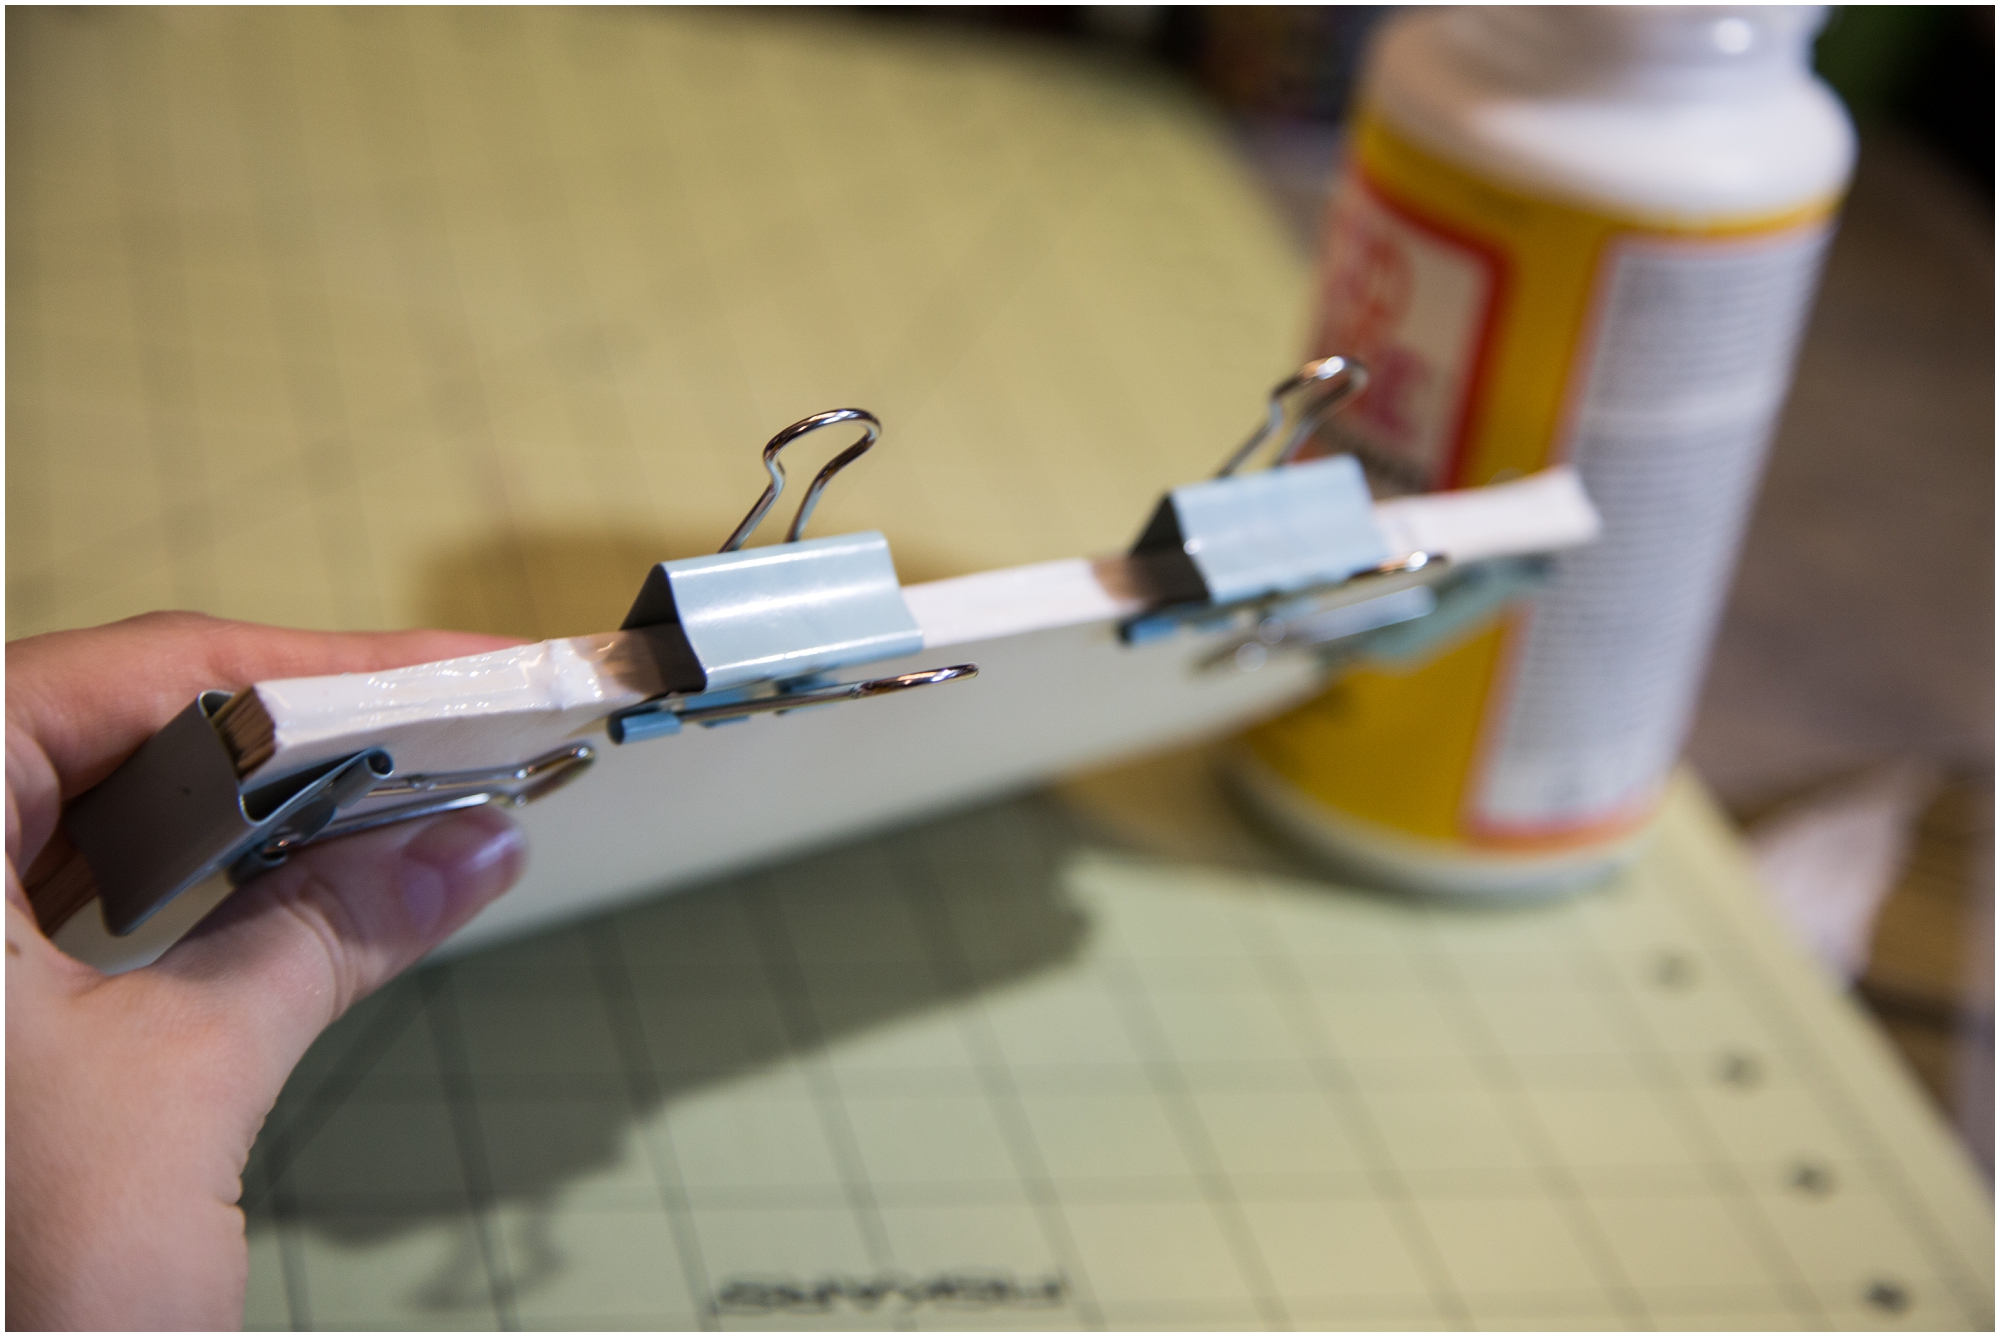
You have finished the hard part! Yay! Now you need to glue the spine. I clip the ends to keep the pages tight together. You do not want the glue to seep into the middle of the pages. It needs to stay on the spine. I use Mod Podge but I’m sure other glues will work as well. Once you have glue on the entire spine put a couple more clips on while it dries.
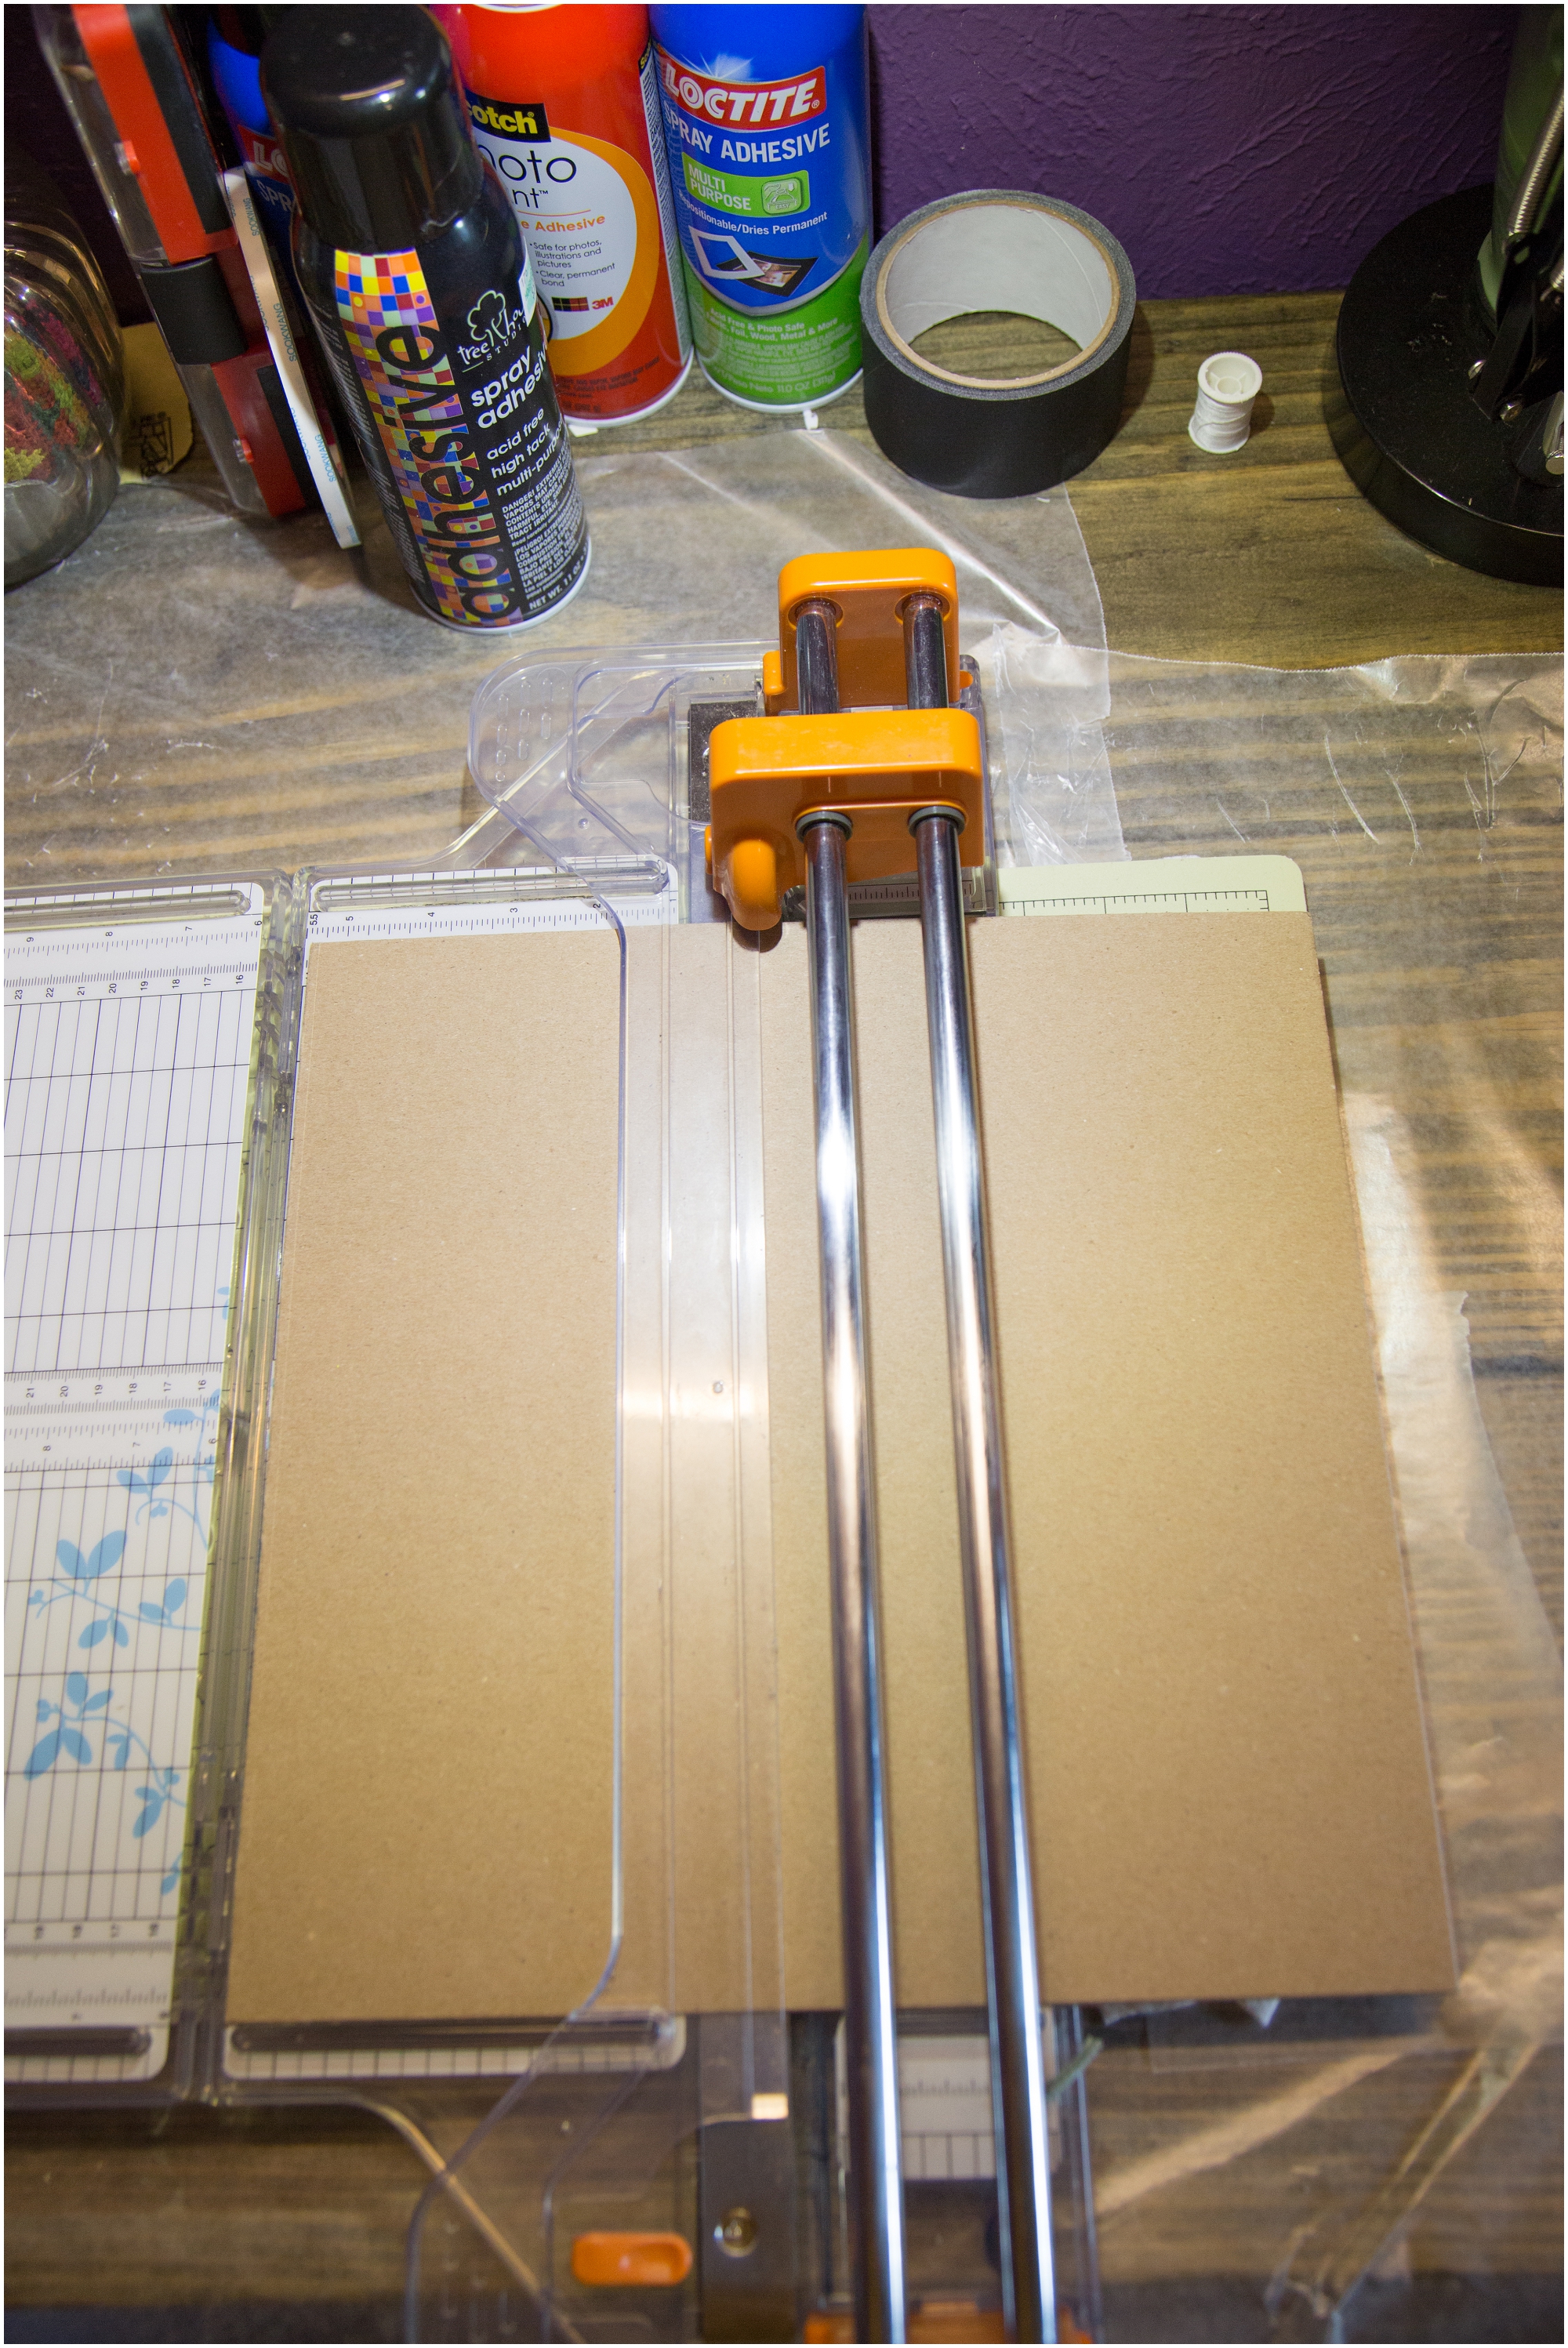
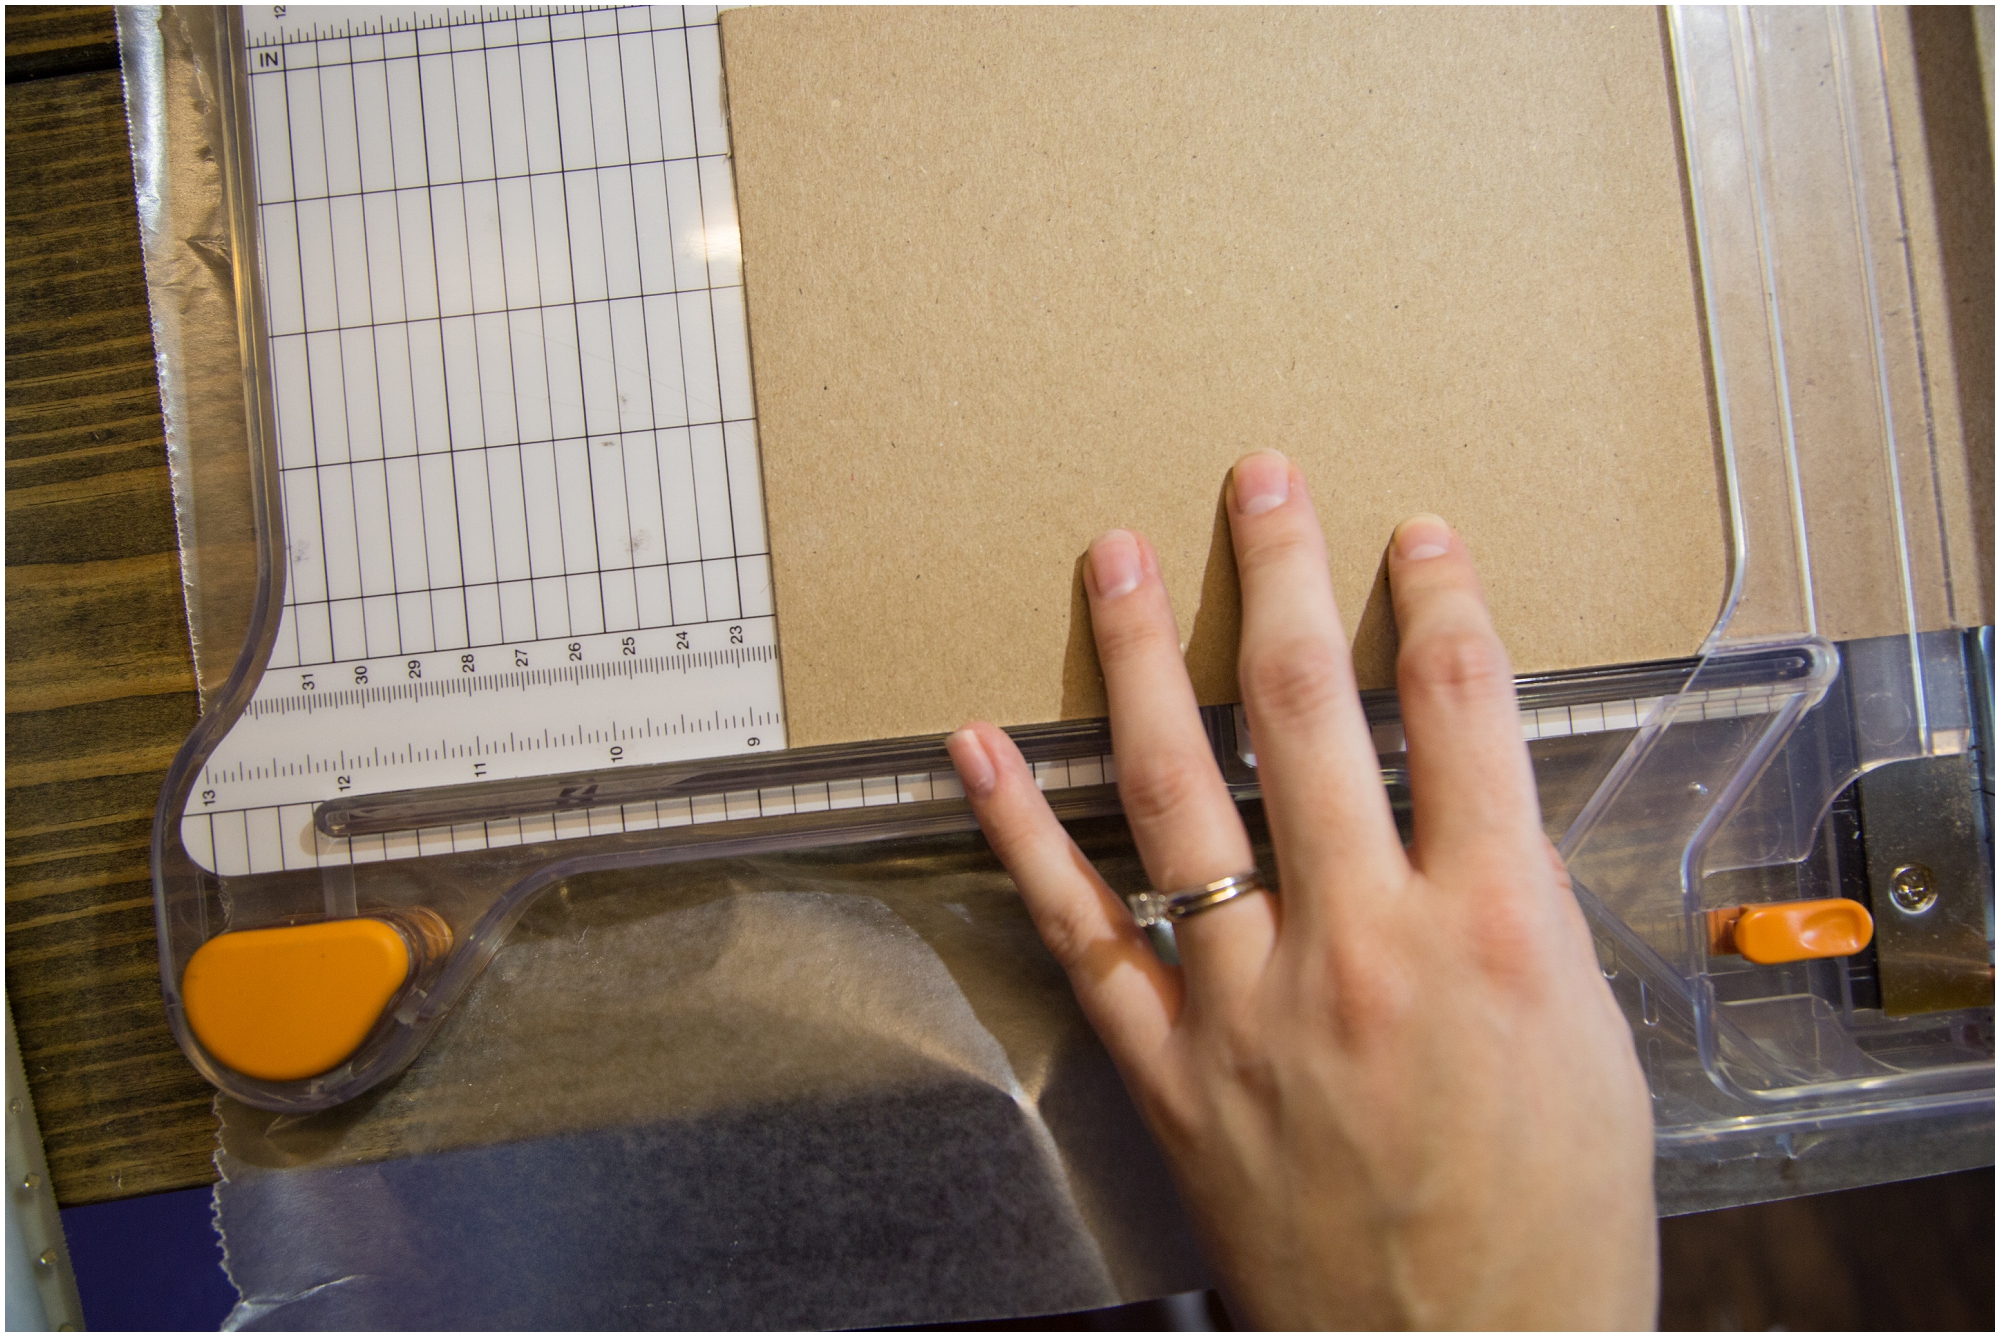
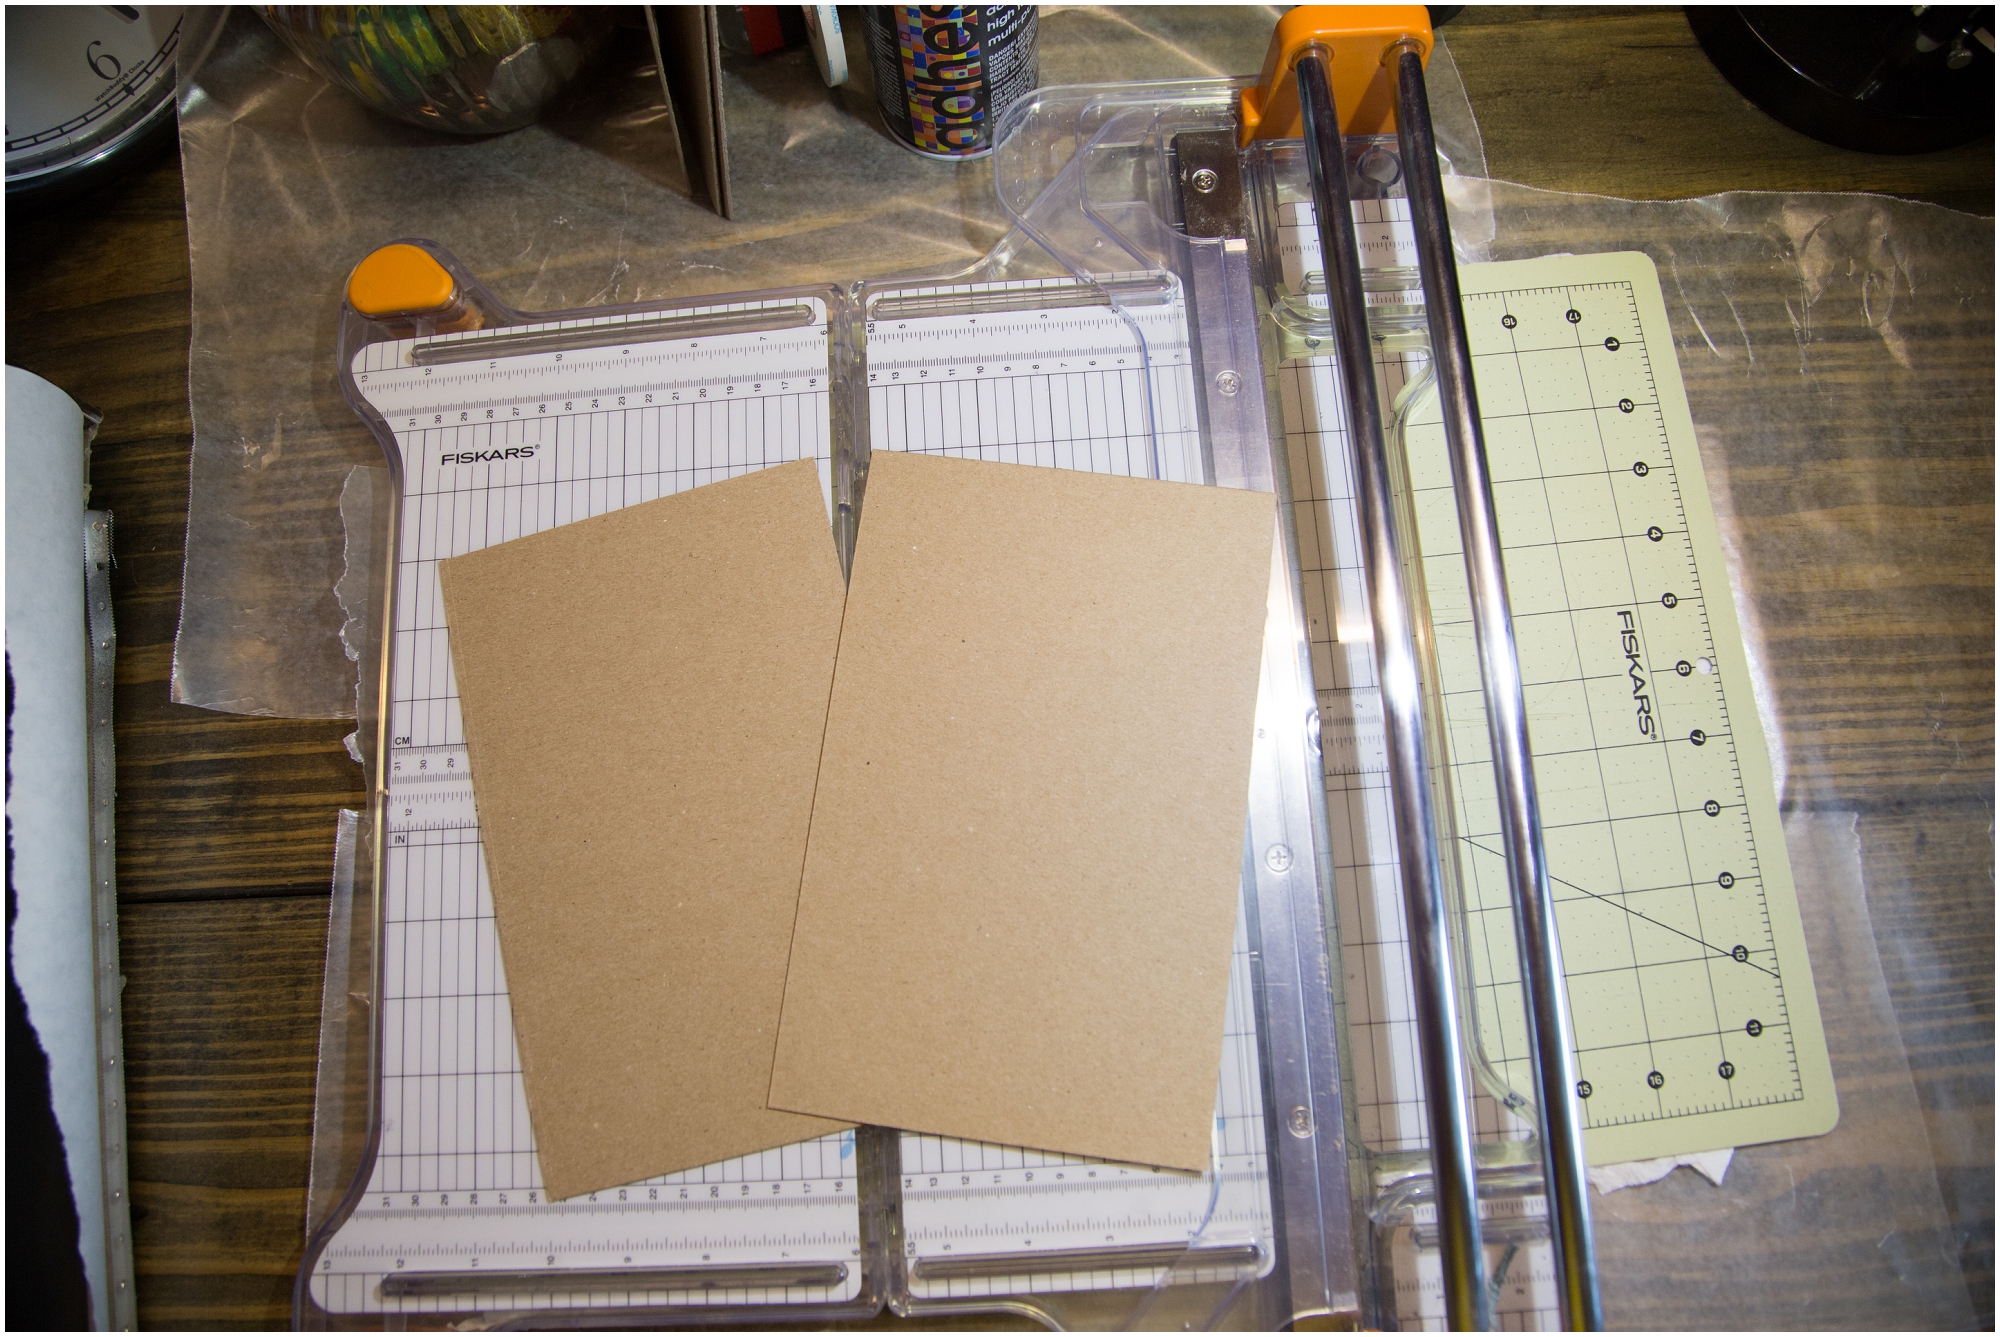
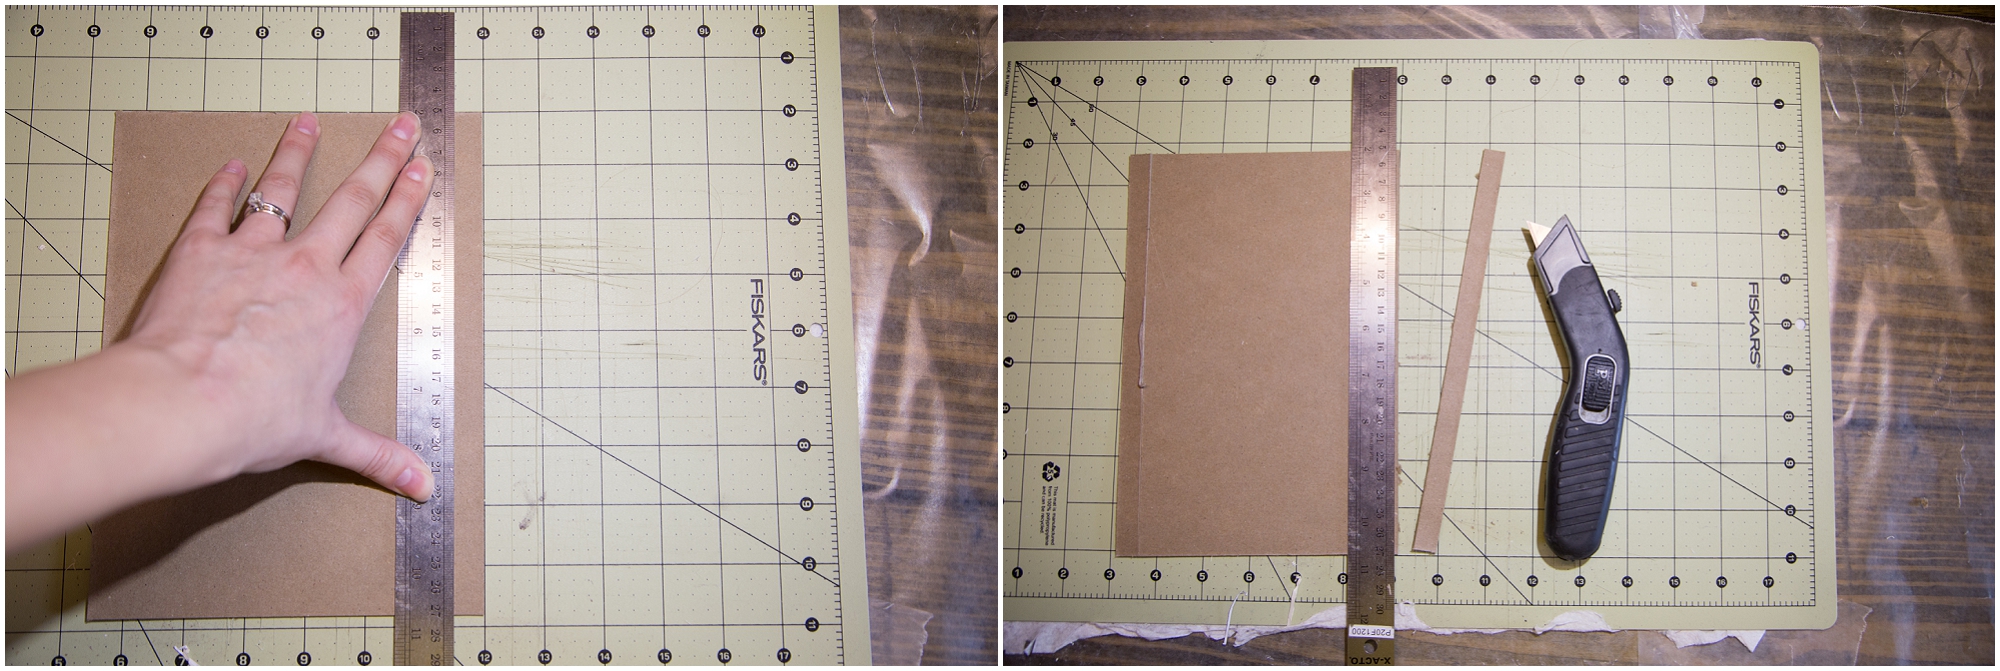
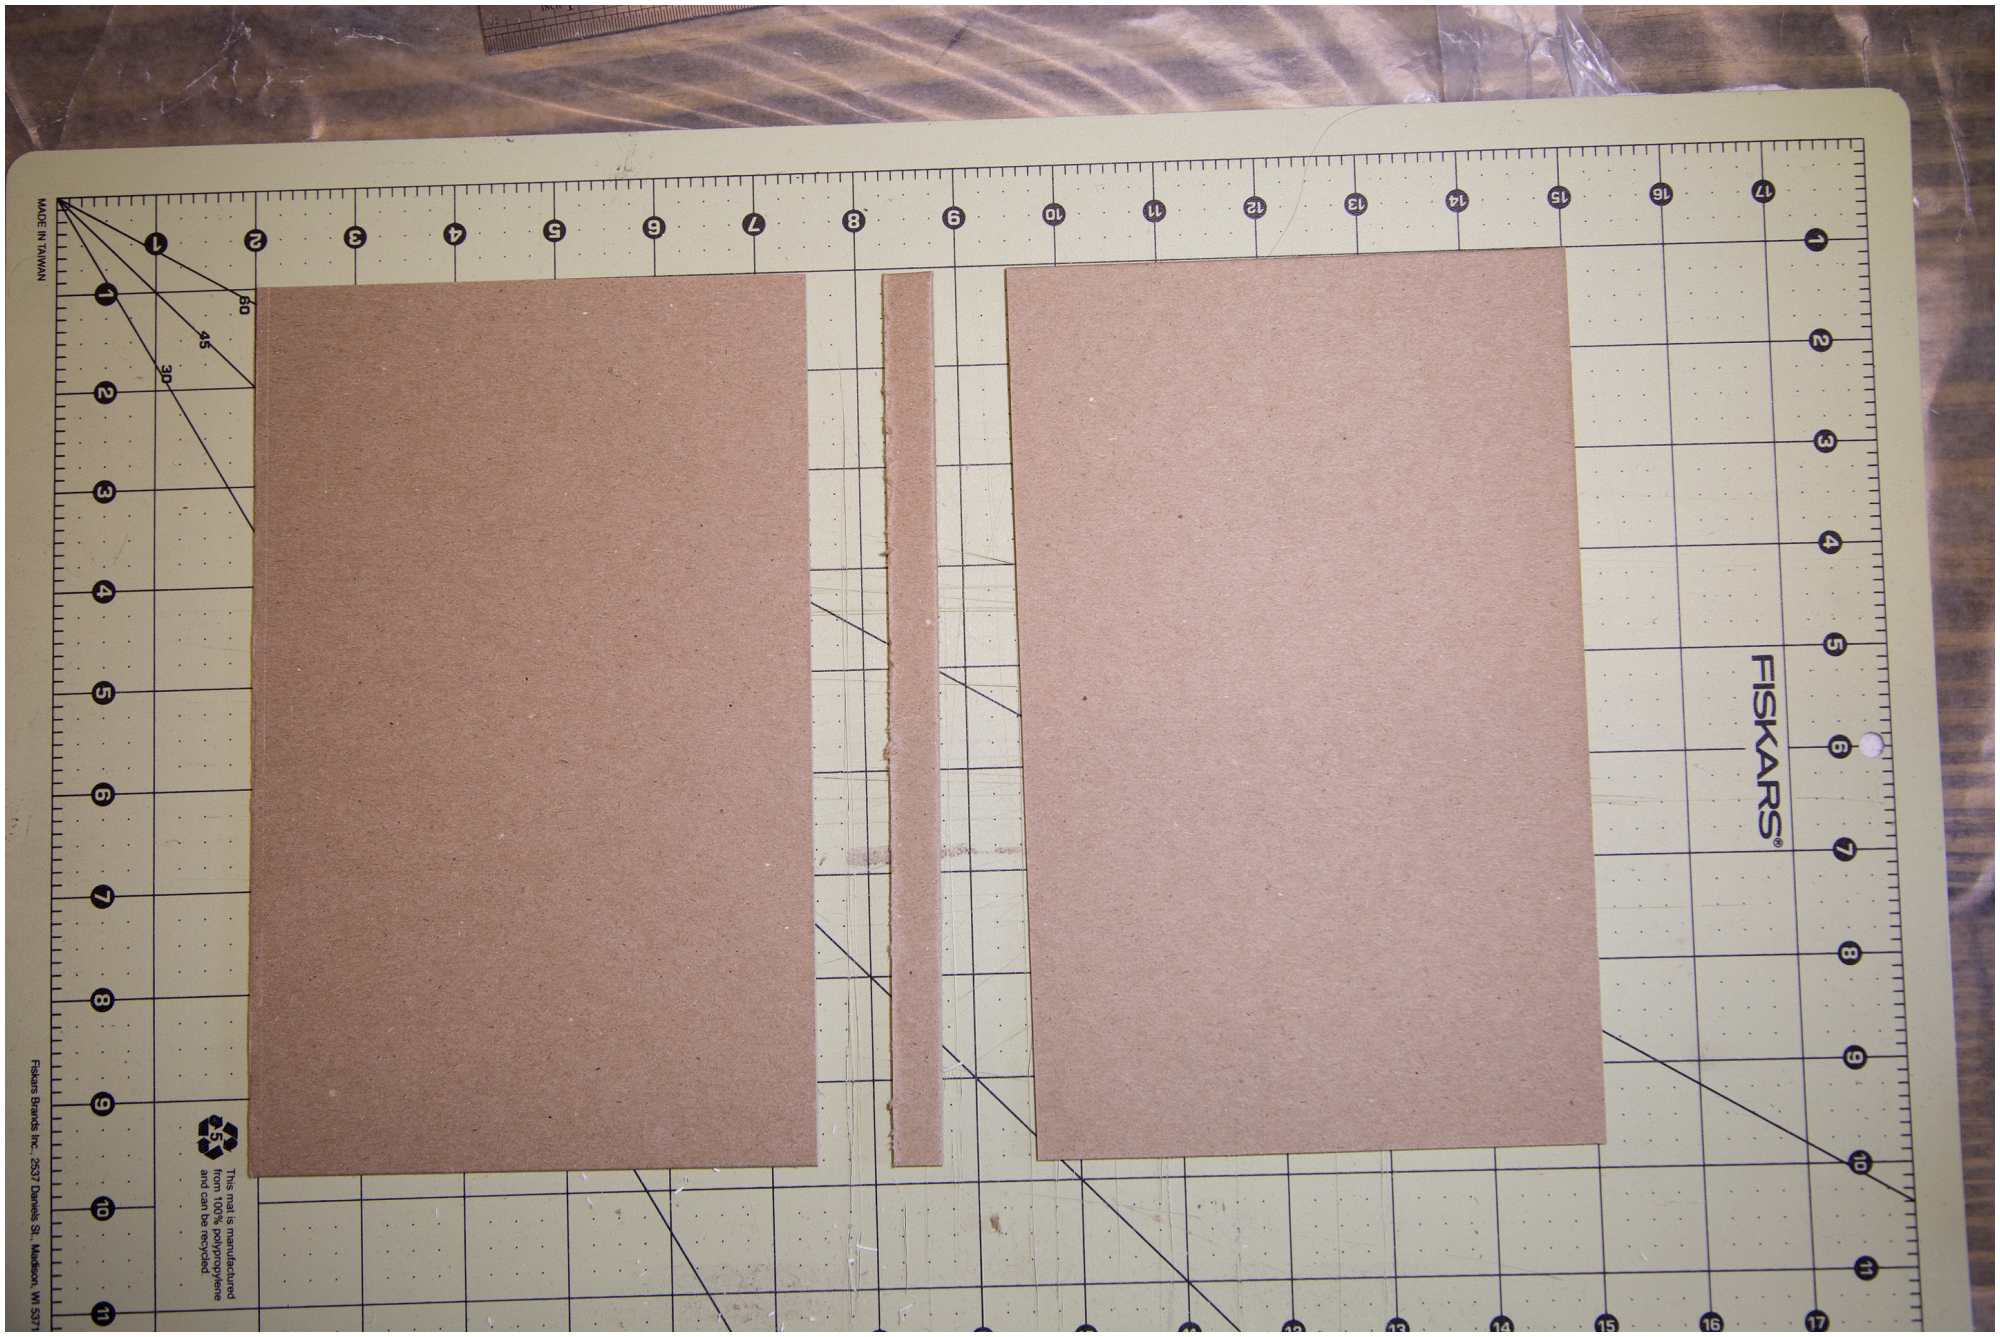
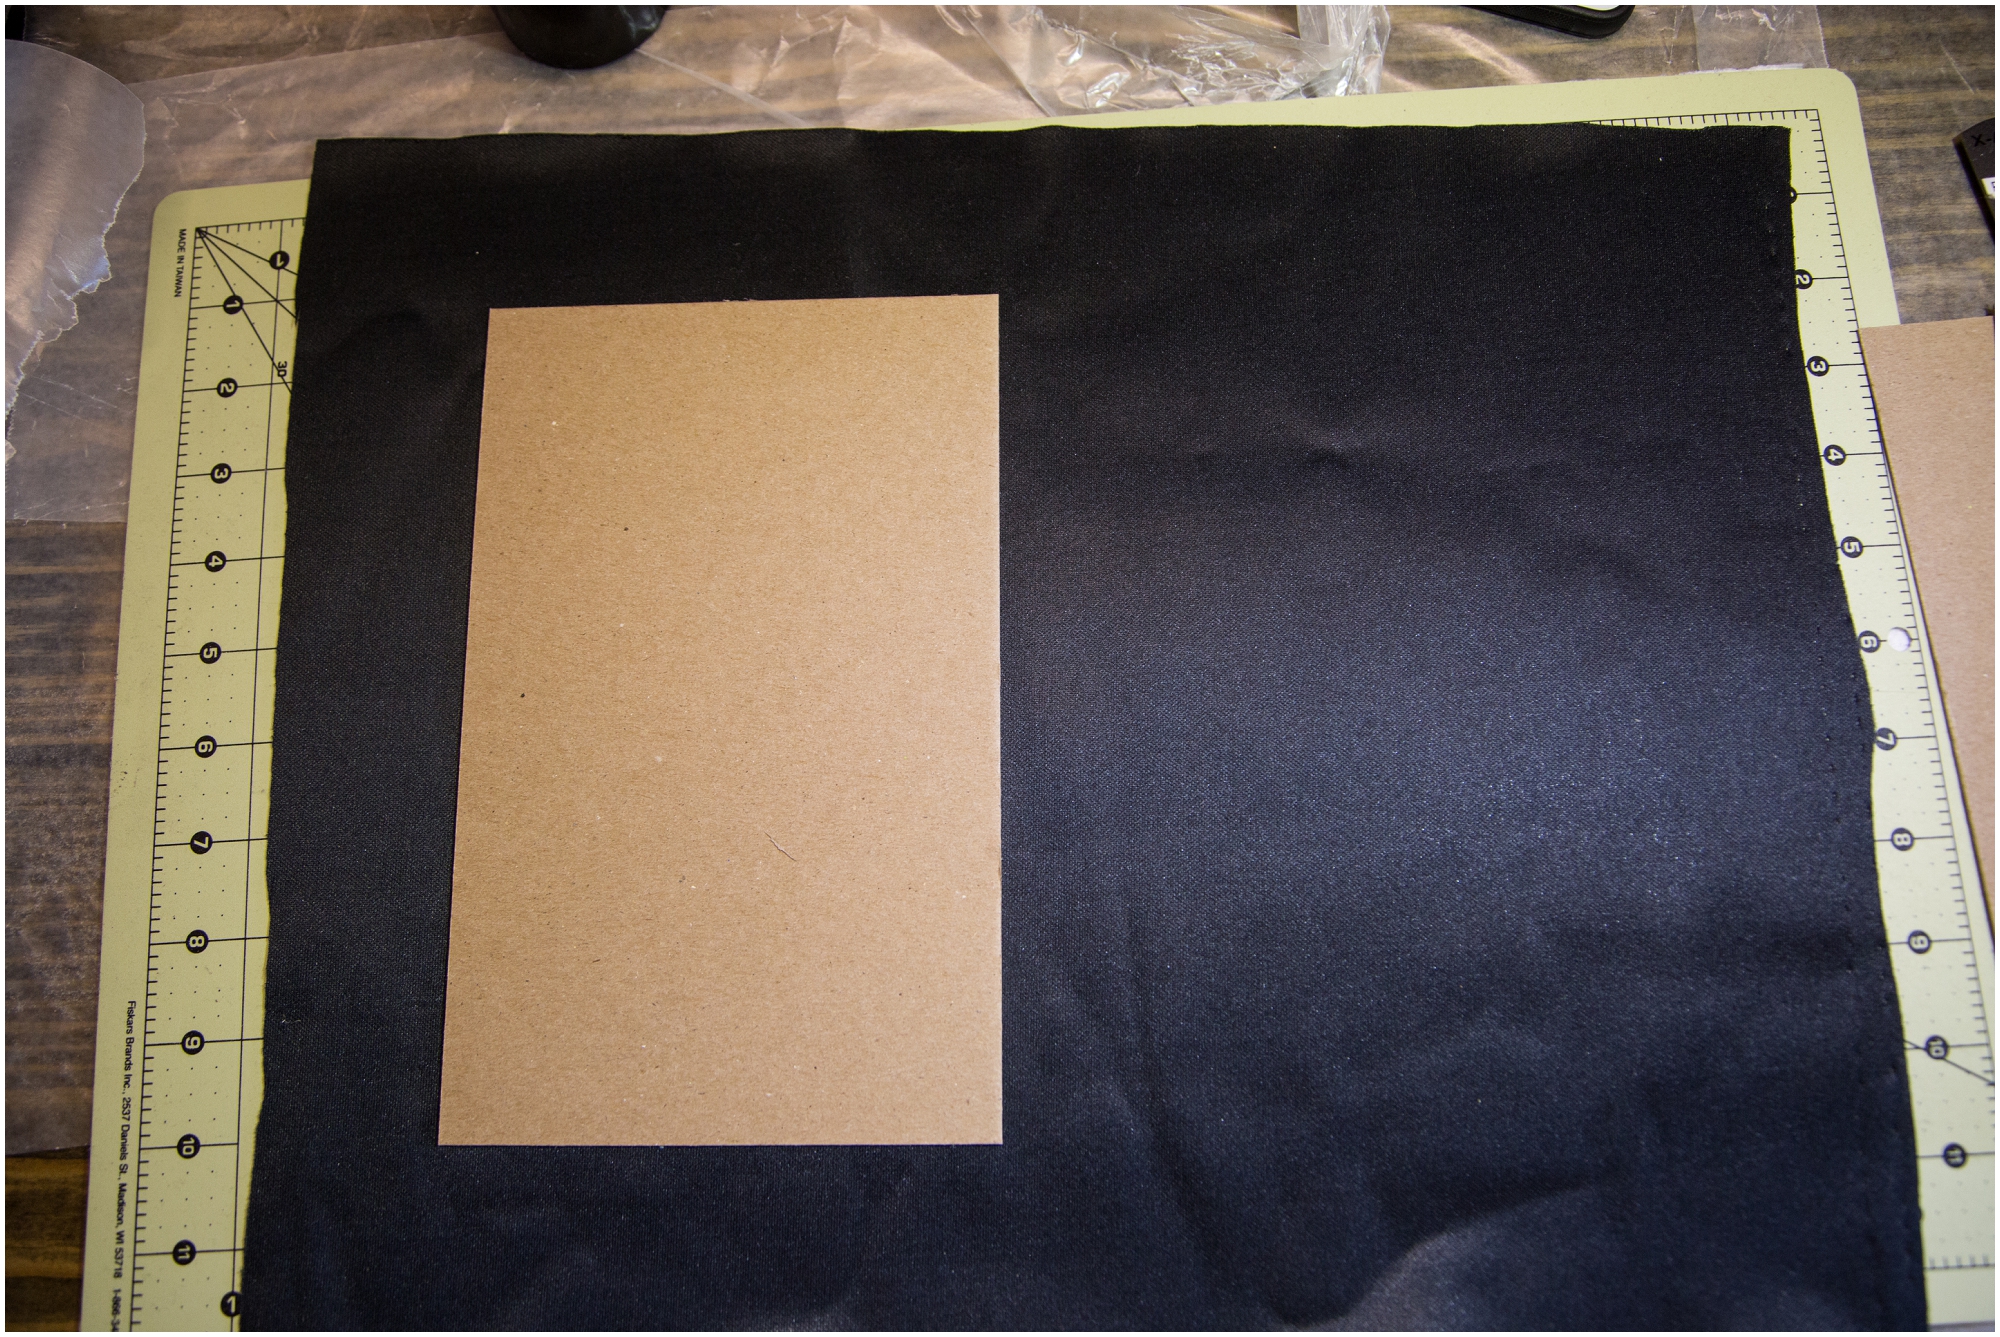
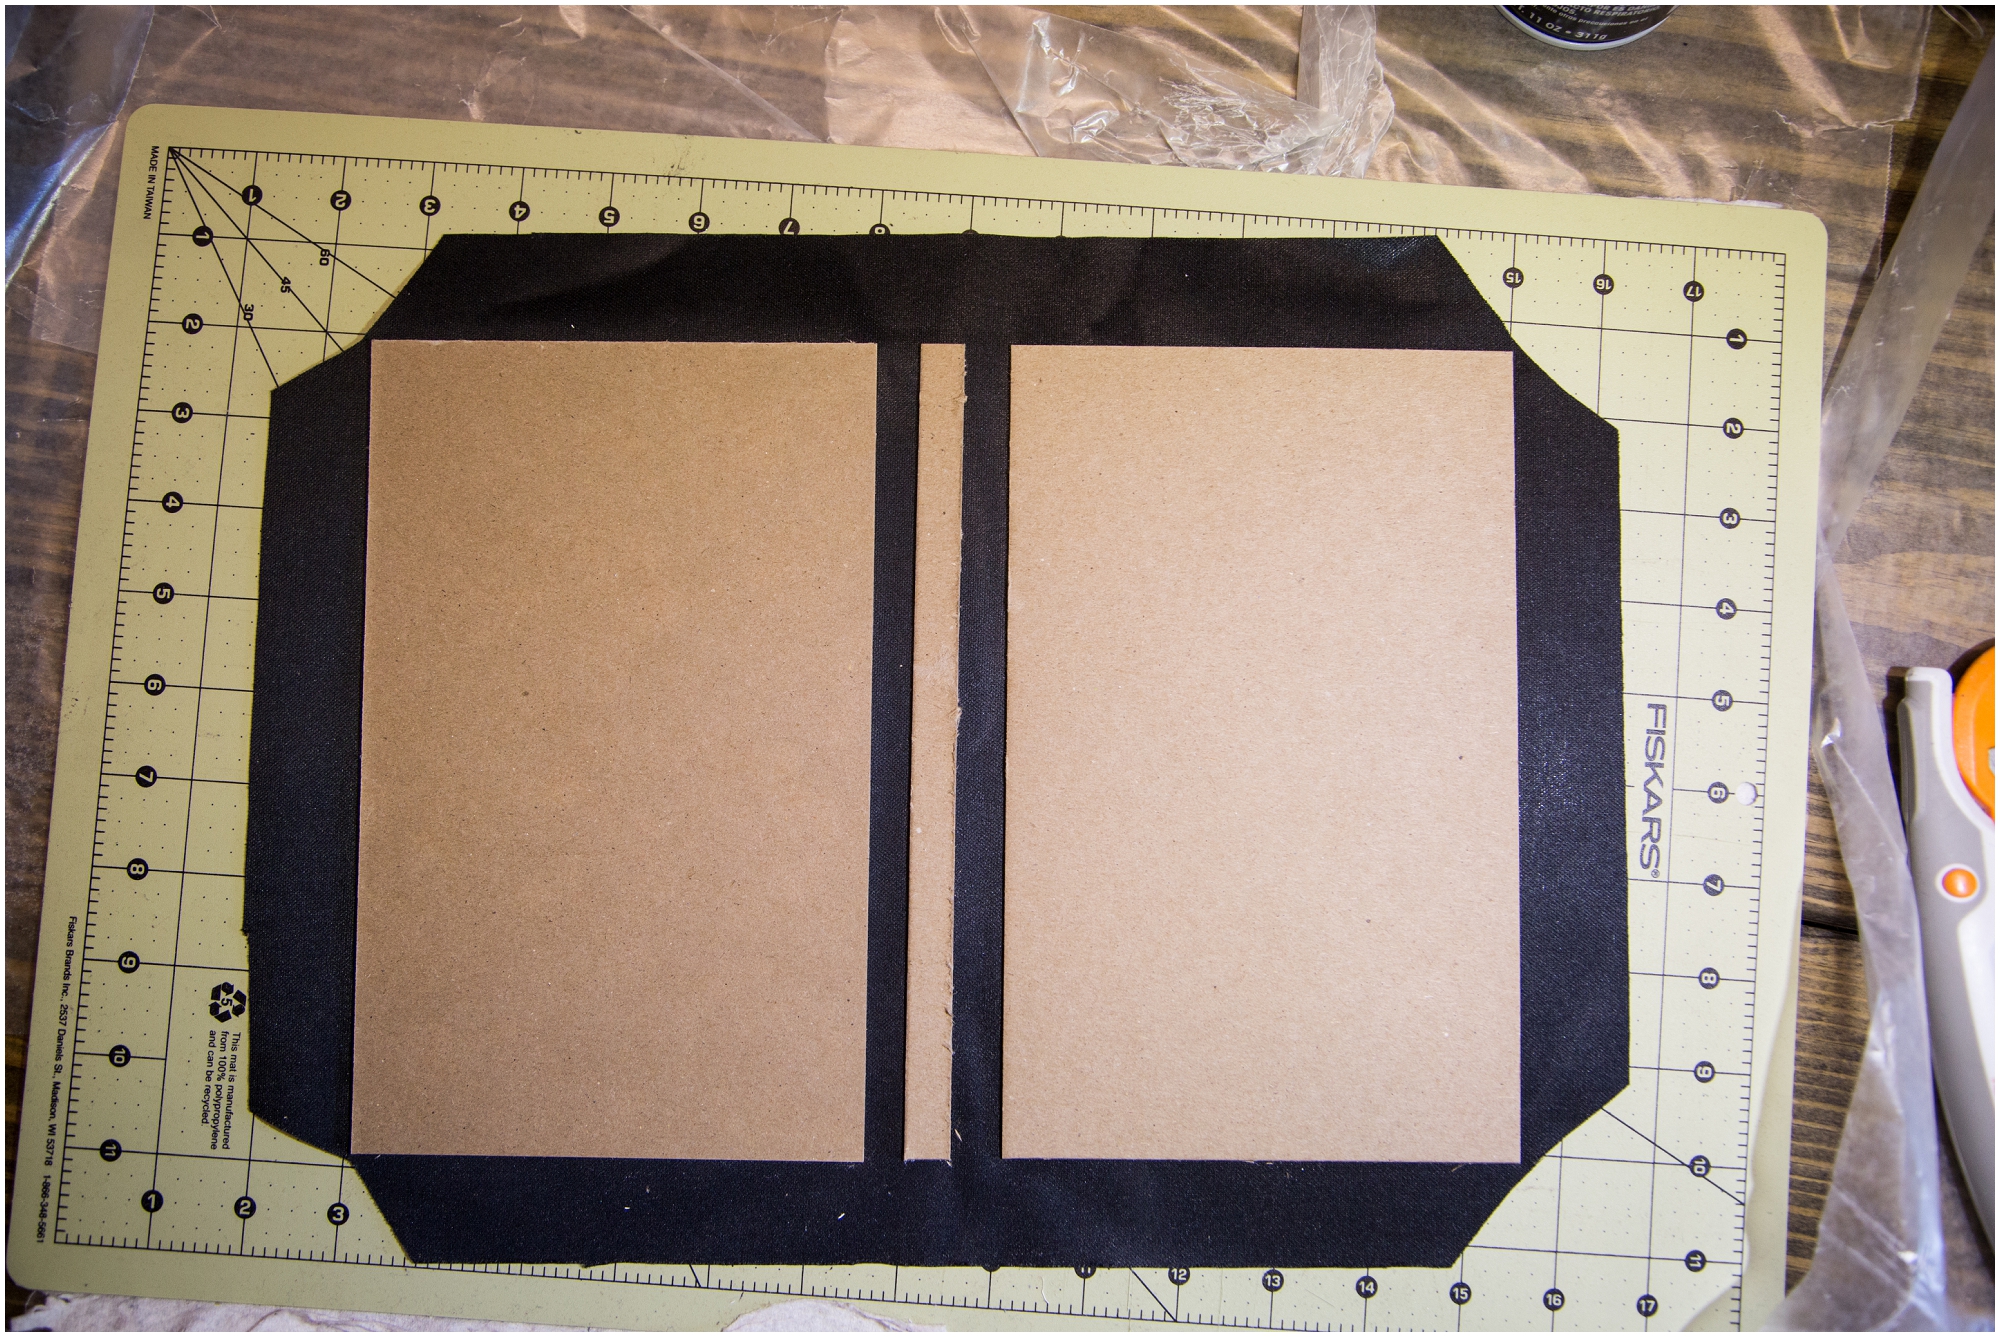
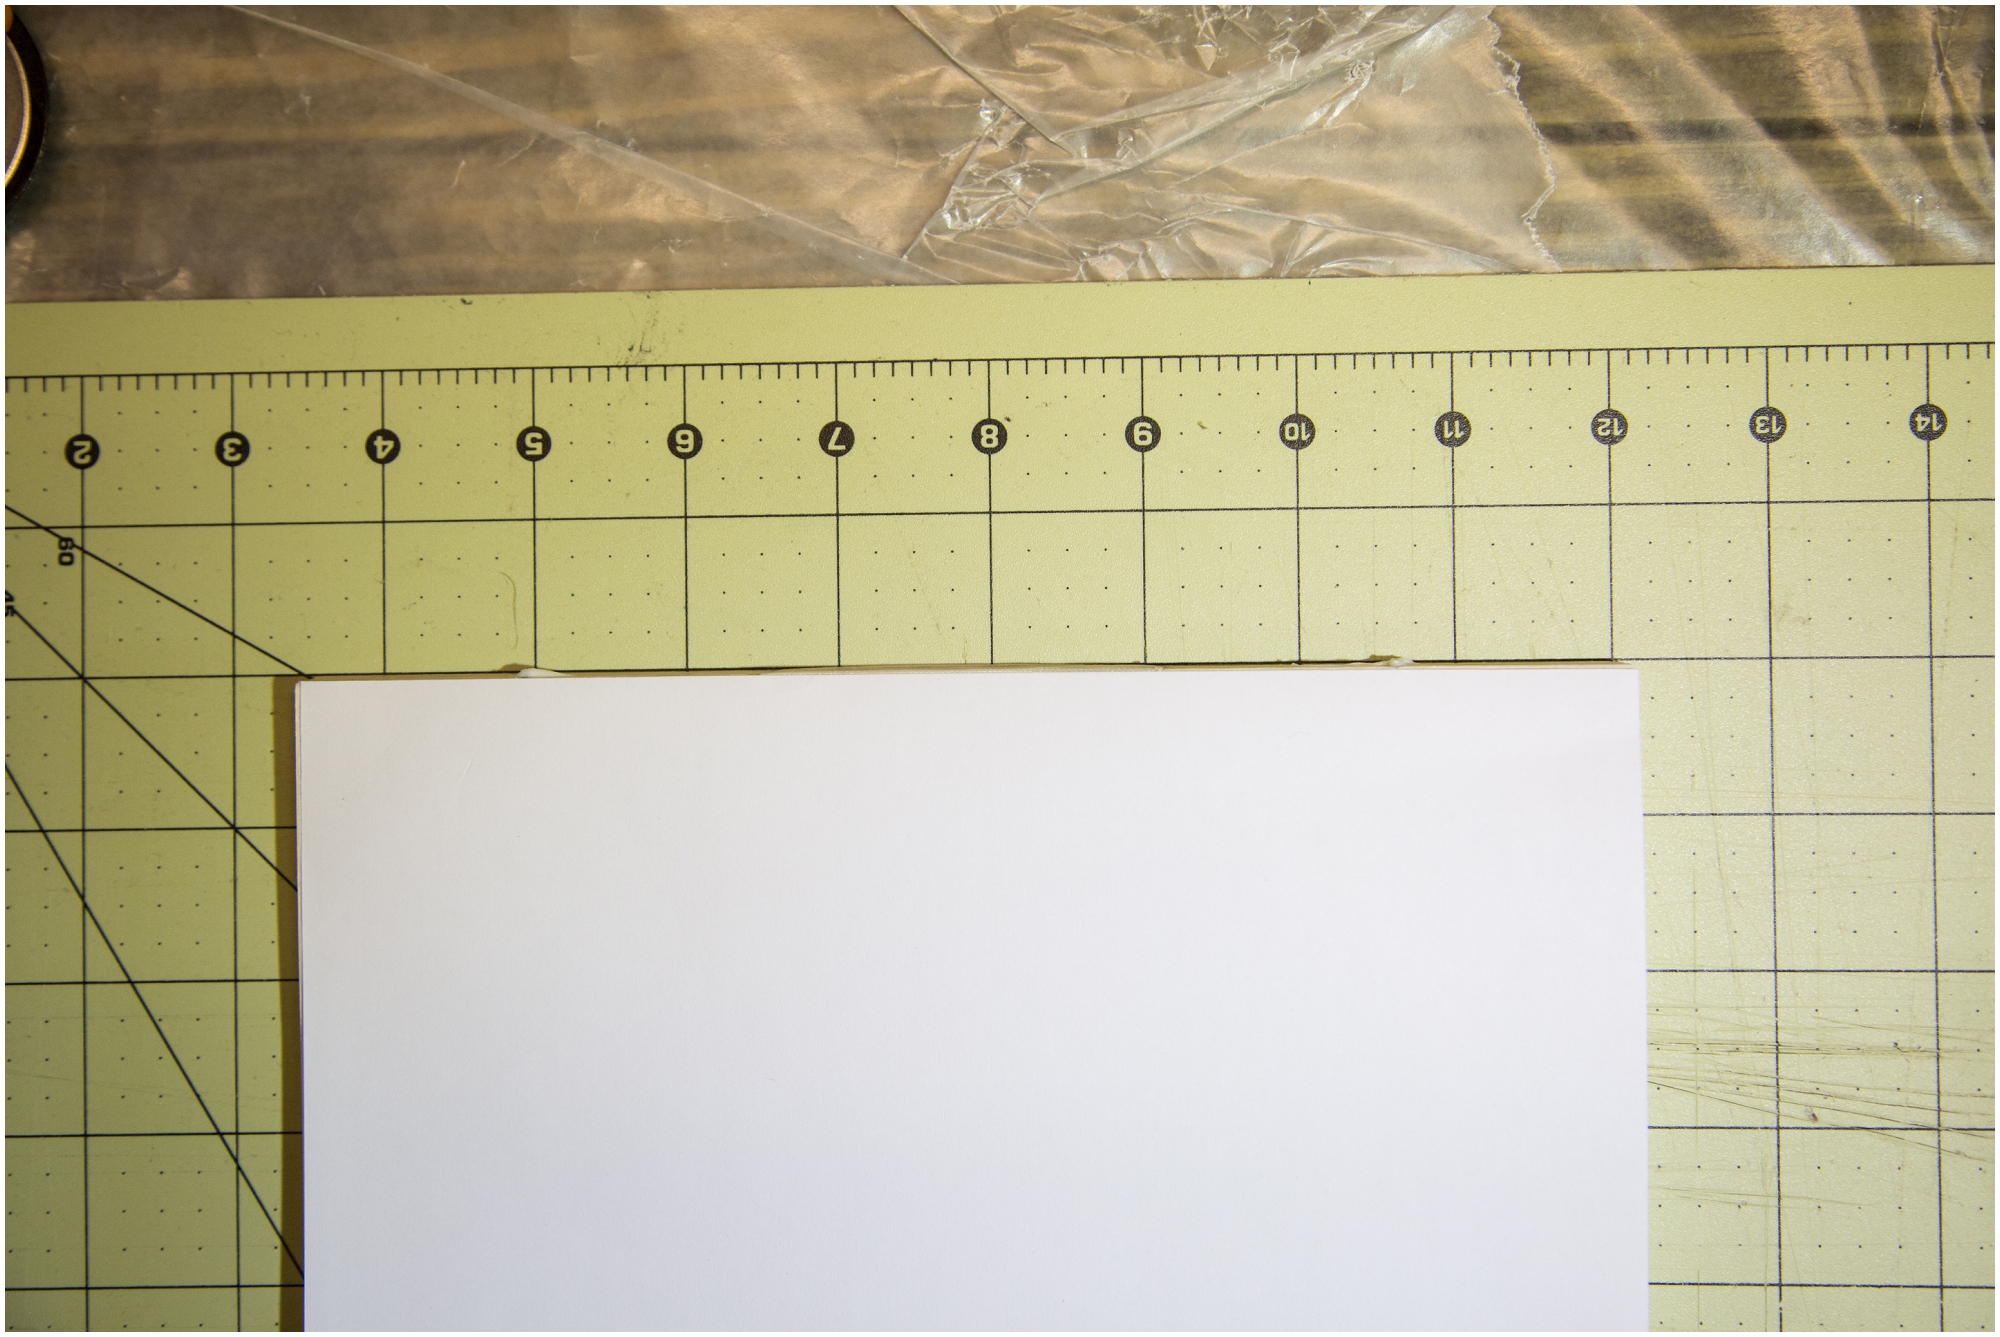
While that is drying it is time to make the cover! Cut your chipboard to 5 1/2 in. by 8 3/4 in. You will need two like this. Then cut the spine 8 3/4 in. by 1/2 in. You can cut your chipboard with a metal ruler and a utility knife if you don’t have cutting board like mine.
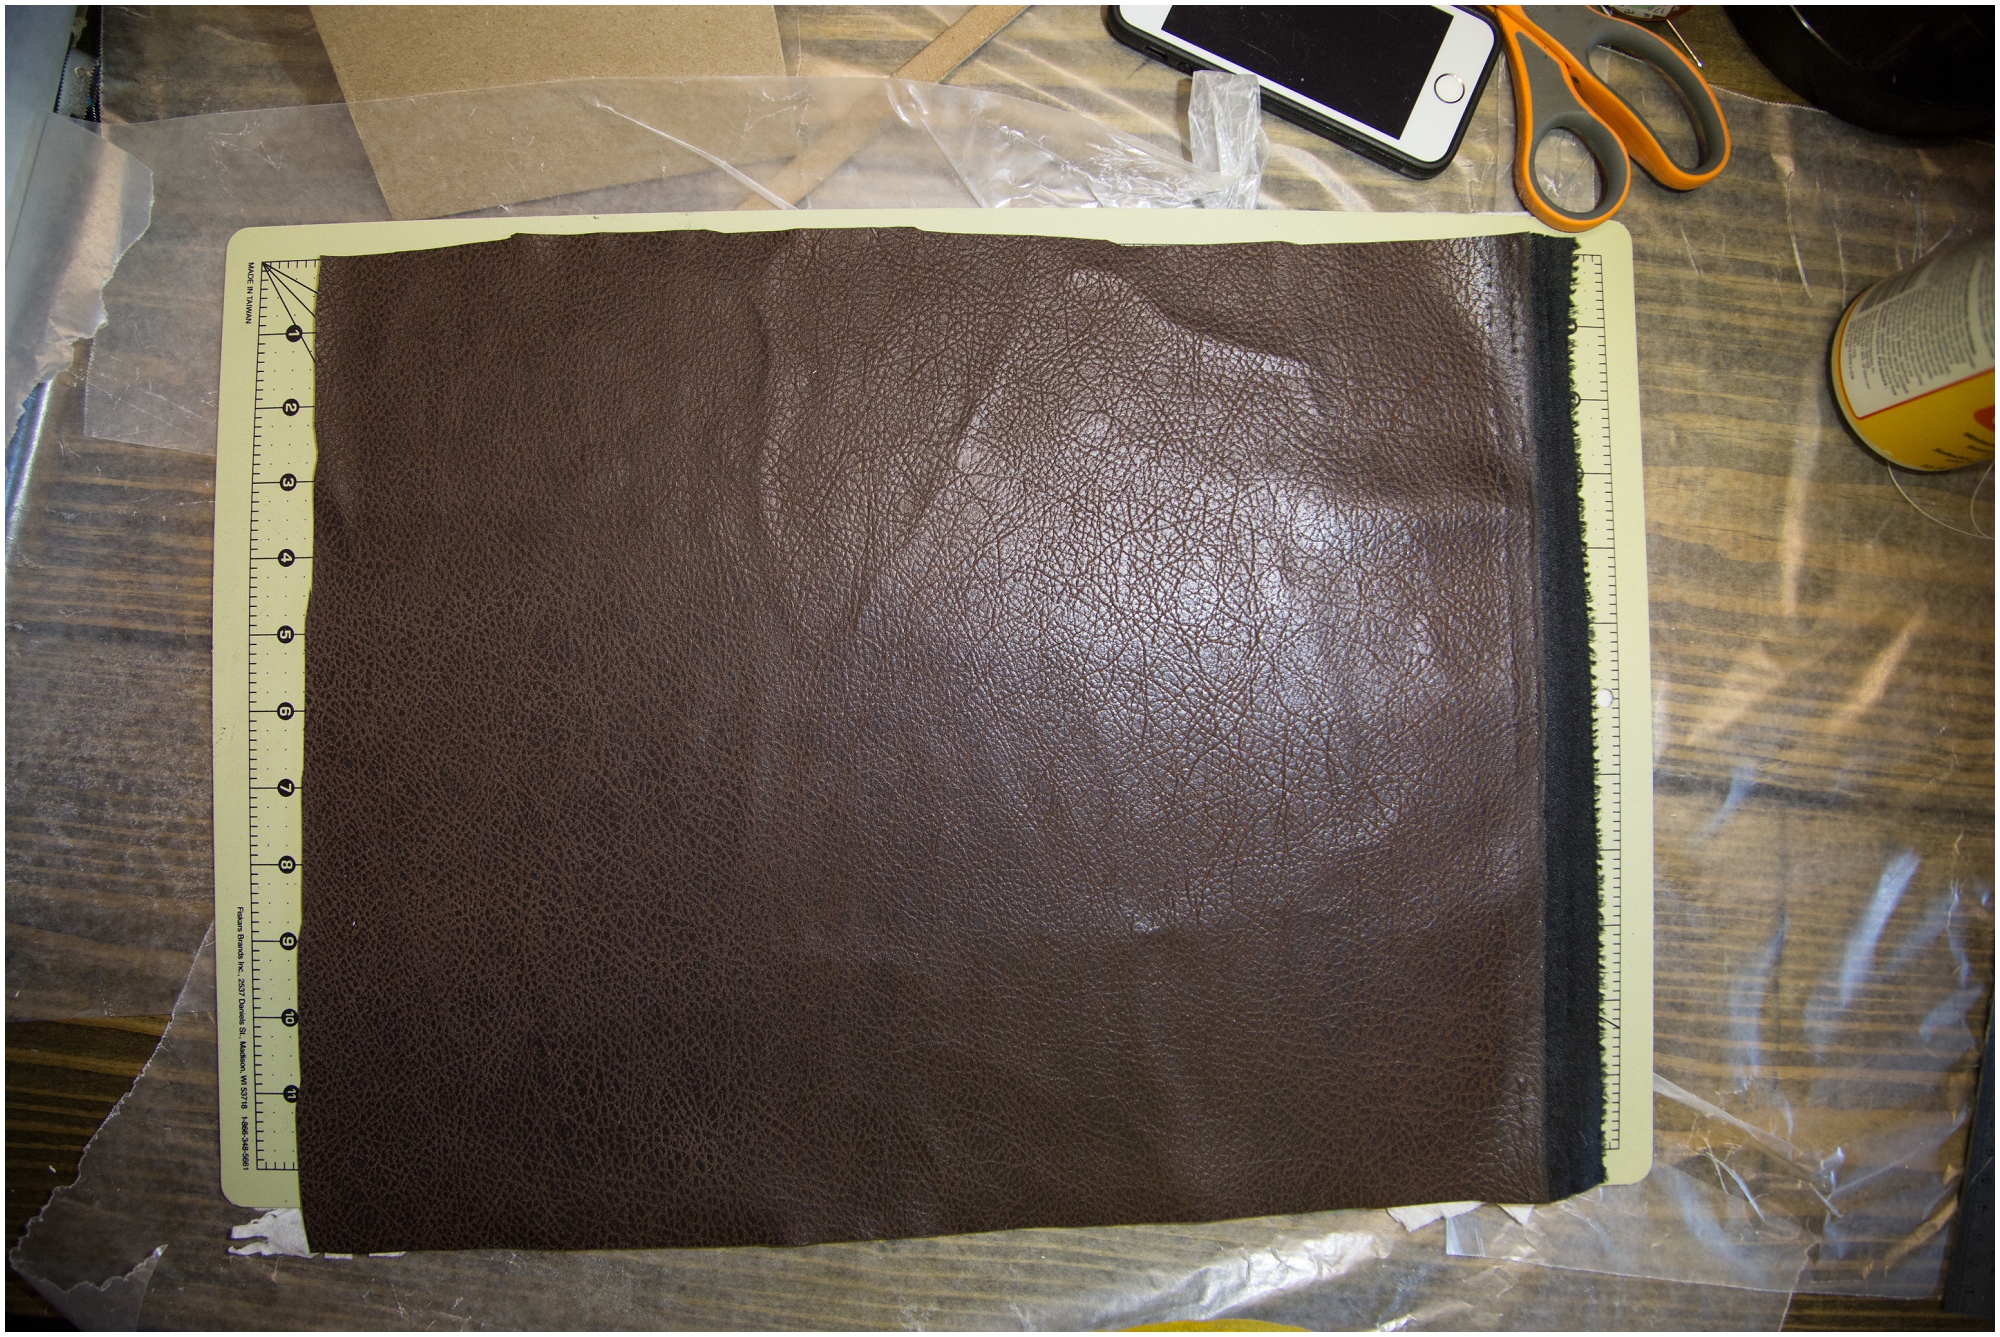
Cut your fabric leaving a few inches on each side of your chipboard.
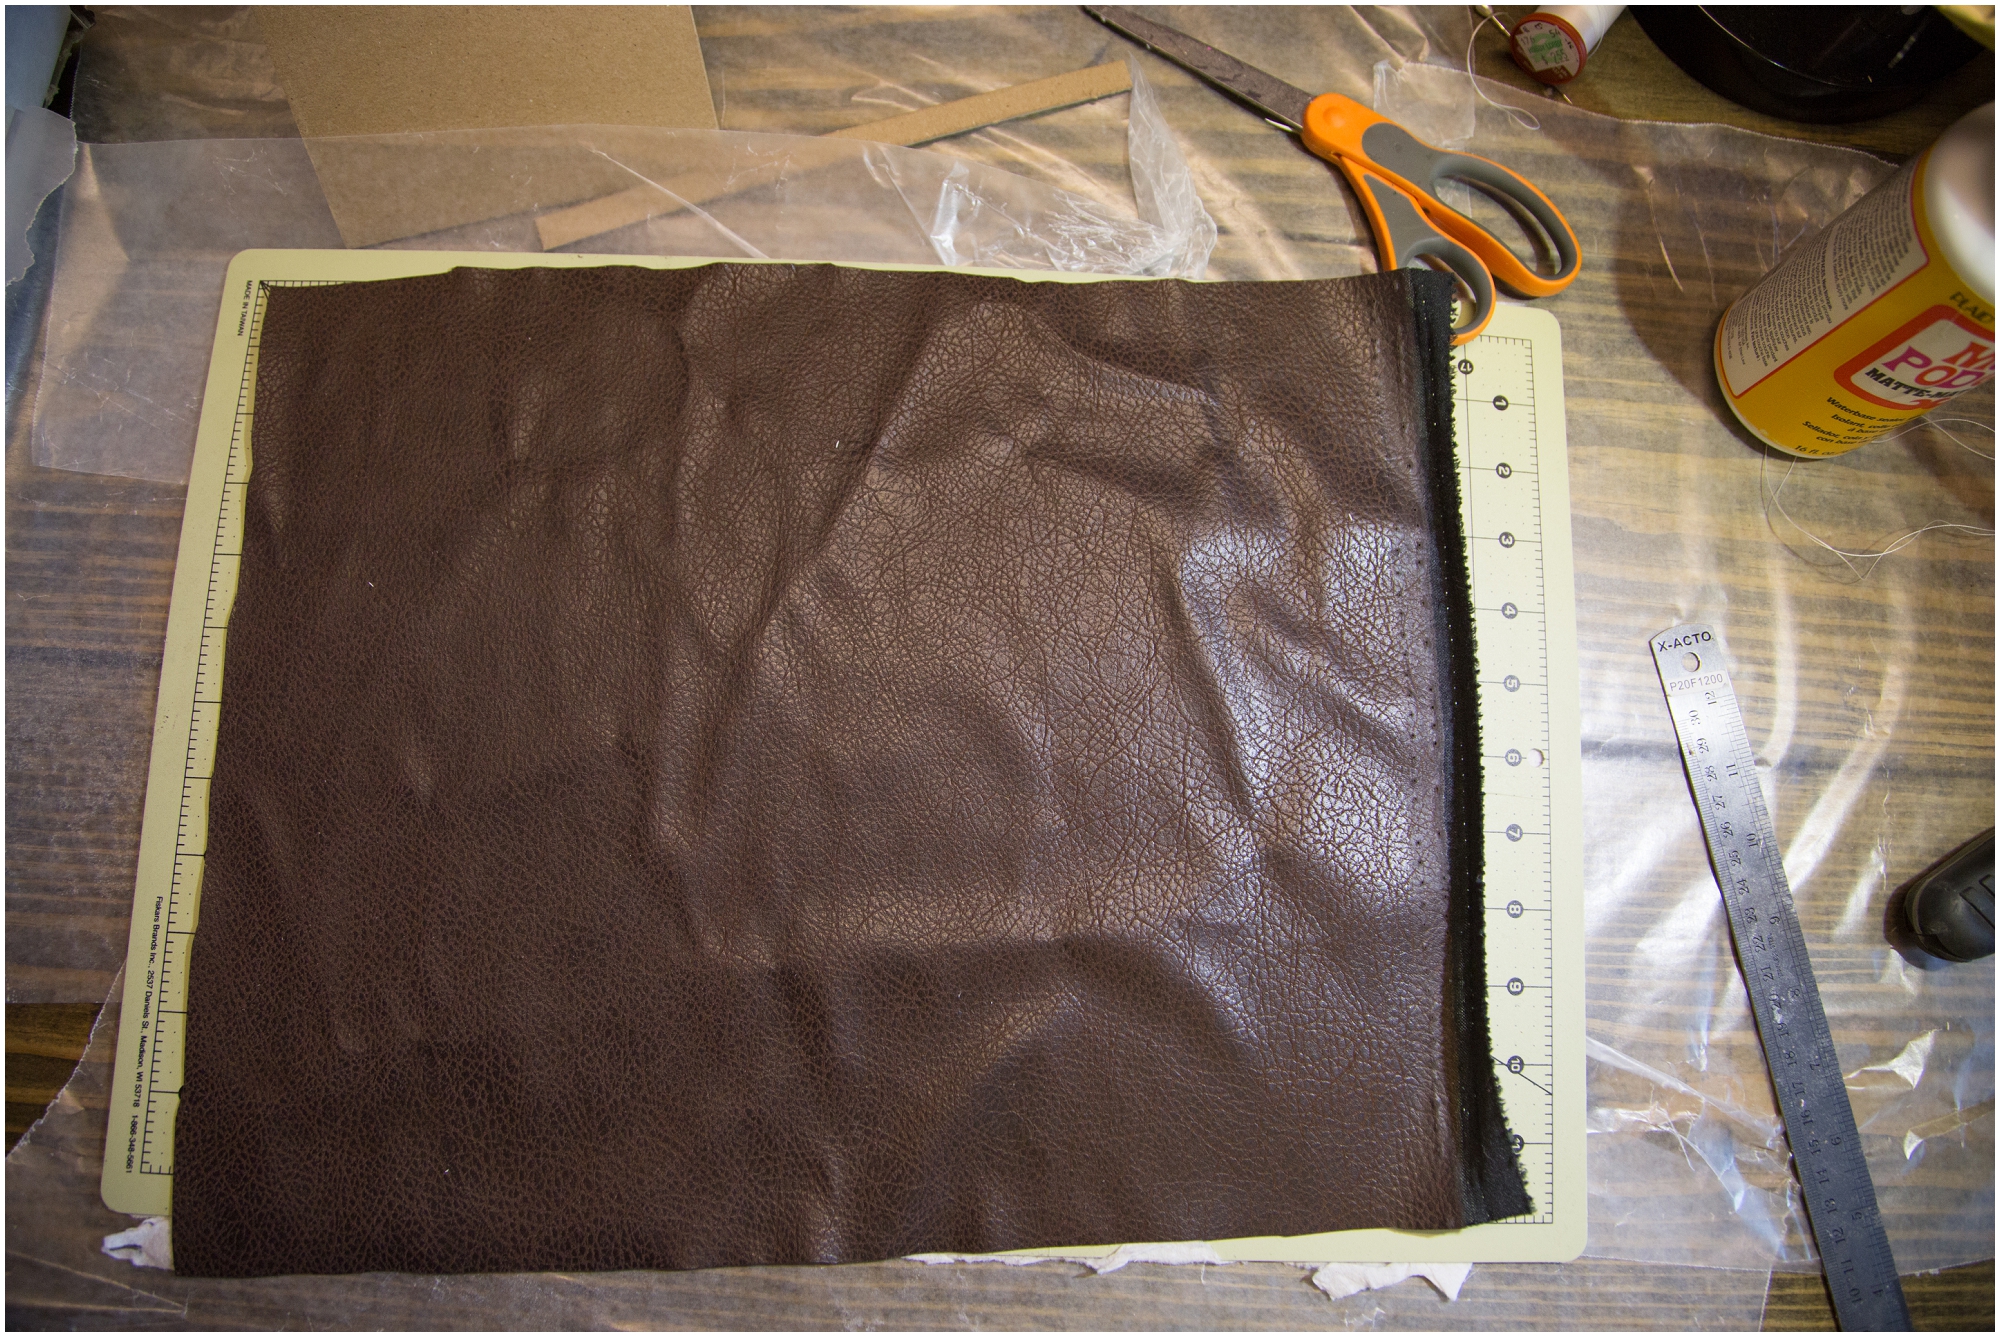
If your fabric is wrinkled I suggest running an iron over it real quick.
Now it is time to glue the chipboard to the fabric. I use spray adhesive. Make sure that you are in a well ventilated area or use a mask while working with spray glue.
Spay the glue on one side of the chipboard and press it down on the fabric. Make sure that there are no air bubbles or wrinkles by flipping it over and smoothing it out.
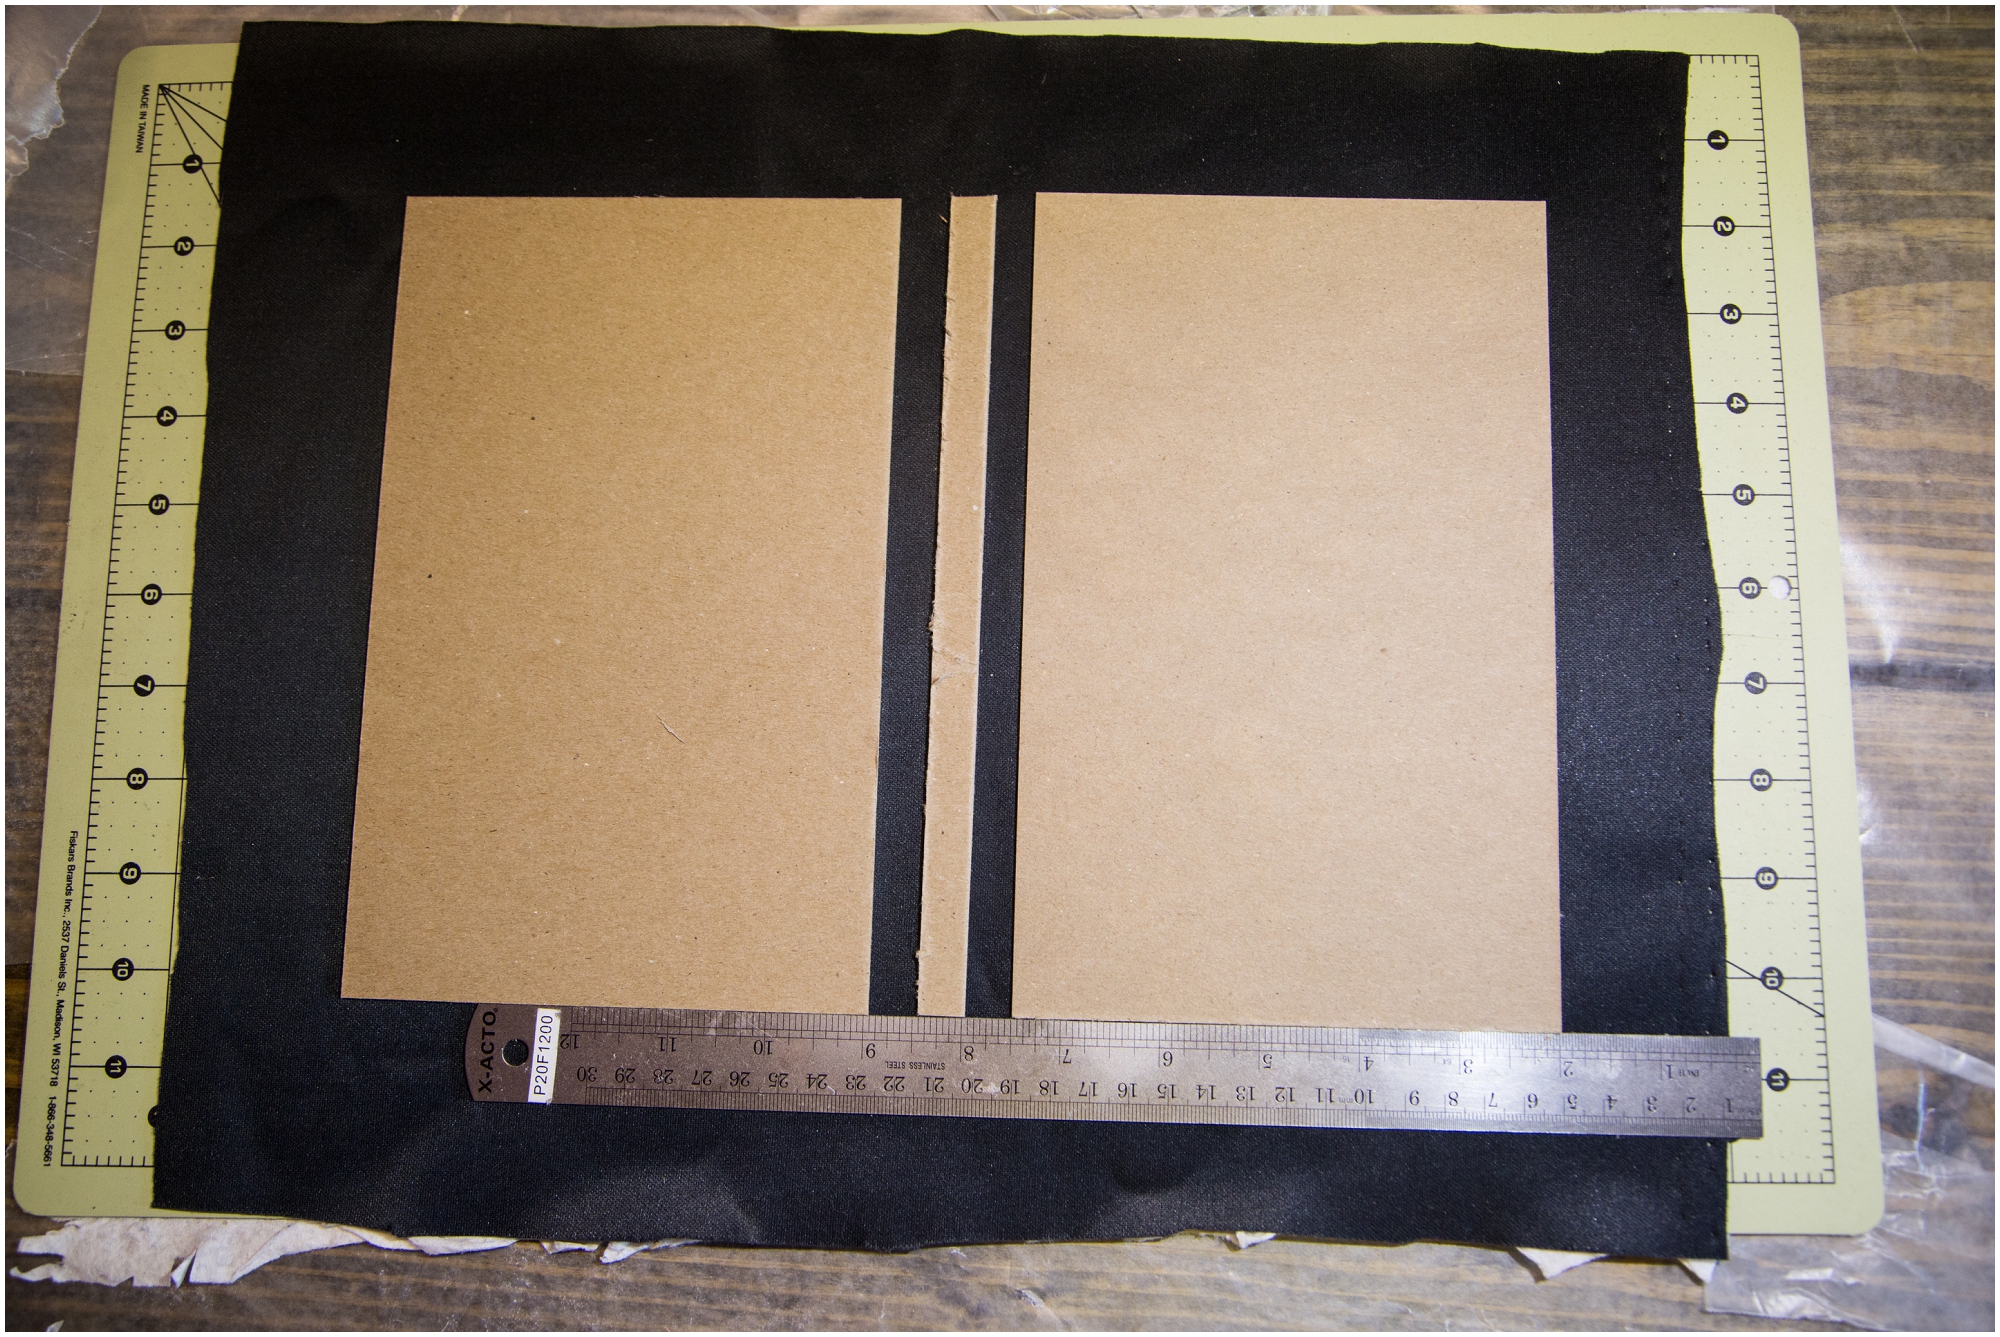
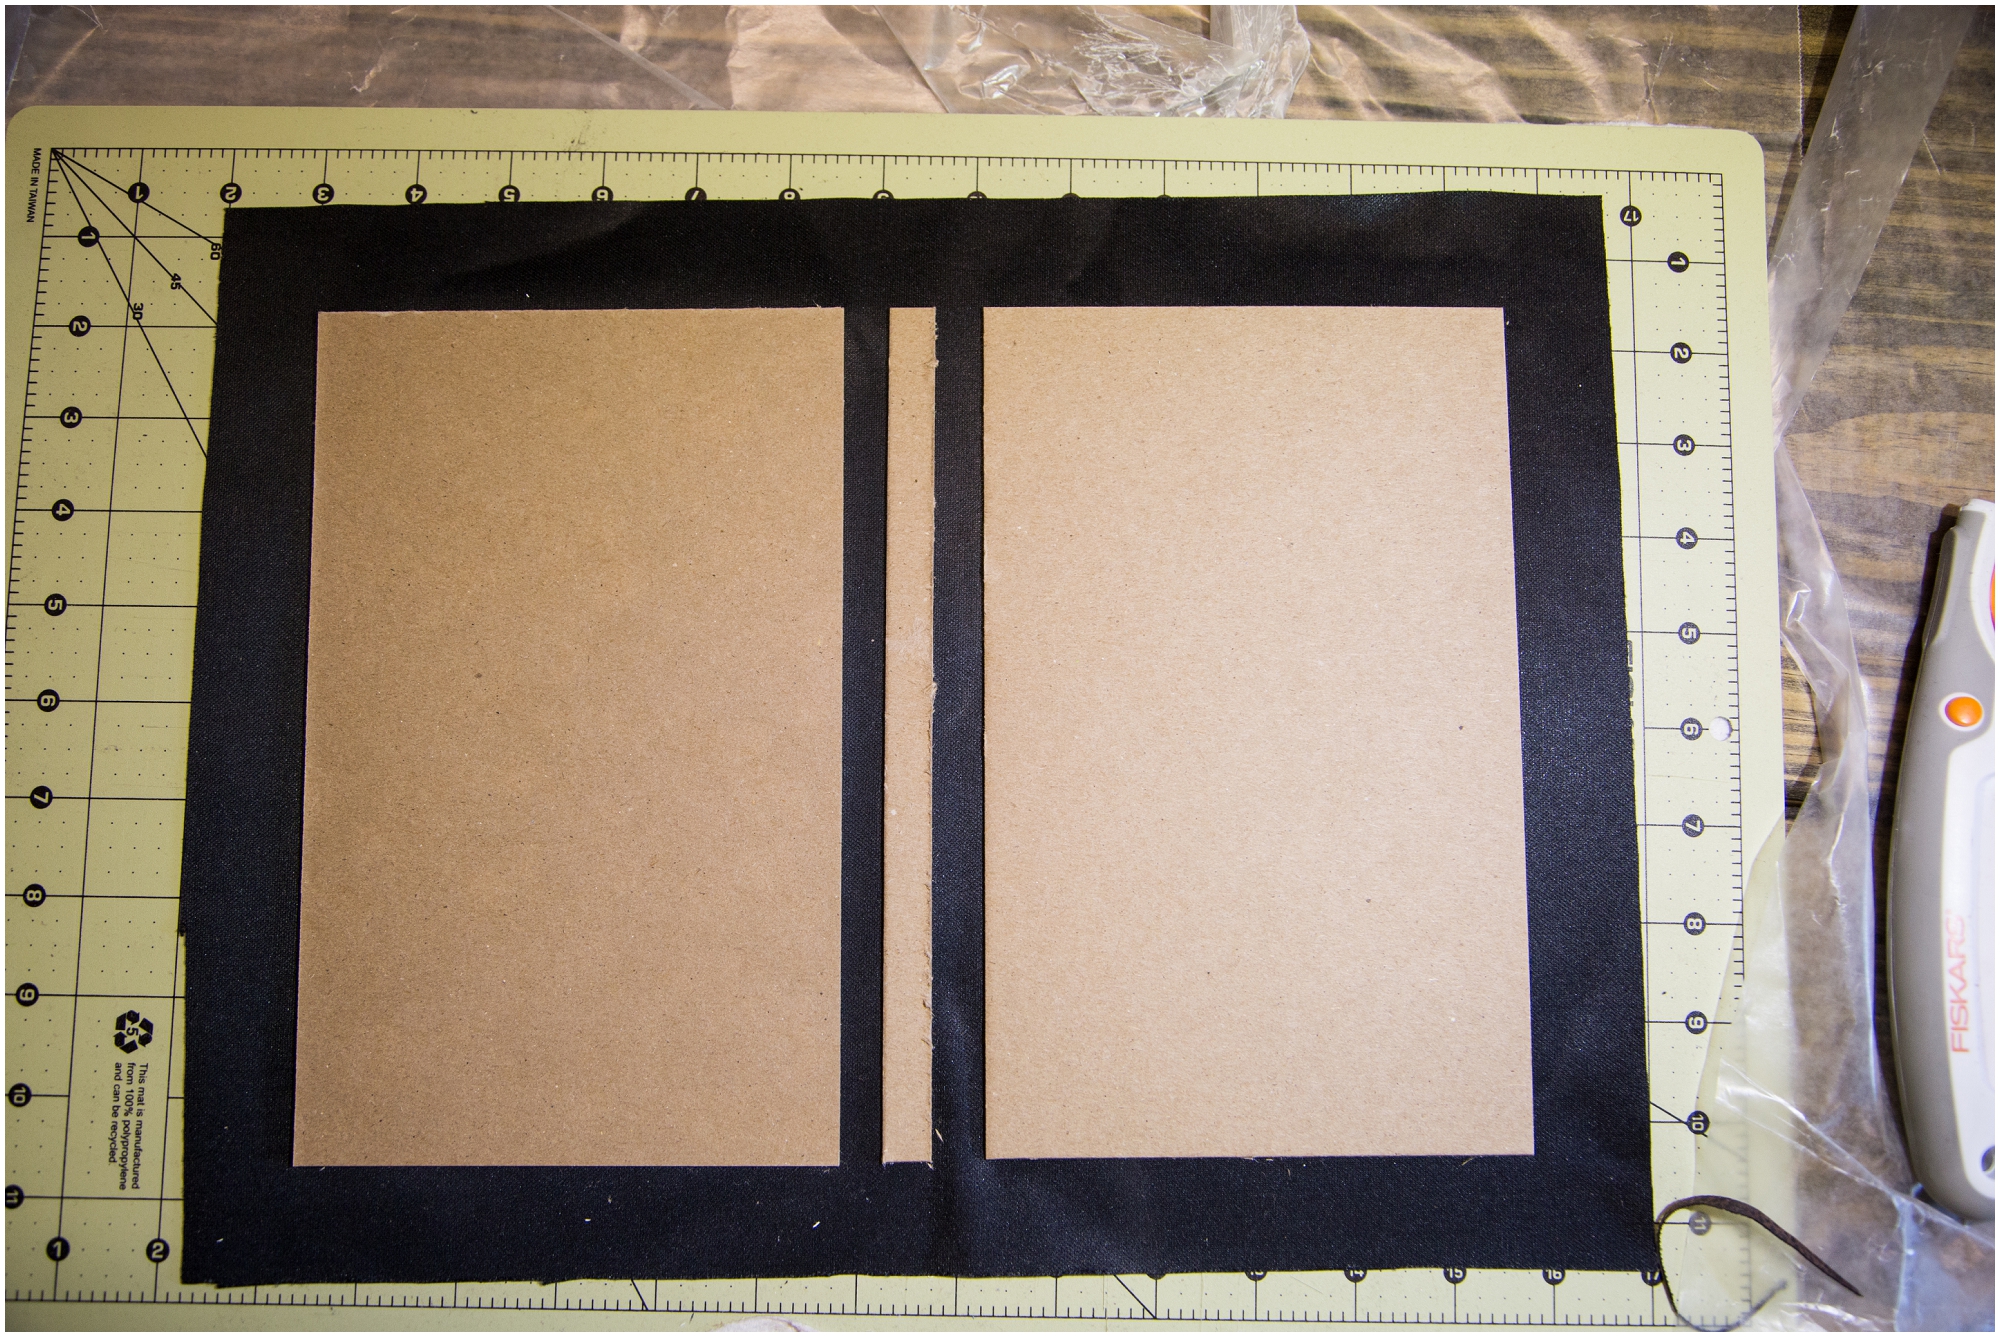
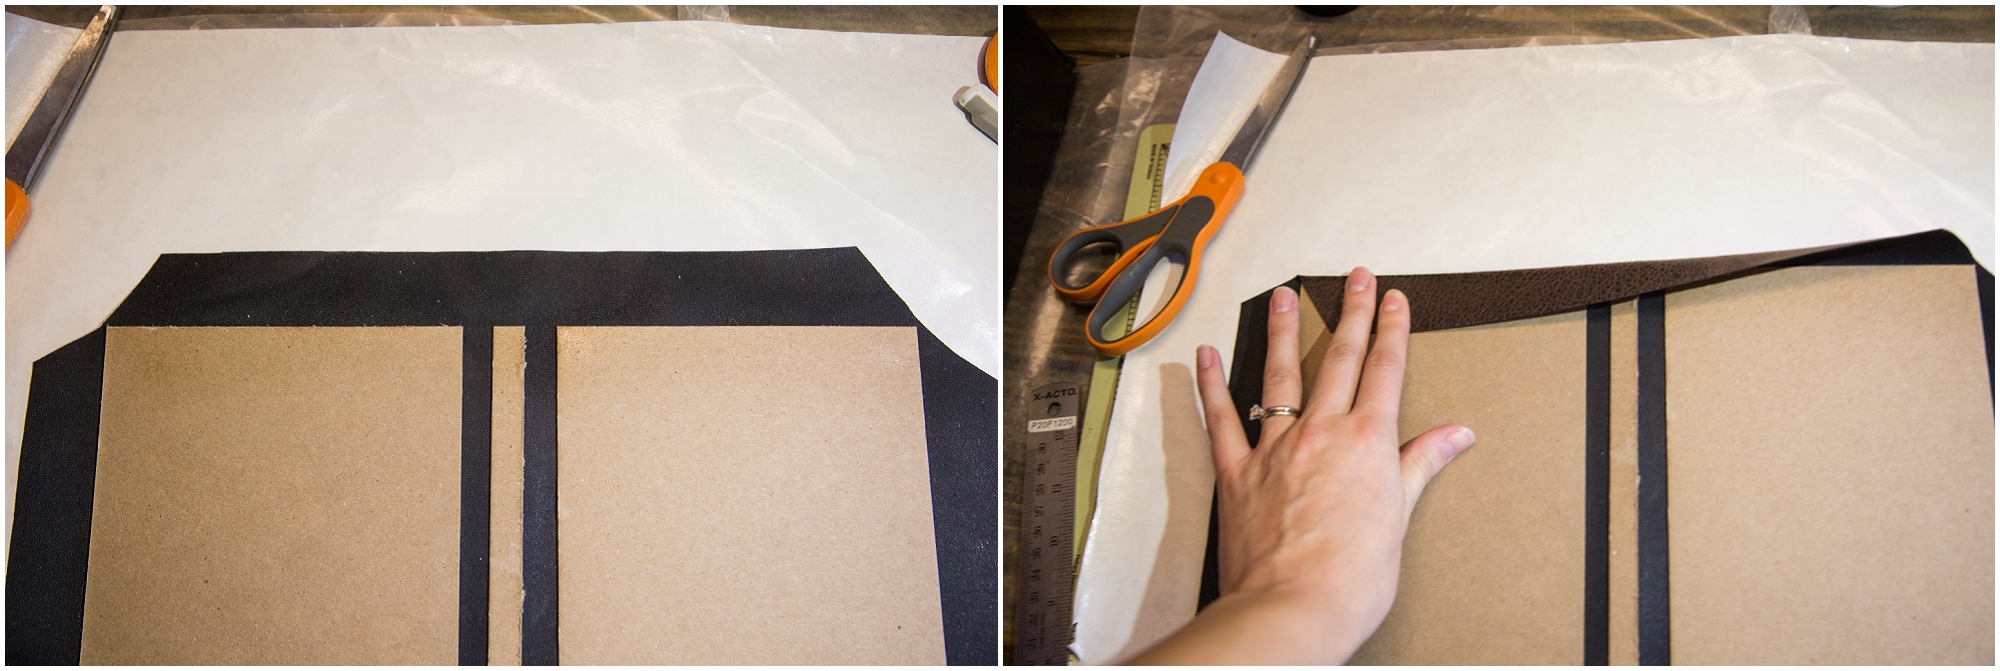
Next glue the spine 1/2 inch from the front cover, and the back cover 1/2 inch from the spine.
Trim the edges, you will need about an inch around the edge.
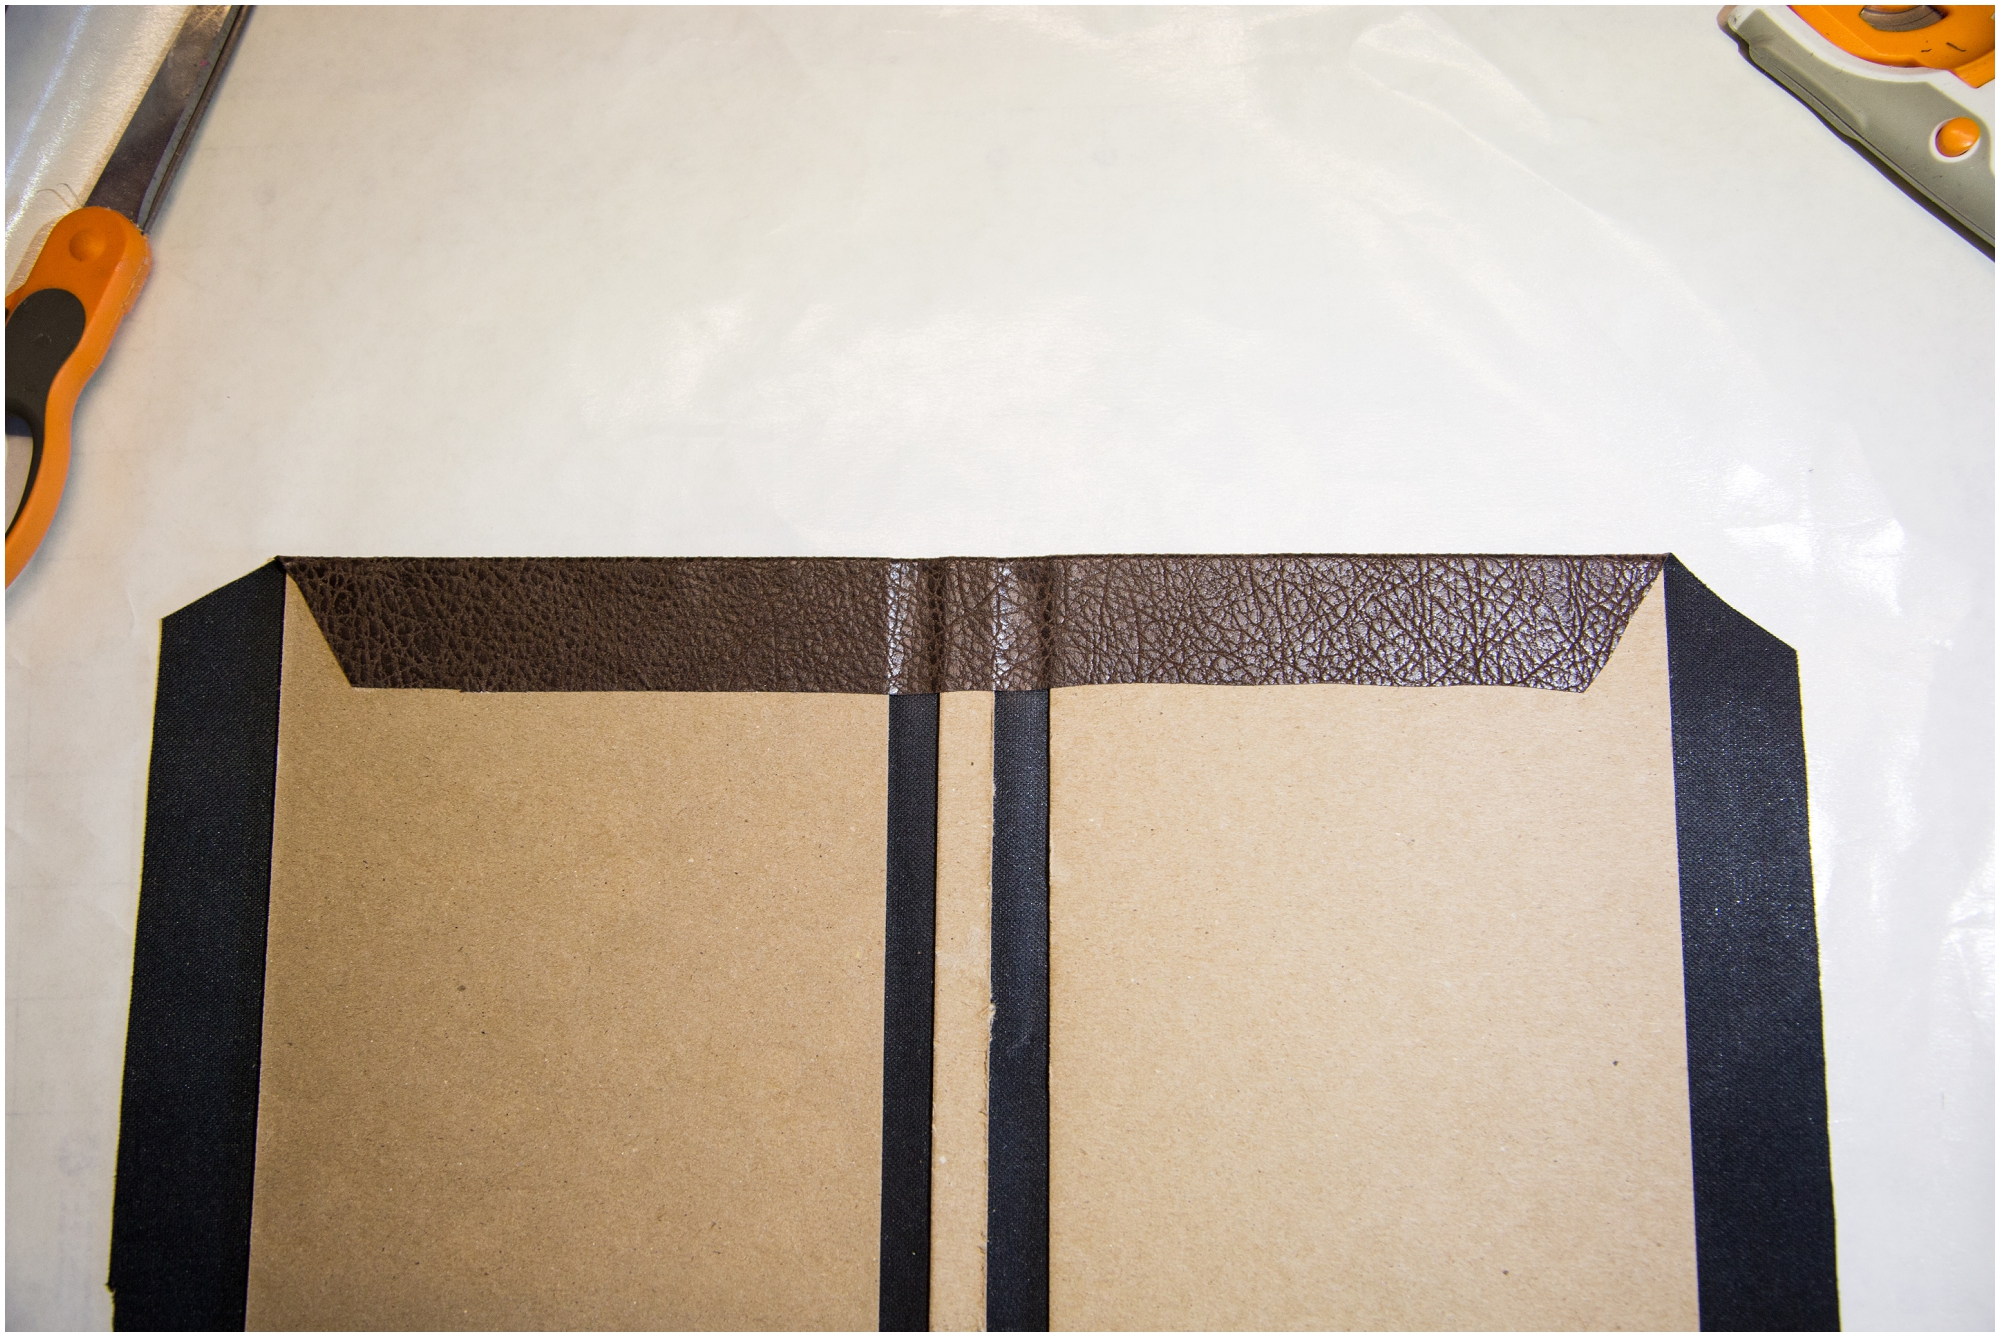
Next cut the corners like show below.
Now glue the edges down. I start with the long edges first. Again using the spray glue spray the fabric and the edge of the chipboard. Start at one end pulling it tight and then pressing it down to the chipboard.
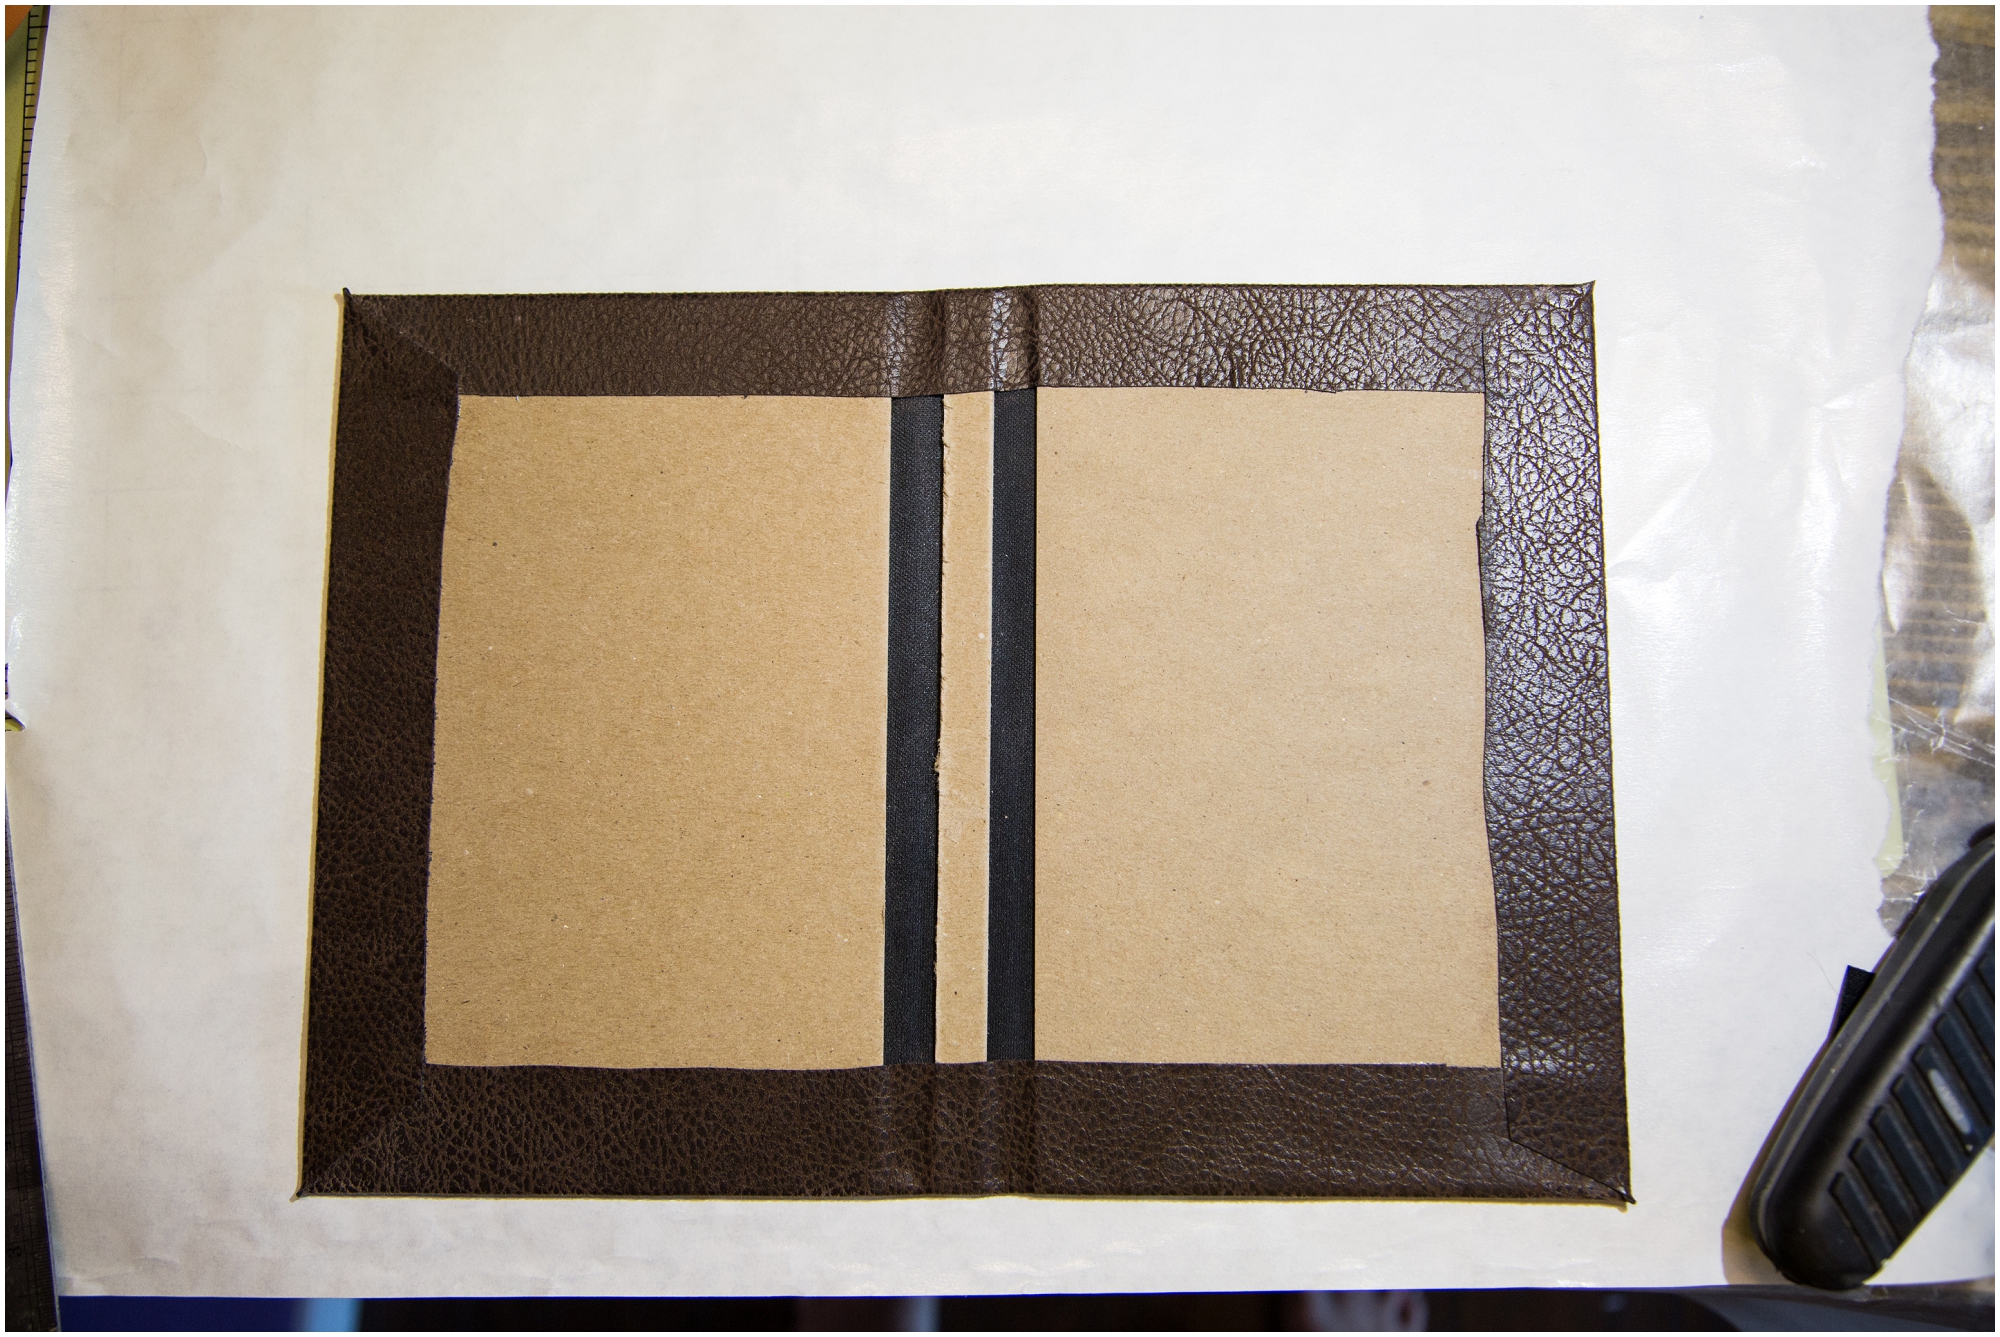
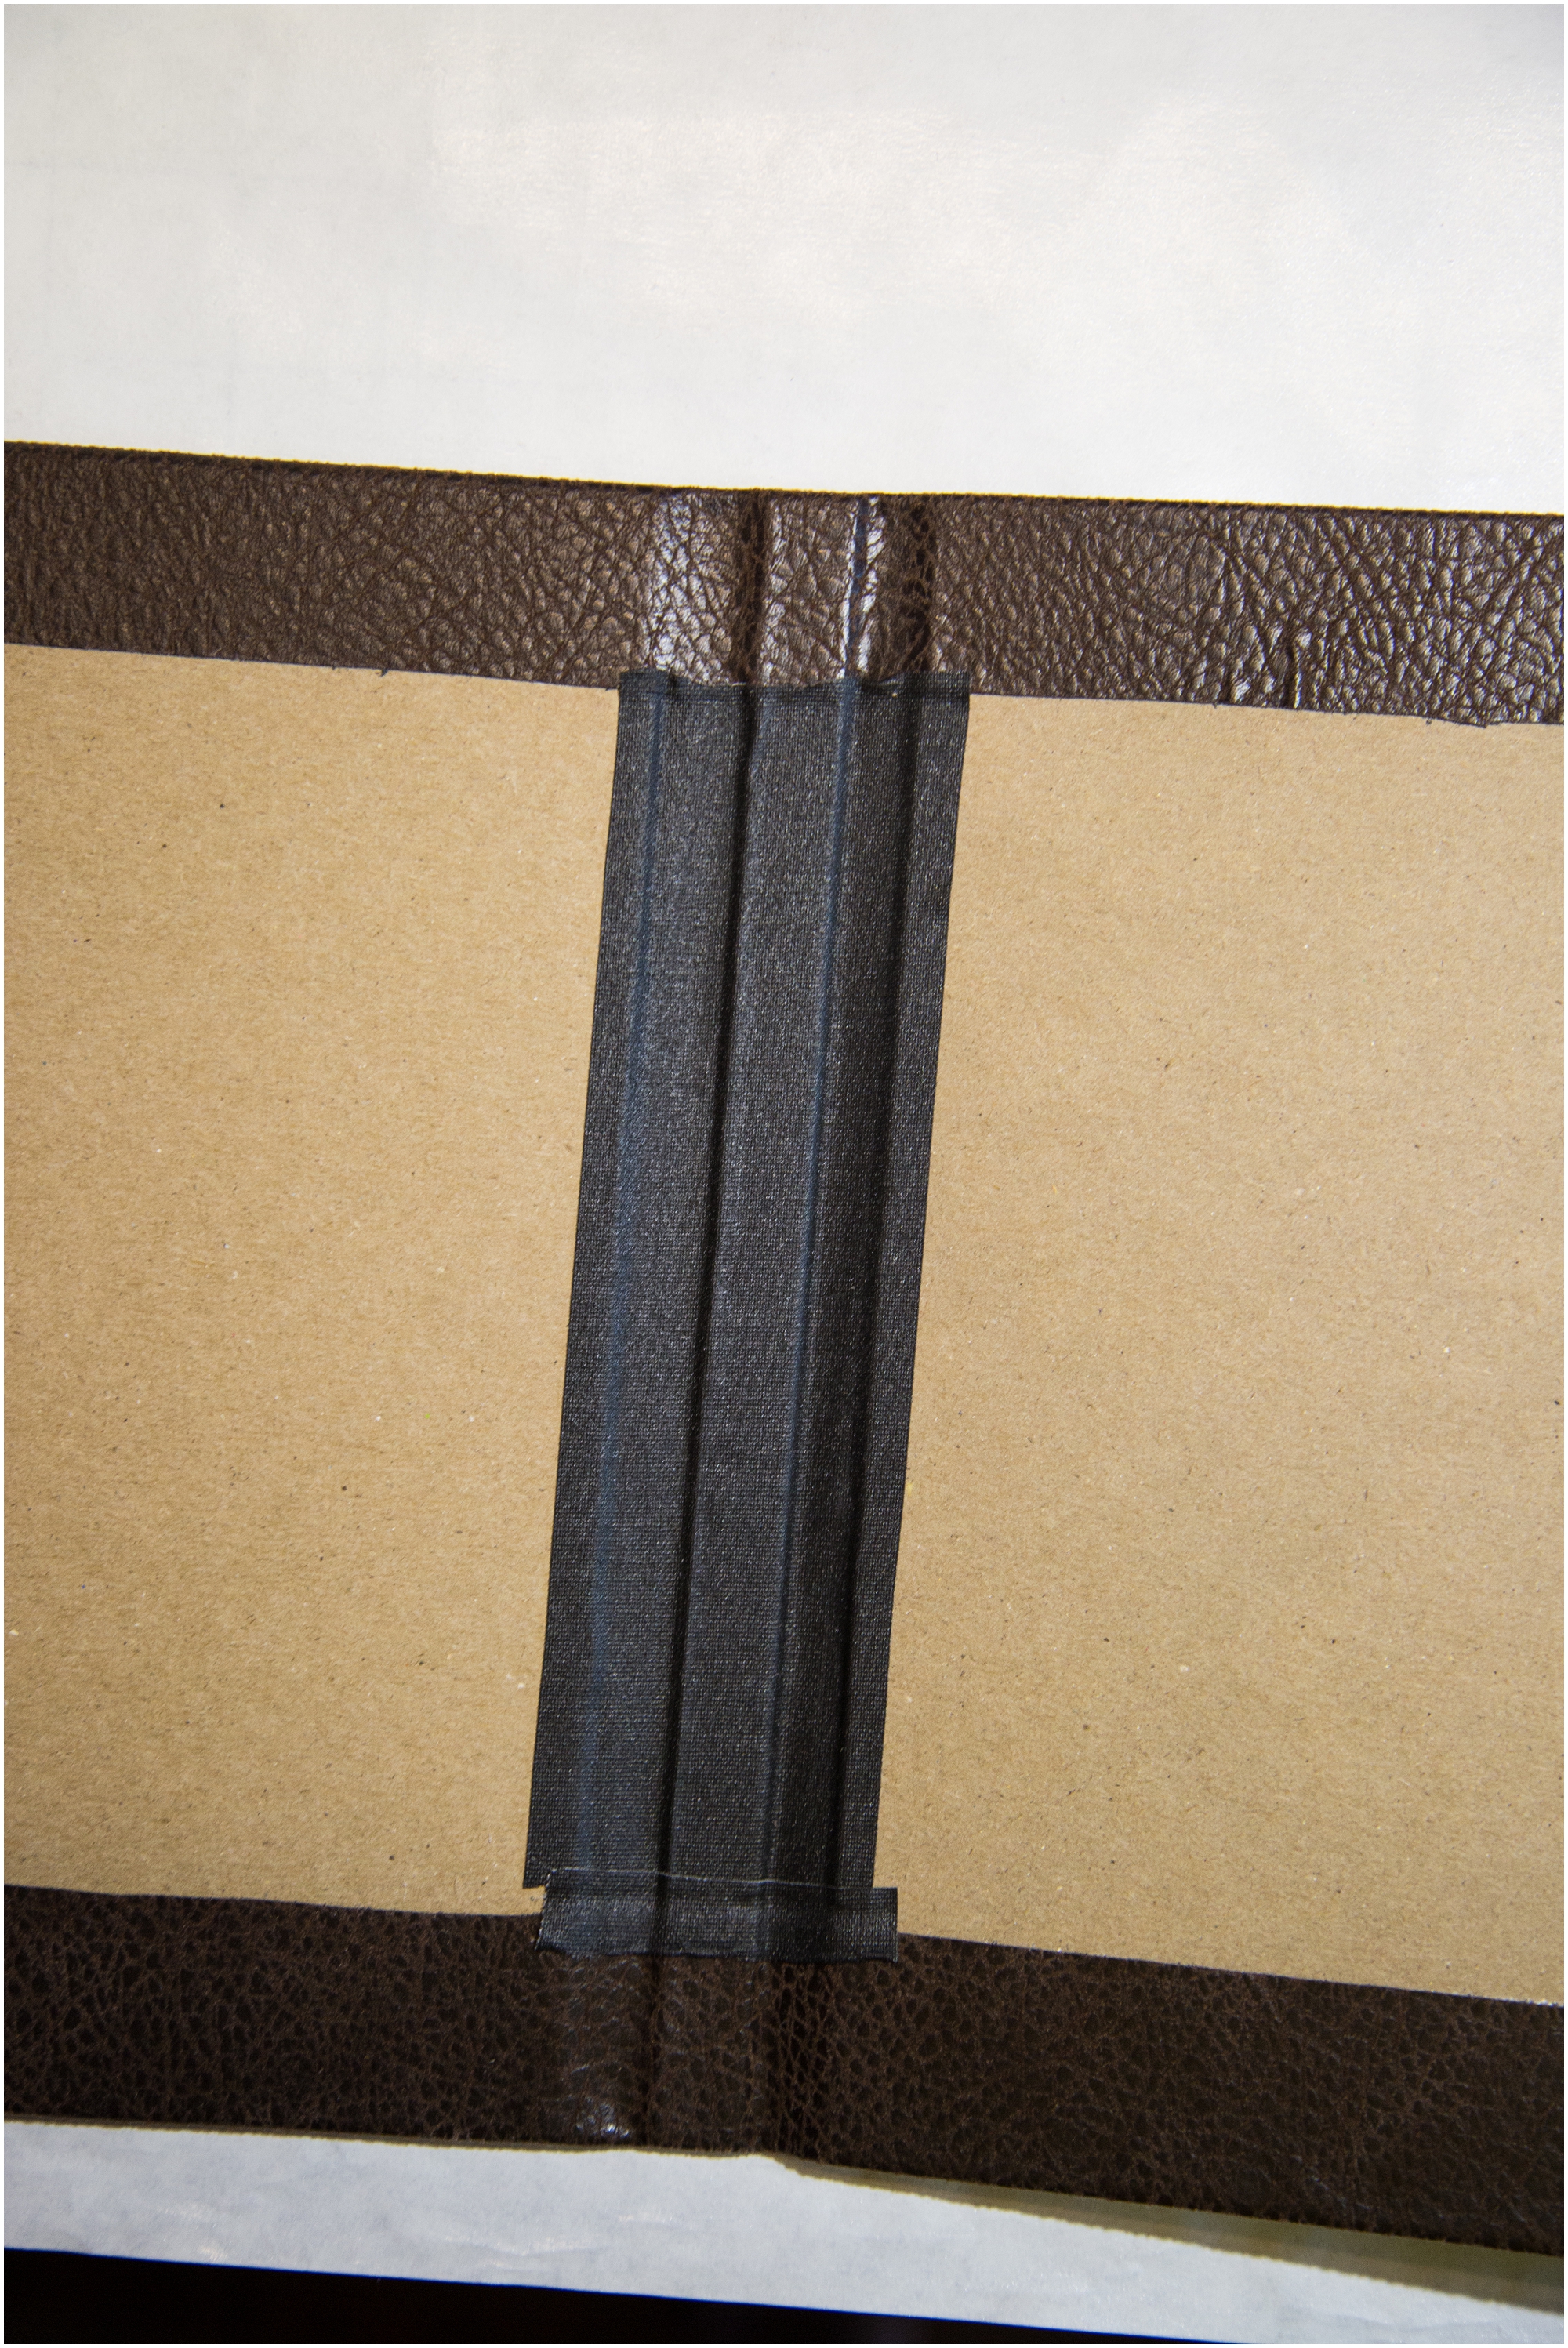
I normally do this step before gluing the edges down but I forgot this time so I did it after I glued the edges. I use some book binding tape to help re-enforce the spine of the book. This step is not necessary I just do it to help make the spine a little thicker.
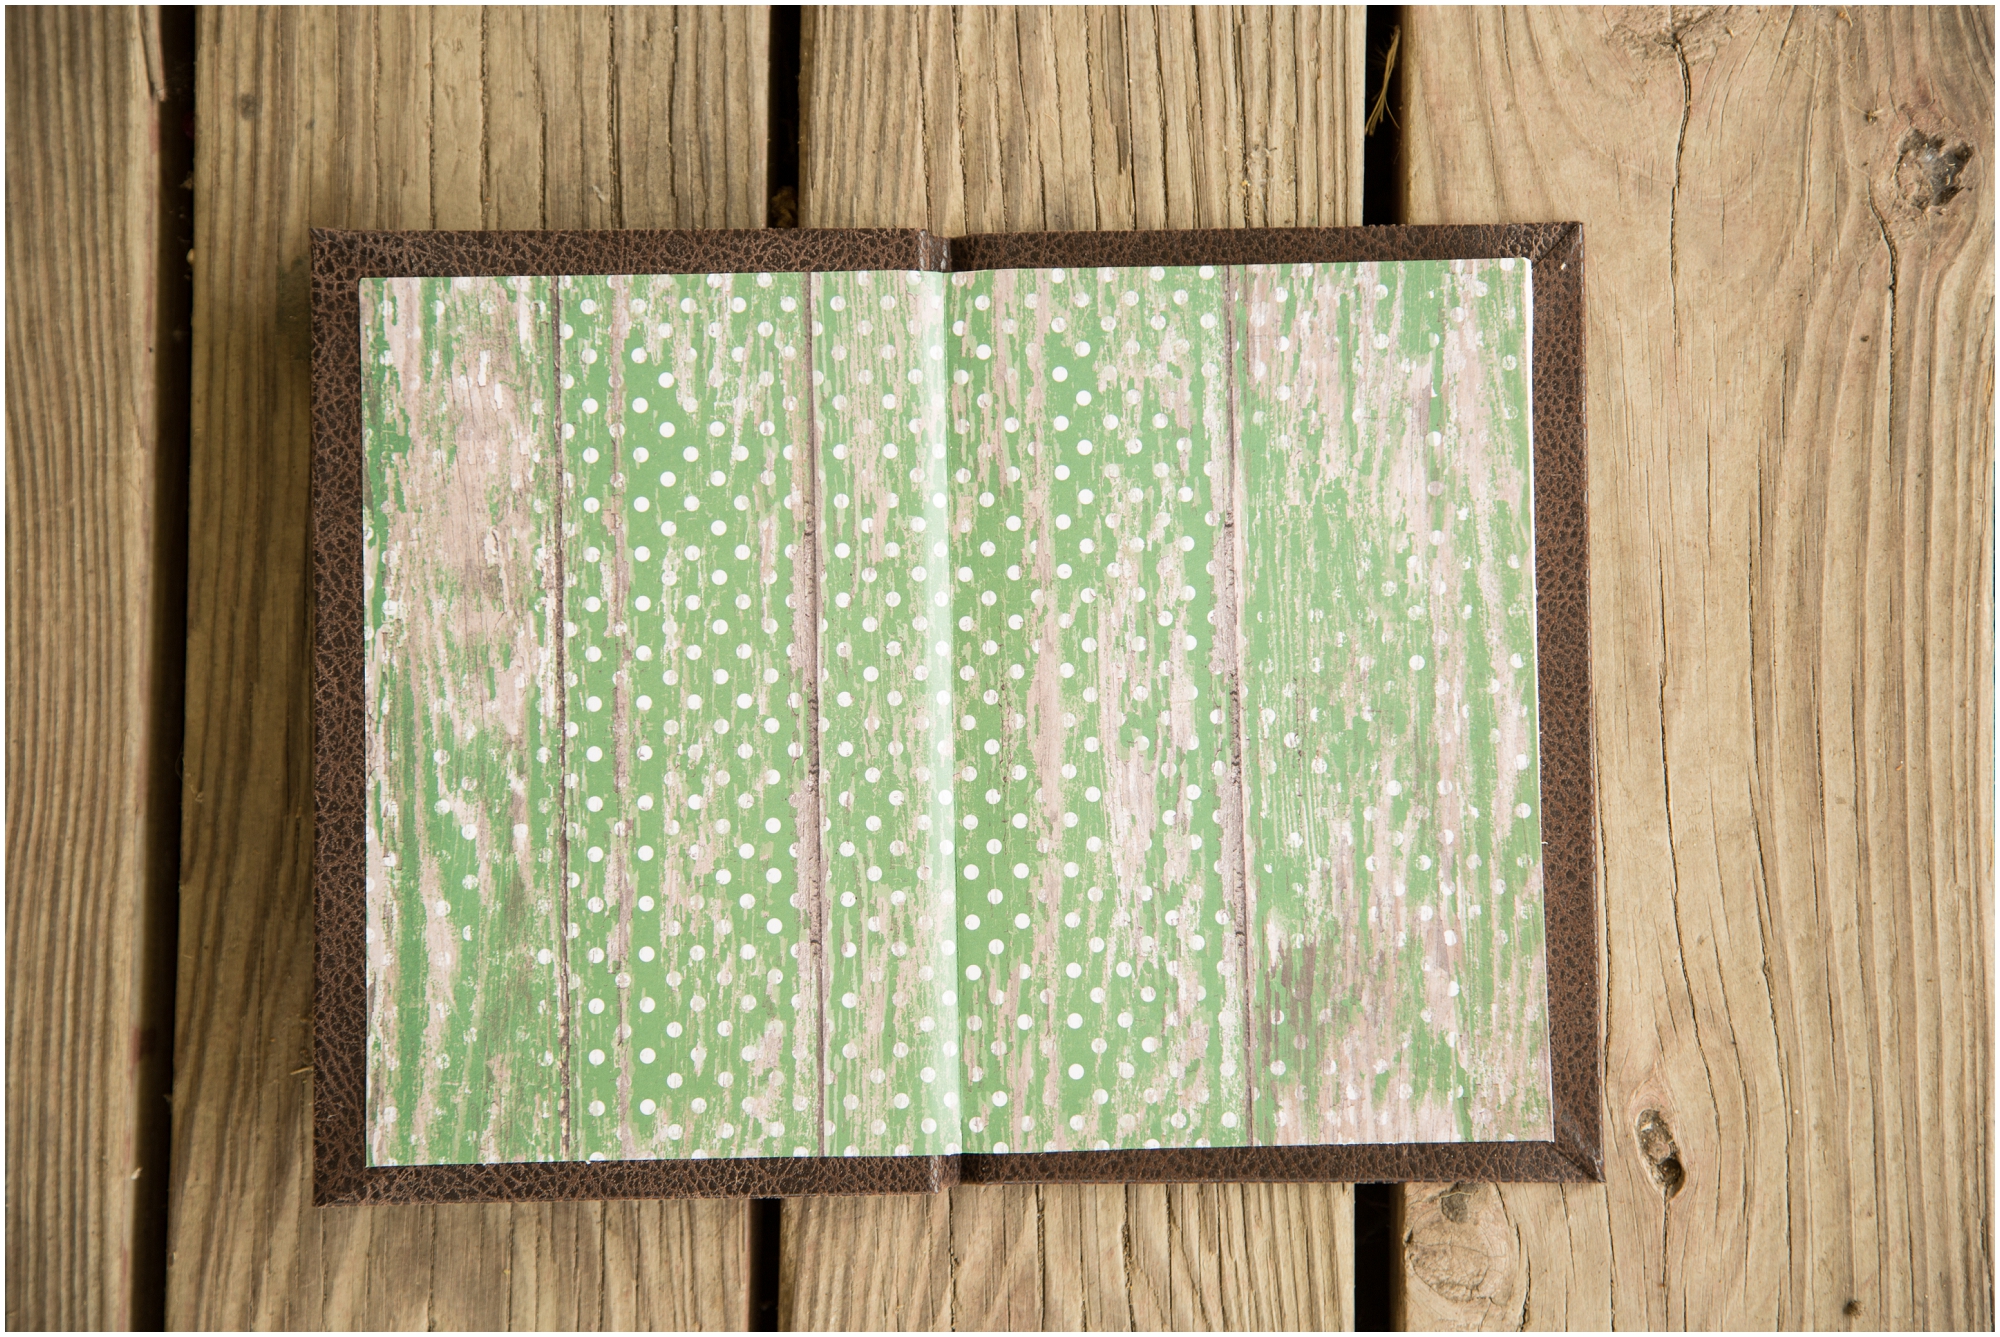
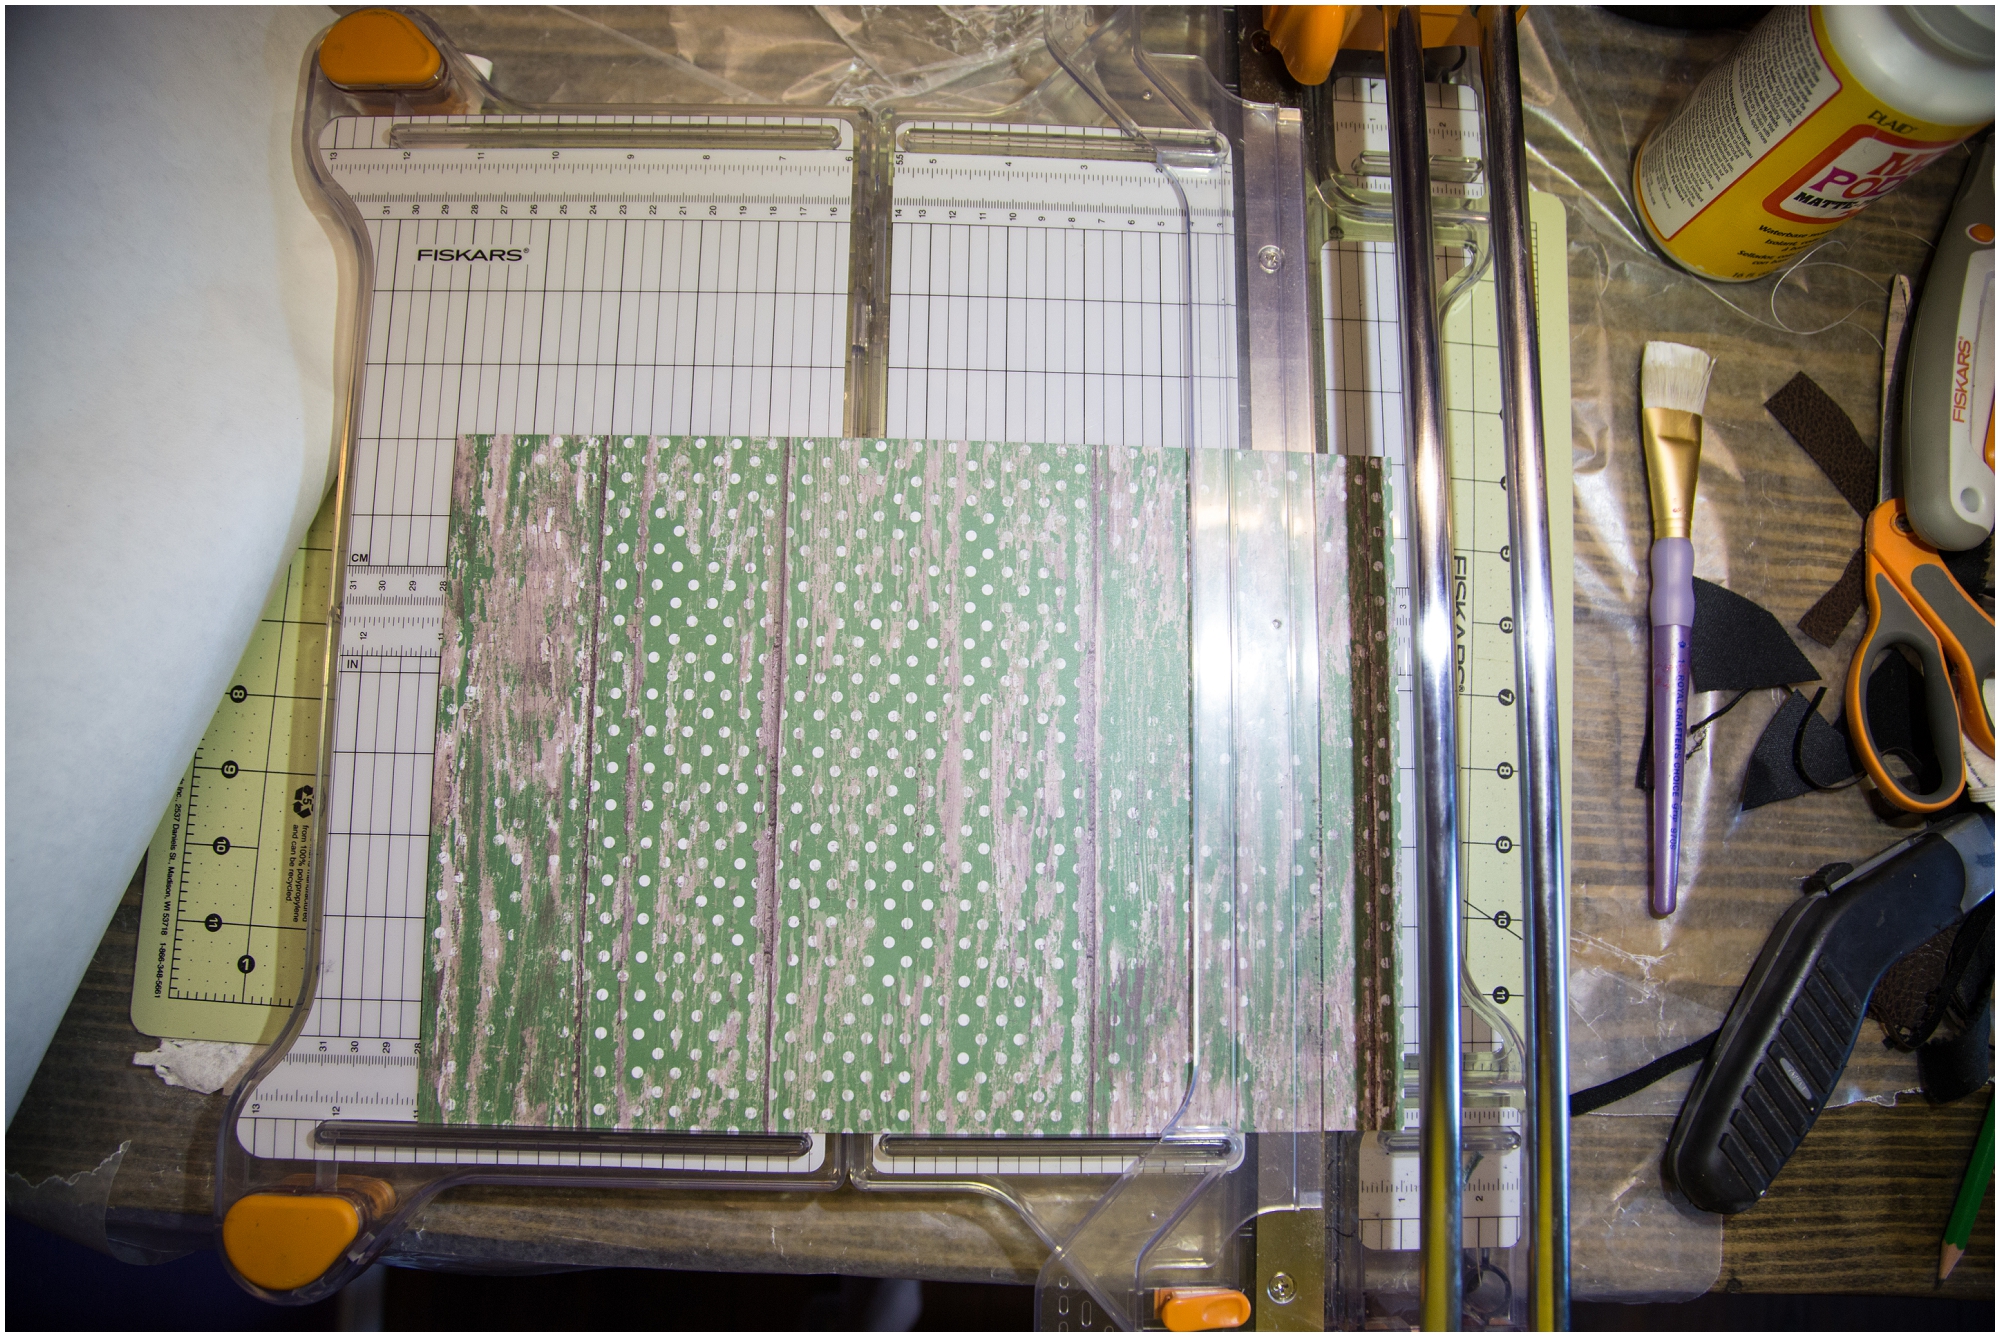
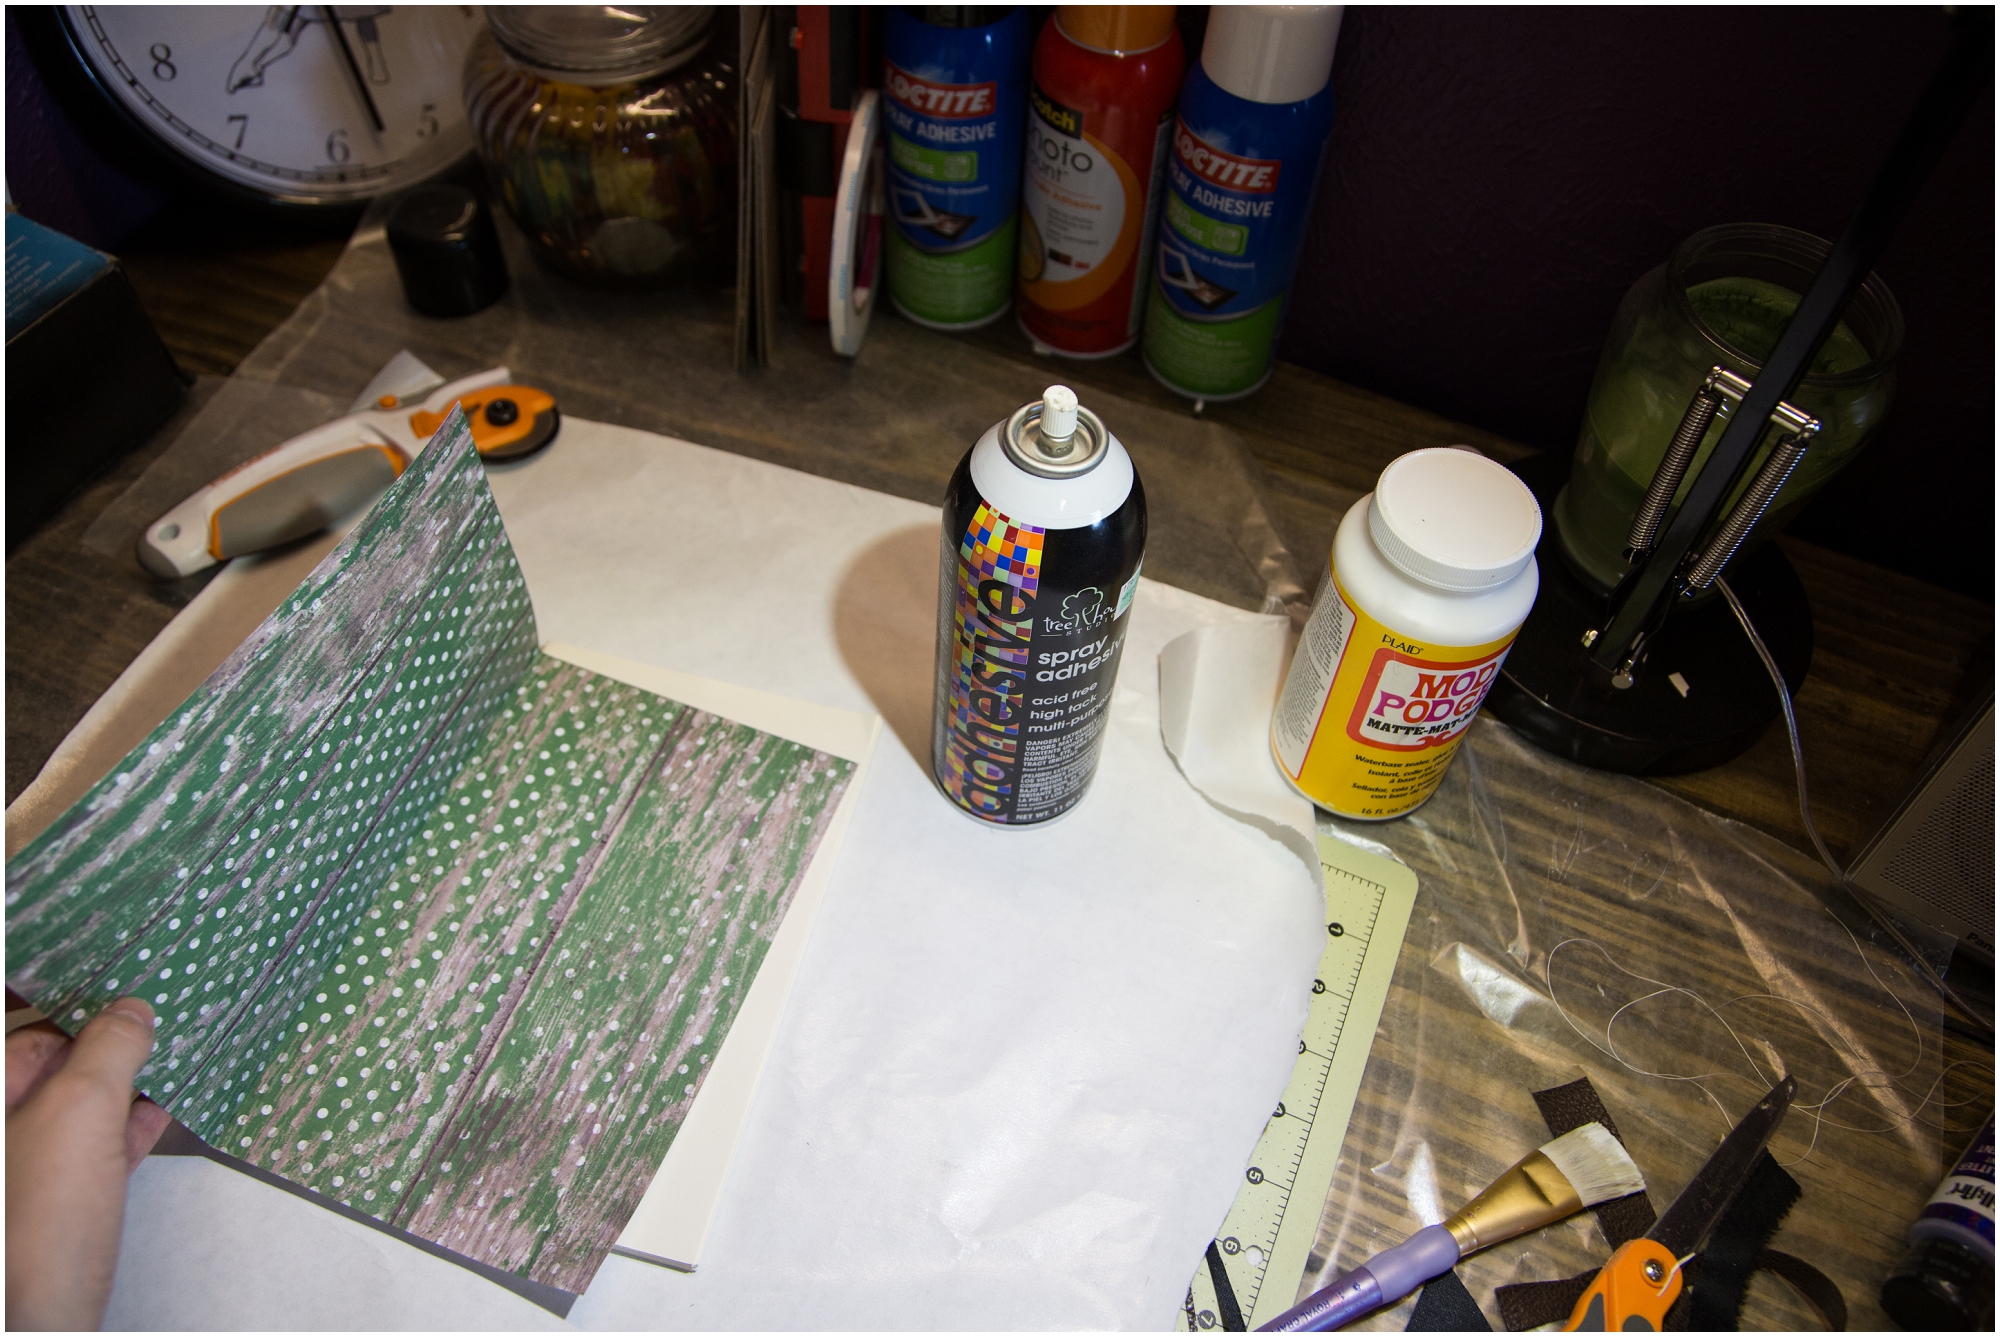
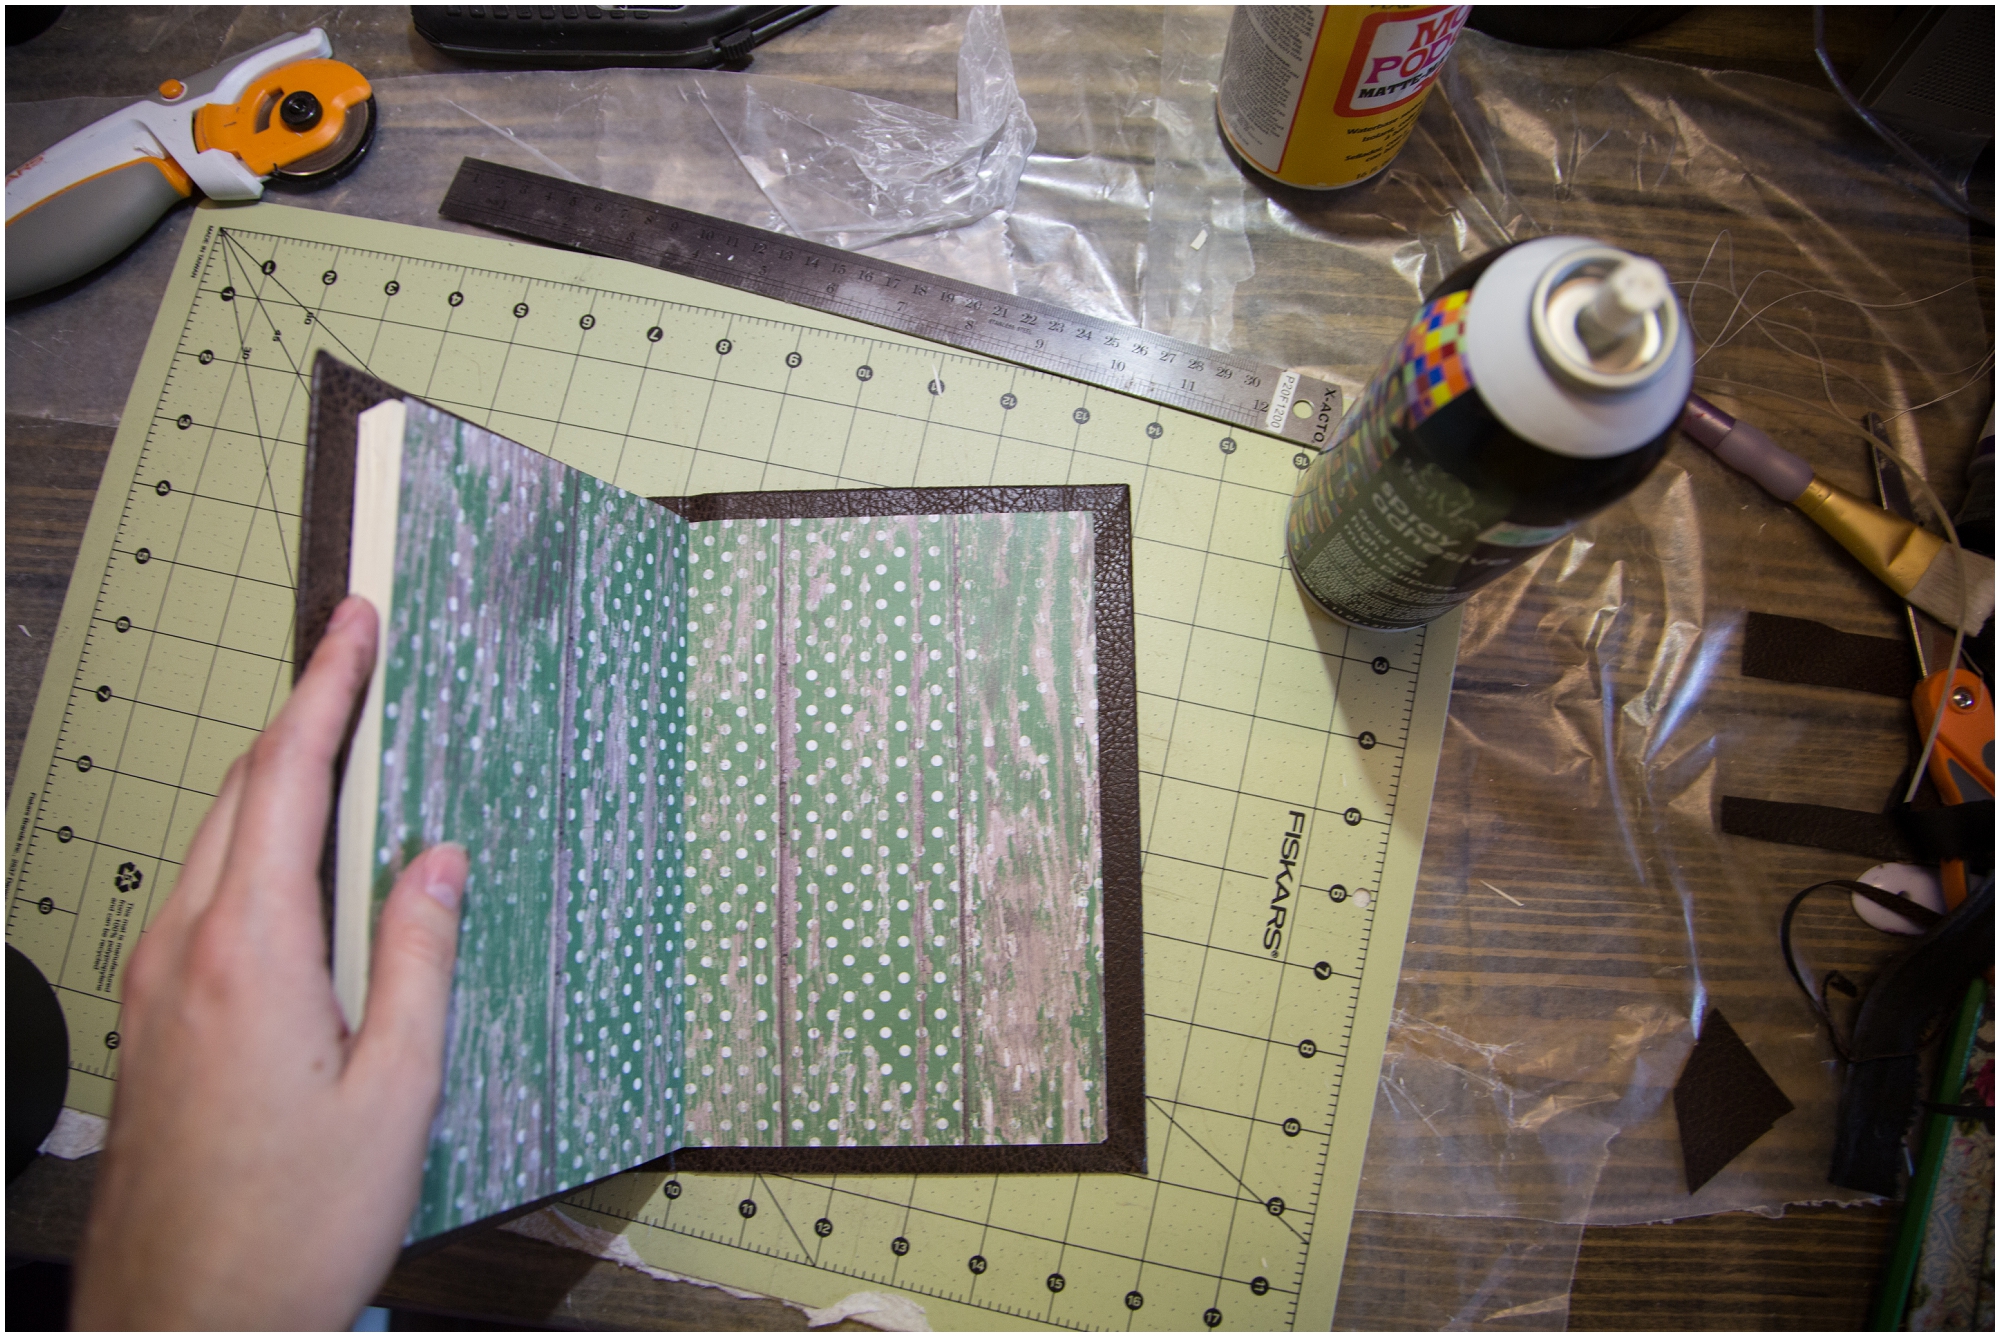
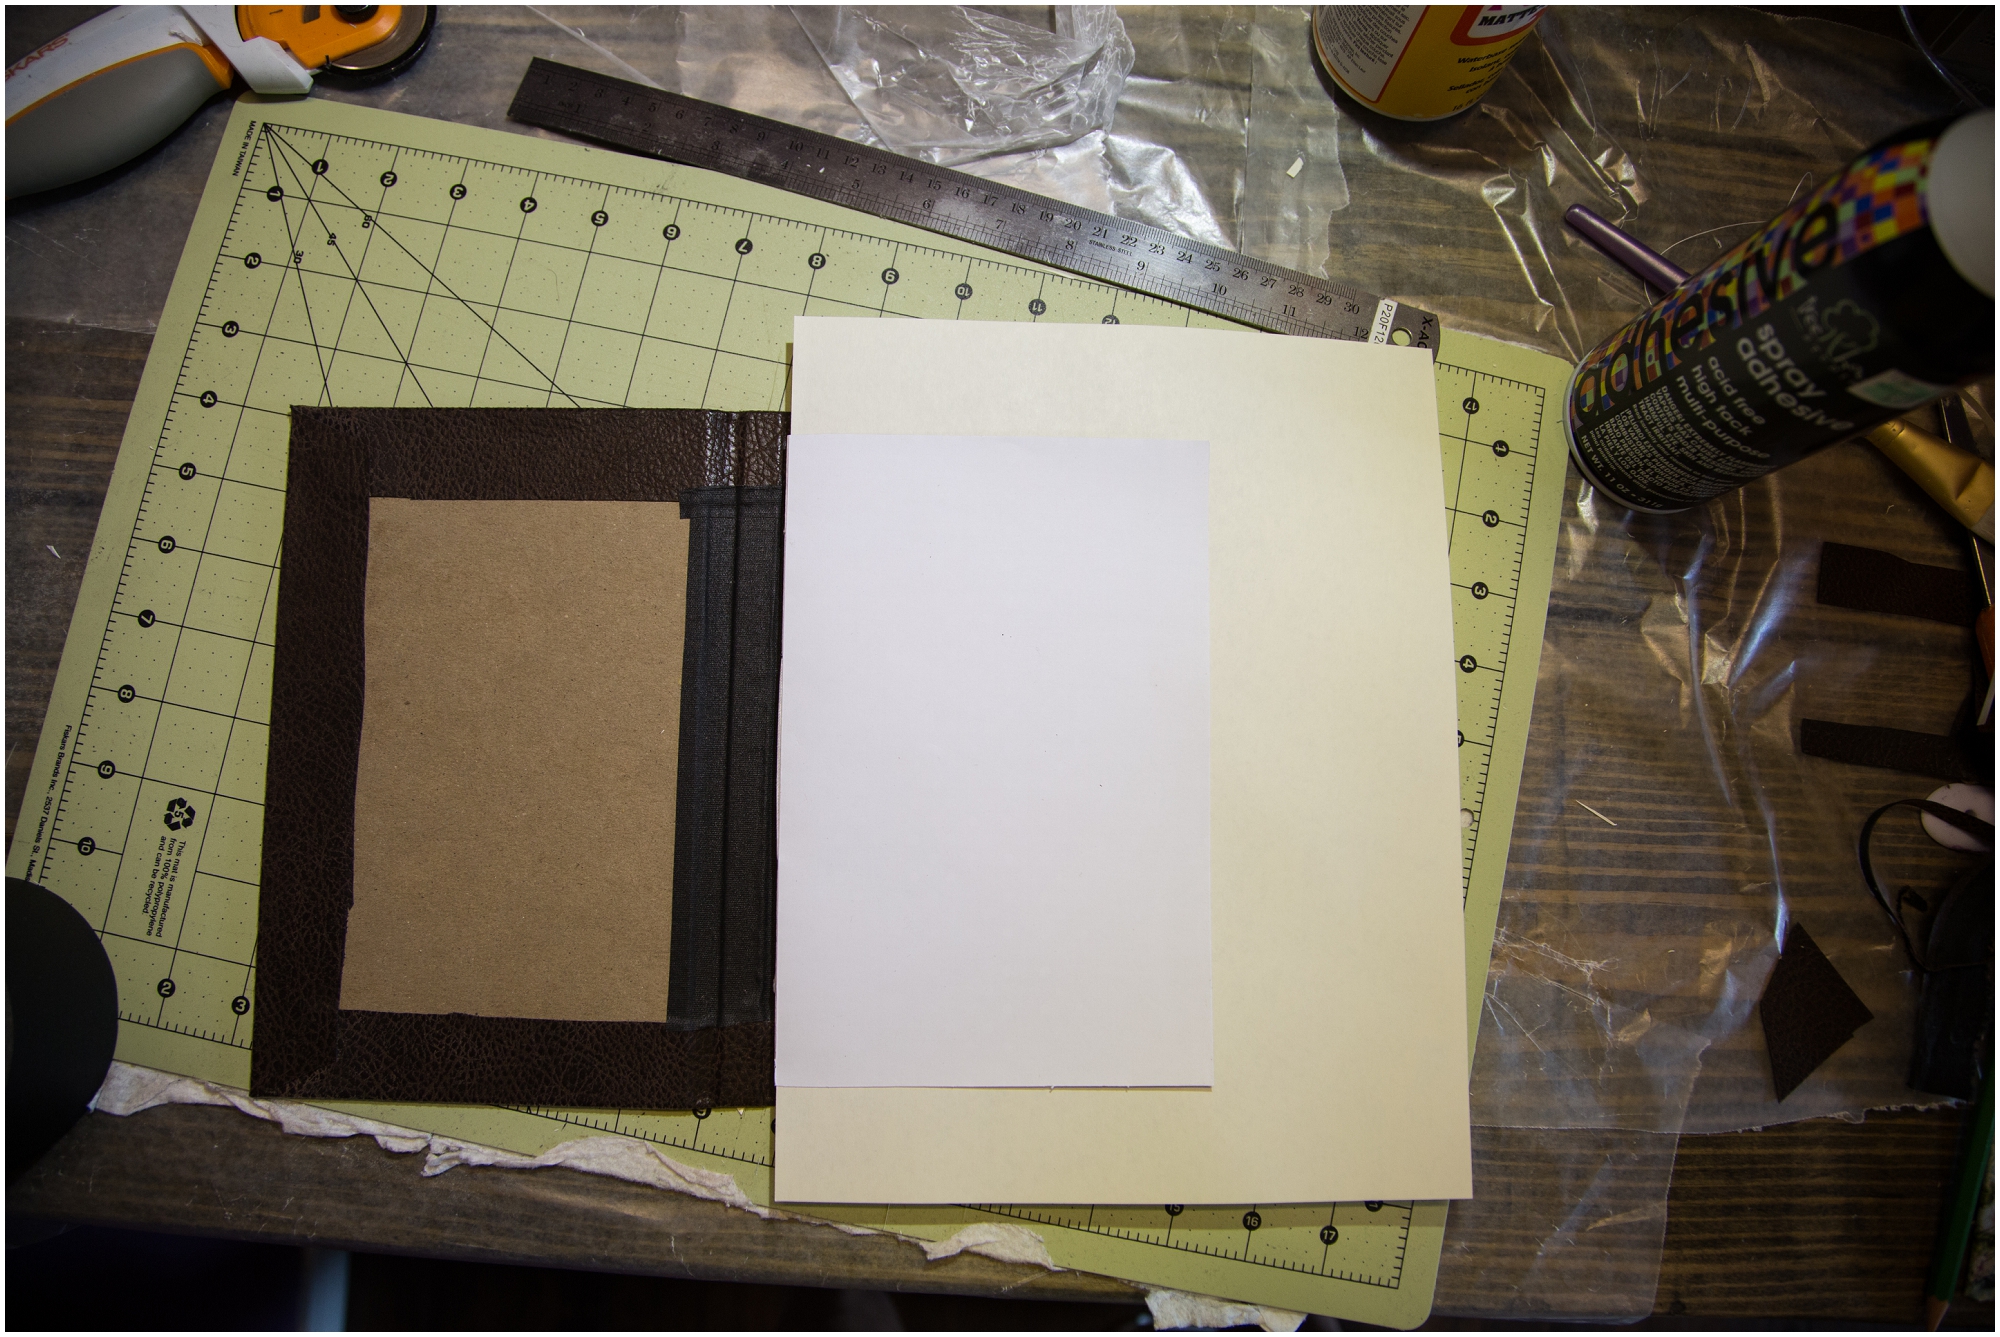
Now your pages should be dry. You need to apply your end pages to your booklet. Cut you scrapbook paper to 8 1/2 by 11 inch.
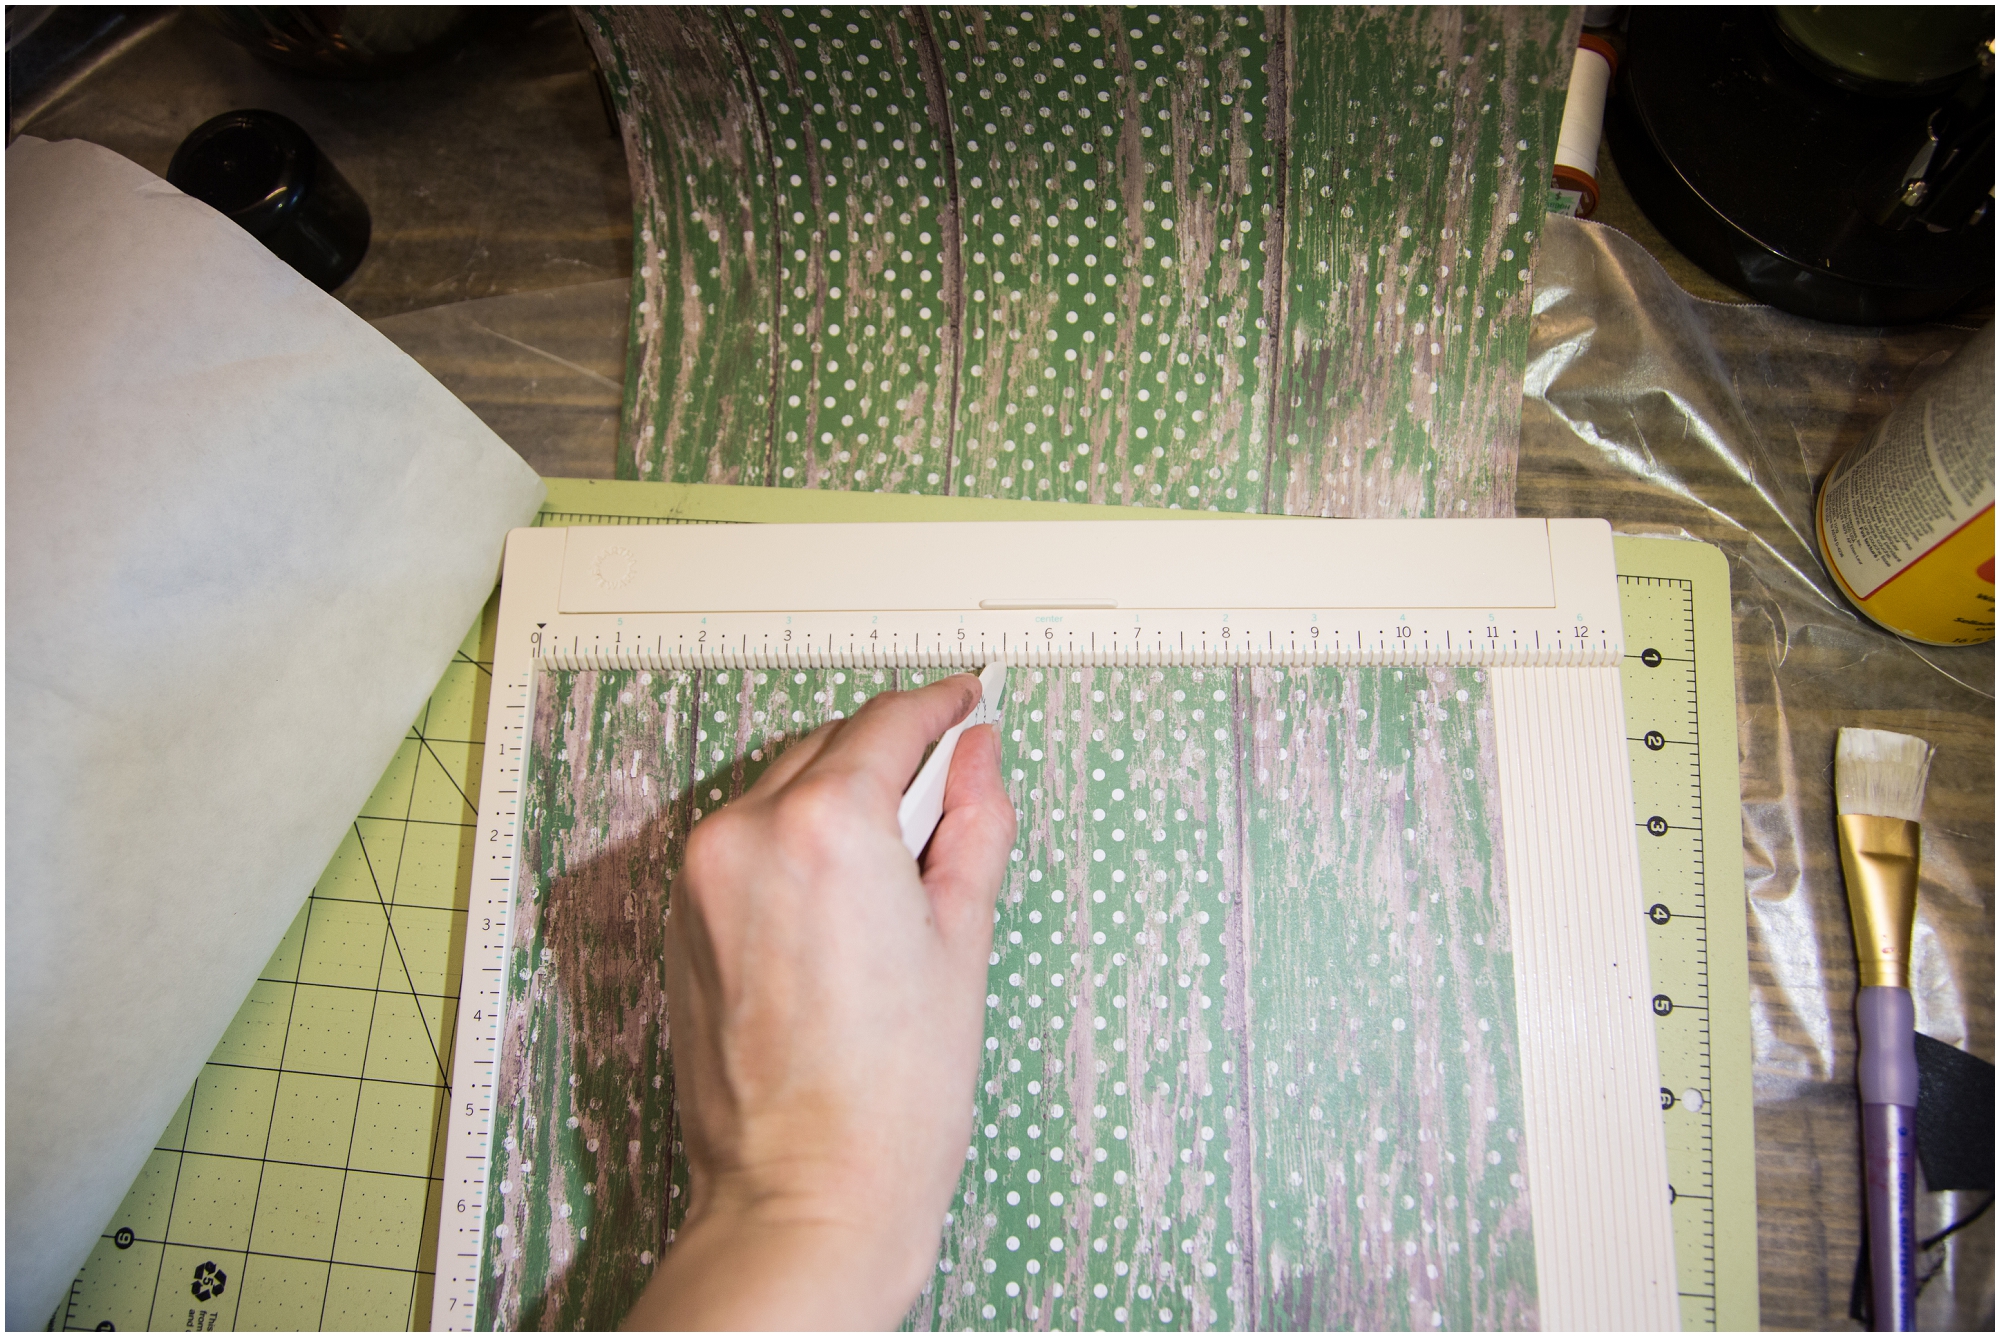
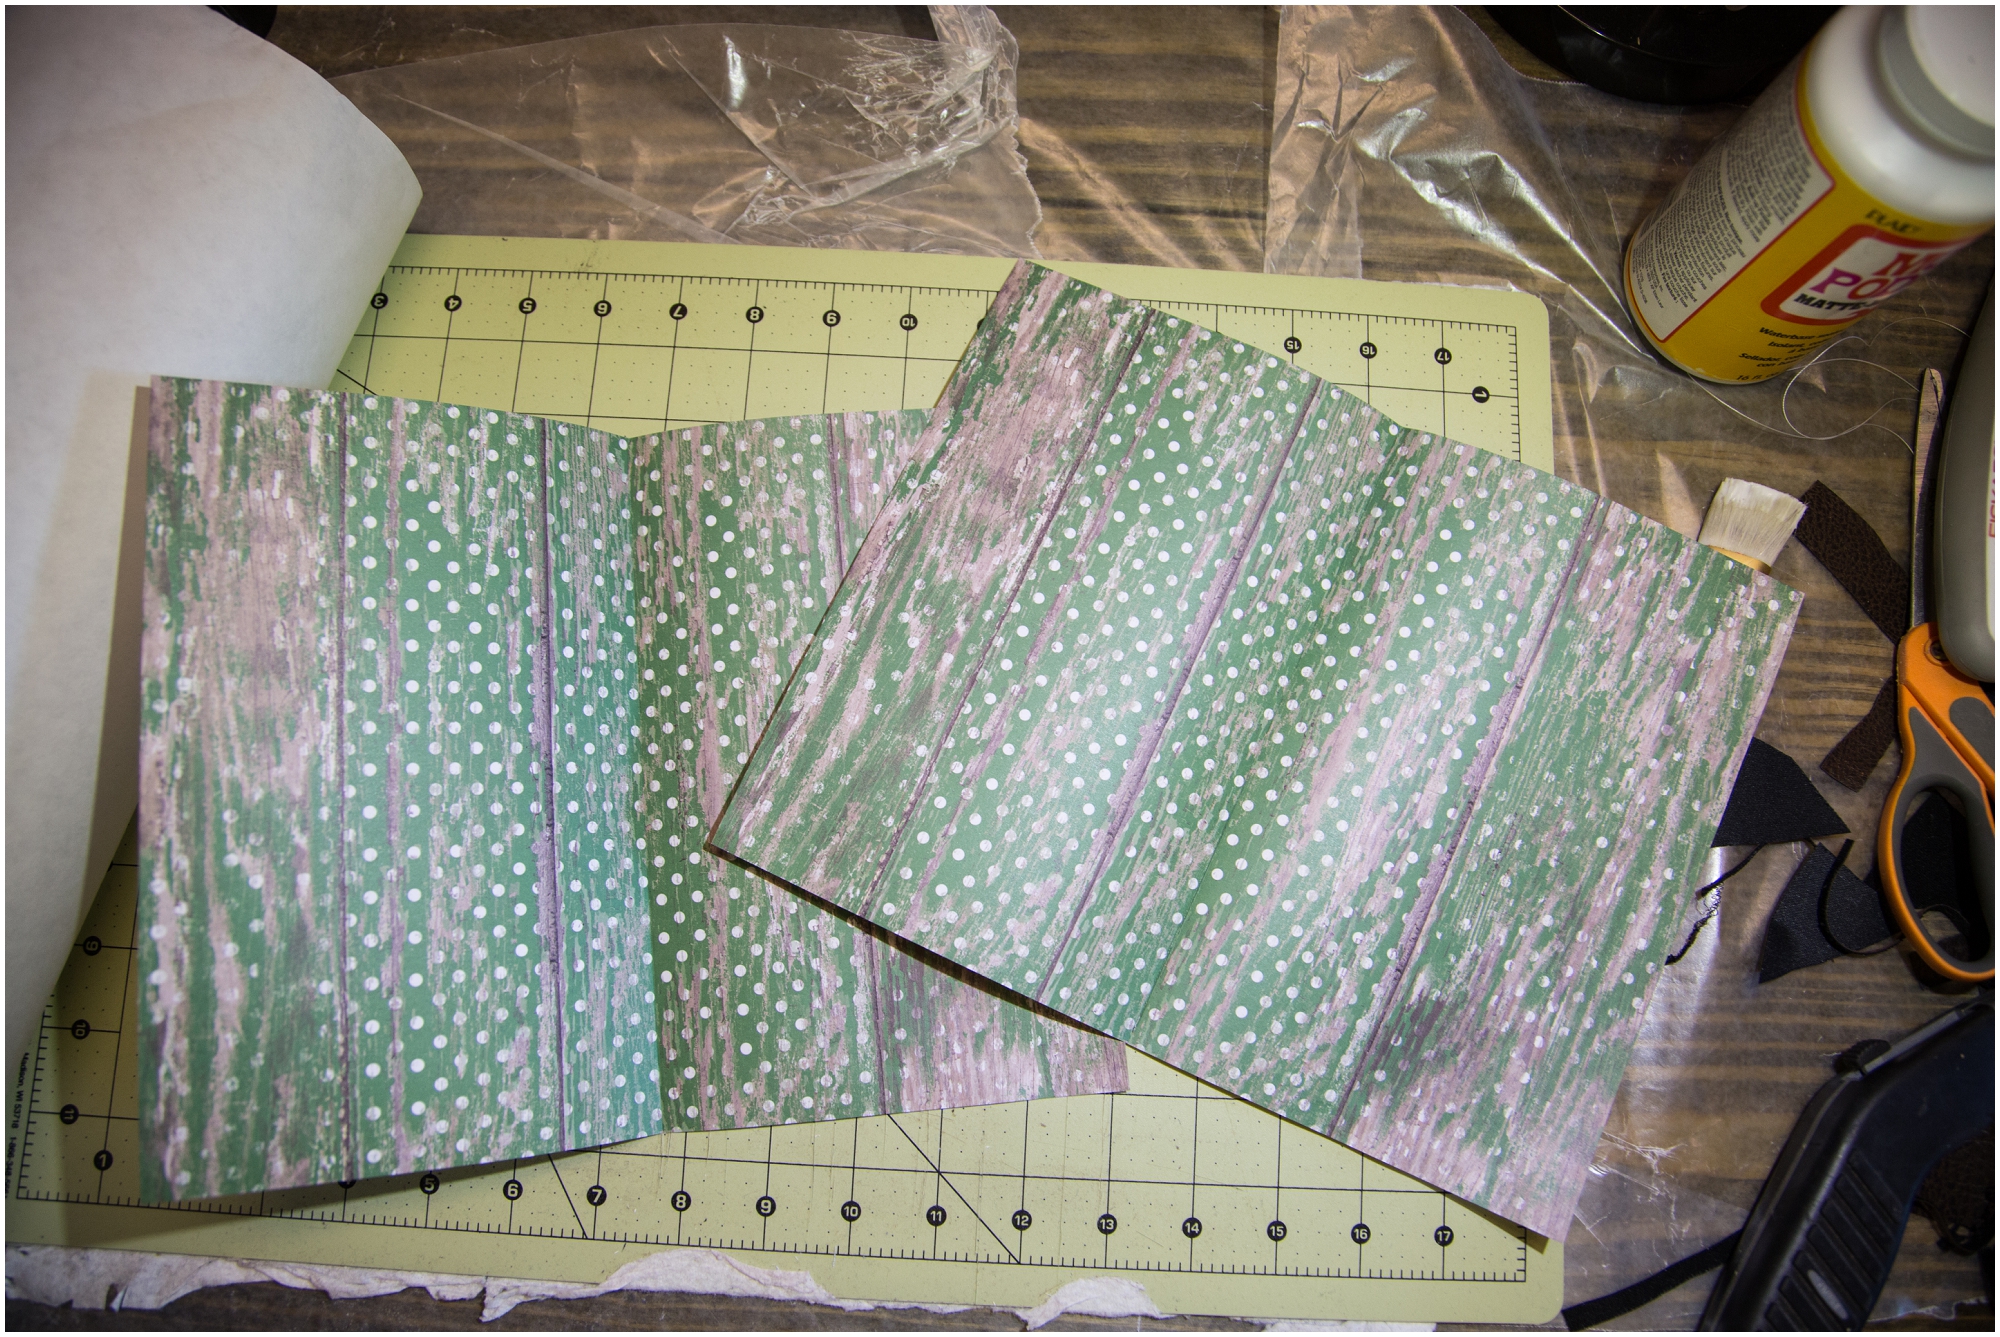
Fold both pages in half.
Then glue them to the front and back of your booklet. I use the spray glue for this as well. Just make sure you don’t get glue on the rest of the book.
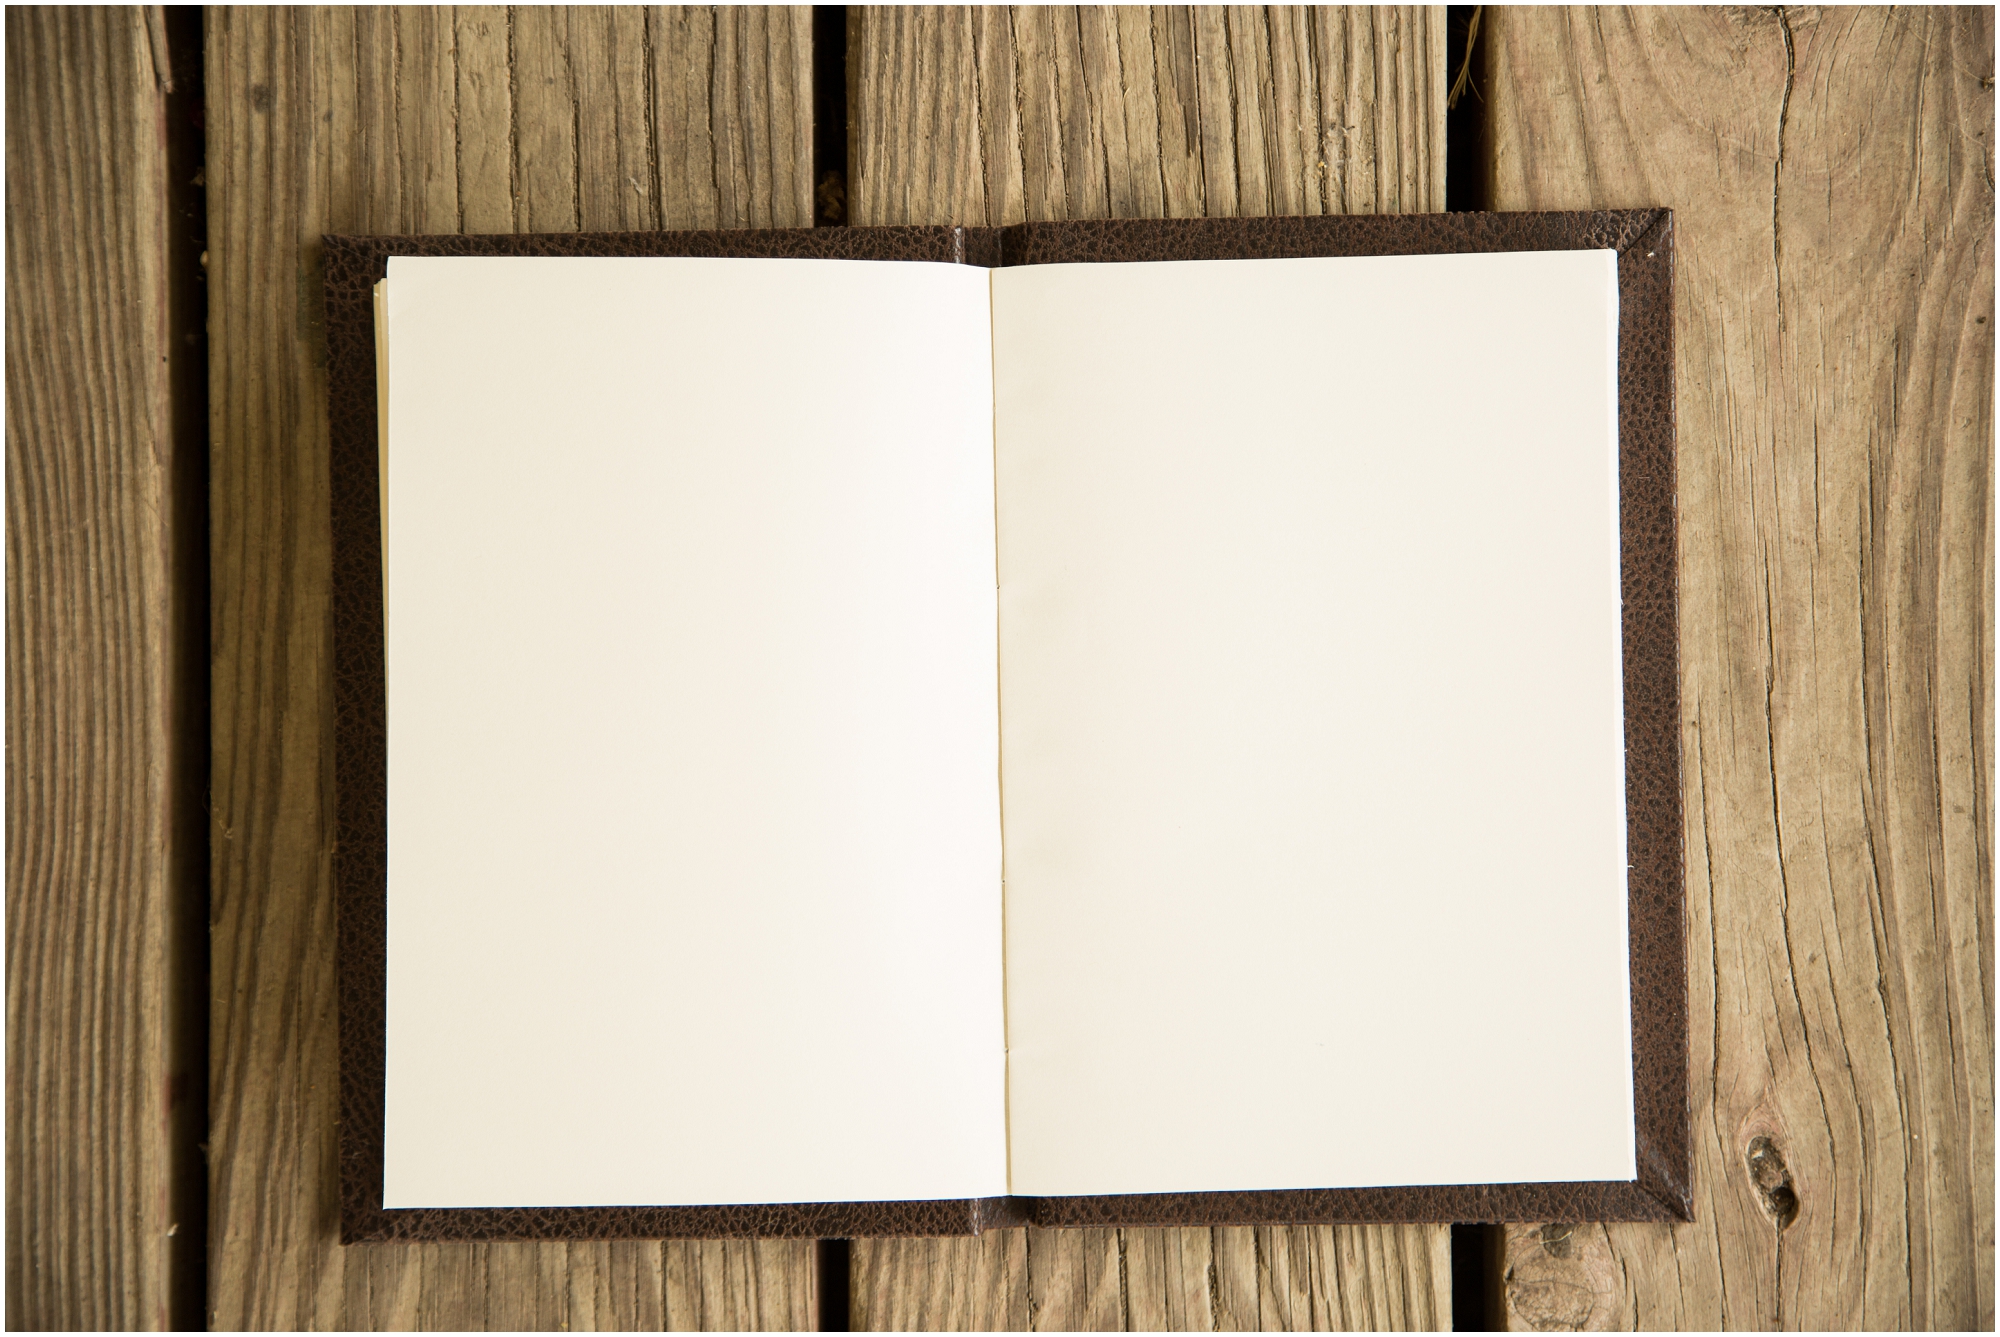
It is time to trim the edges. Line you booklet up on your cutting mat and then using your metal ruler and knife cut 1/4 inch of from the top, bottom, and outside edge of your book. The takes several passes with the blade. Just make sure you hold the ruler still and make slow, even cuts. If you press too hard you get tired very quickly.
Now you just have to put the book and cover together!! 🙂
Spray the glue onto the outside of your booklet and place in the cover doing one side of the book at a time.
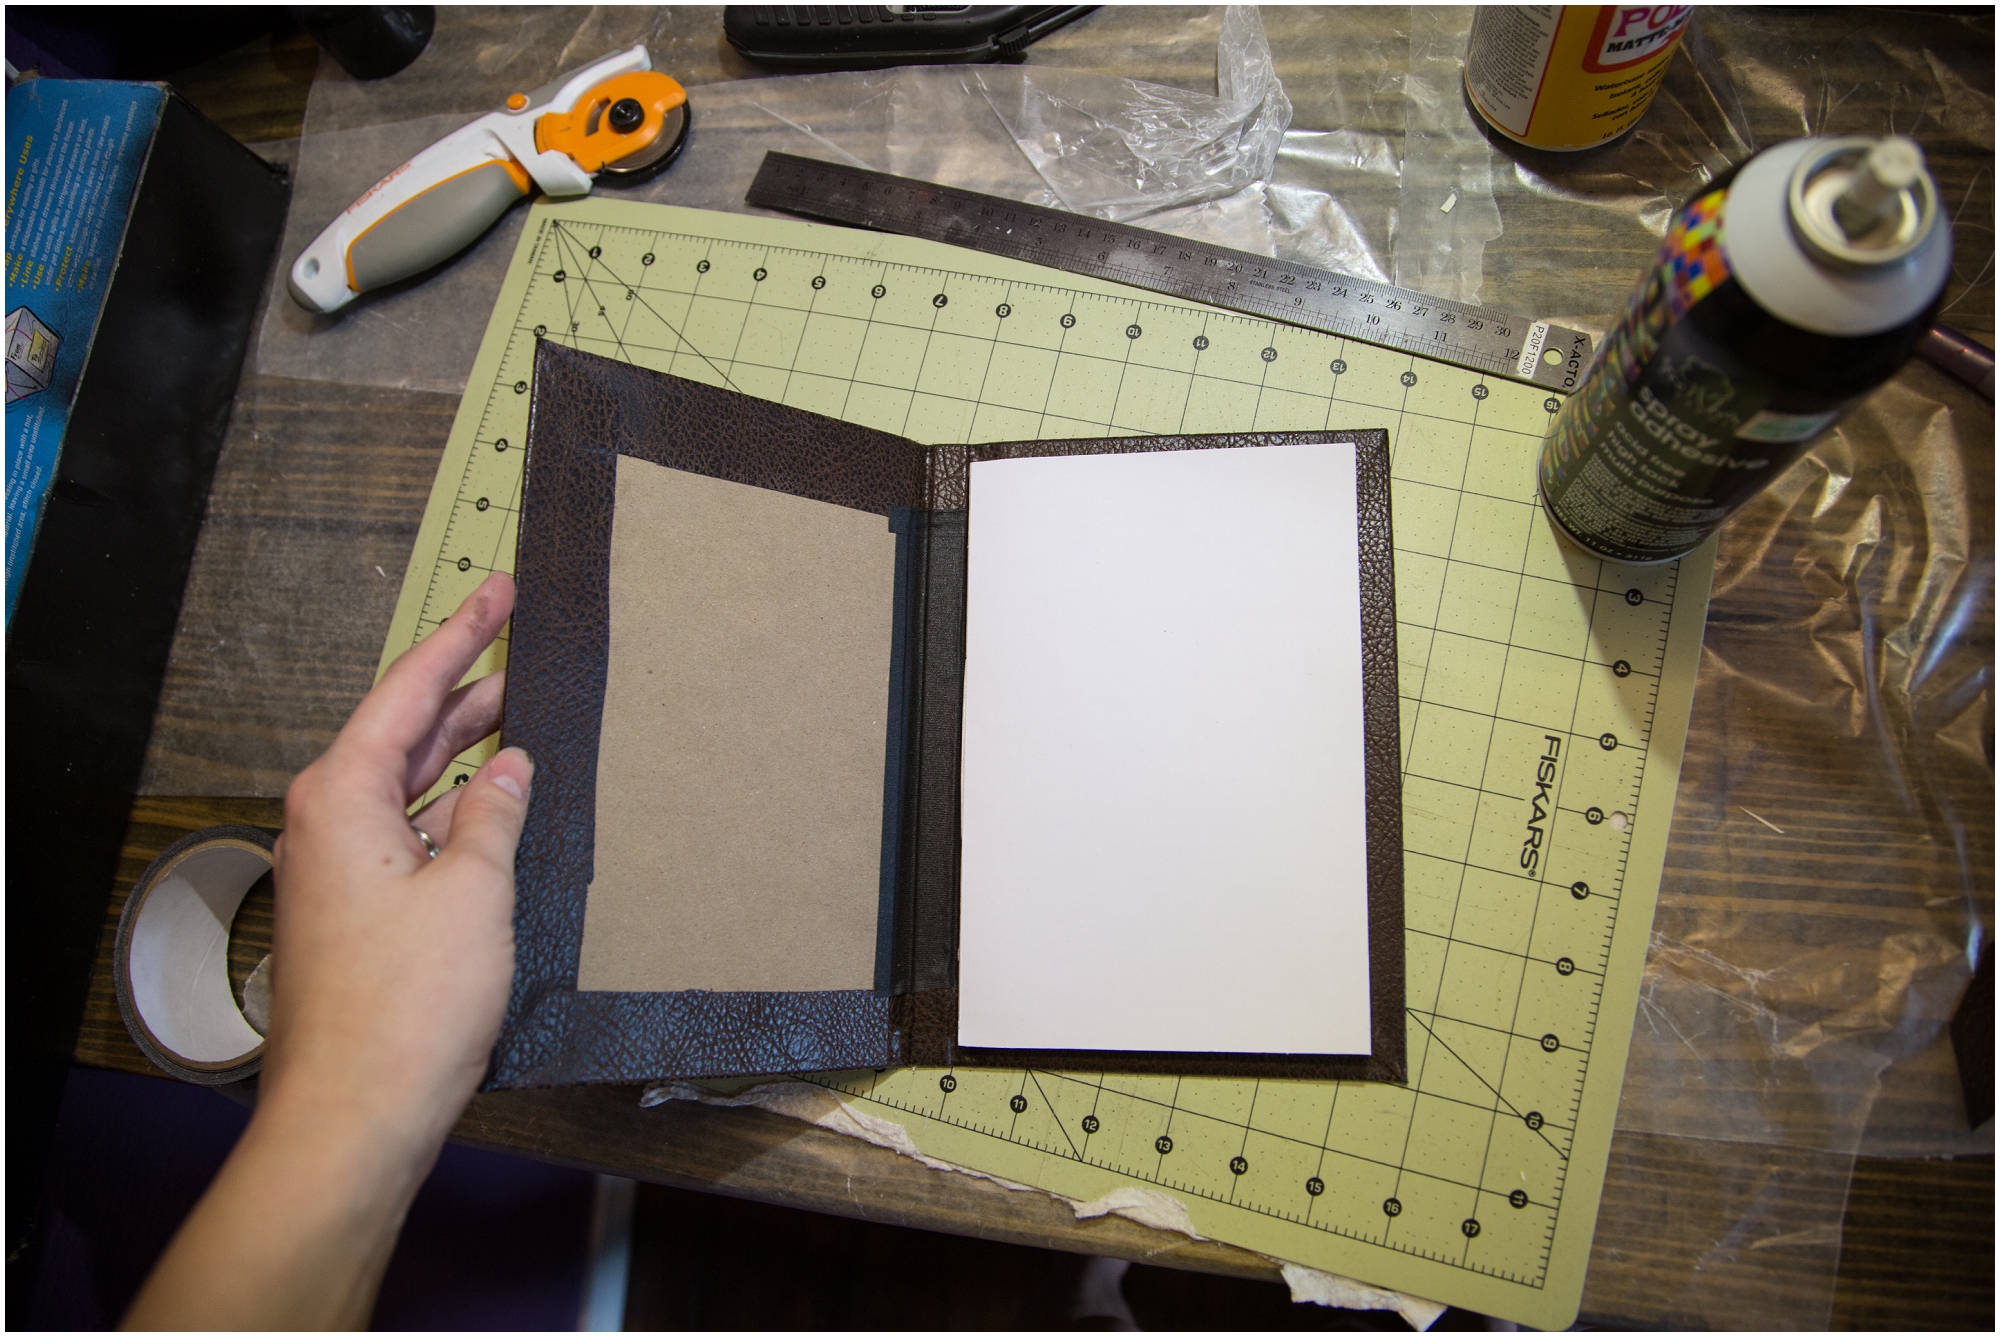
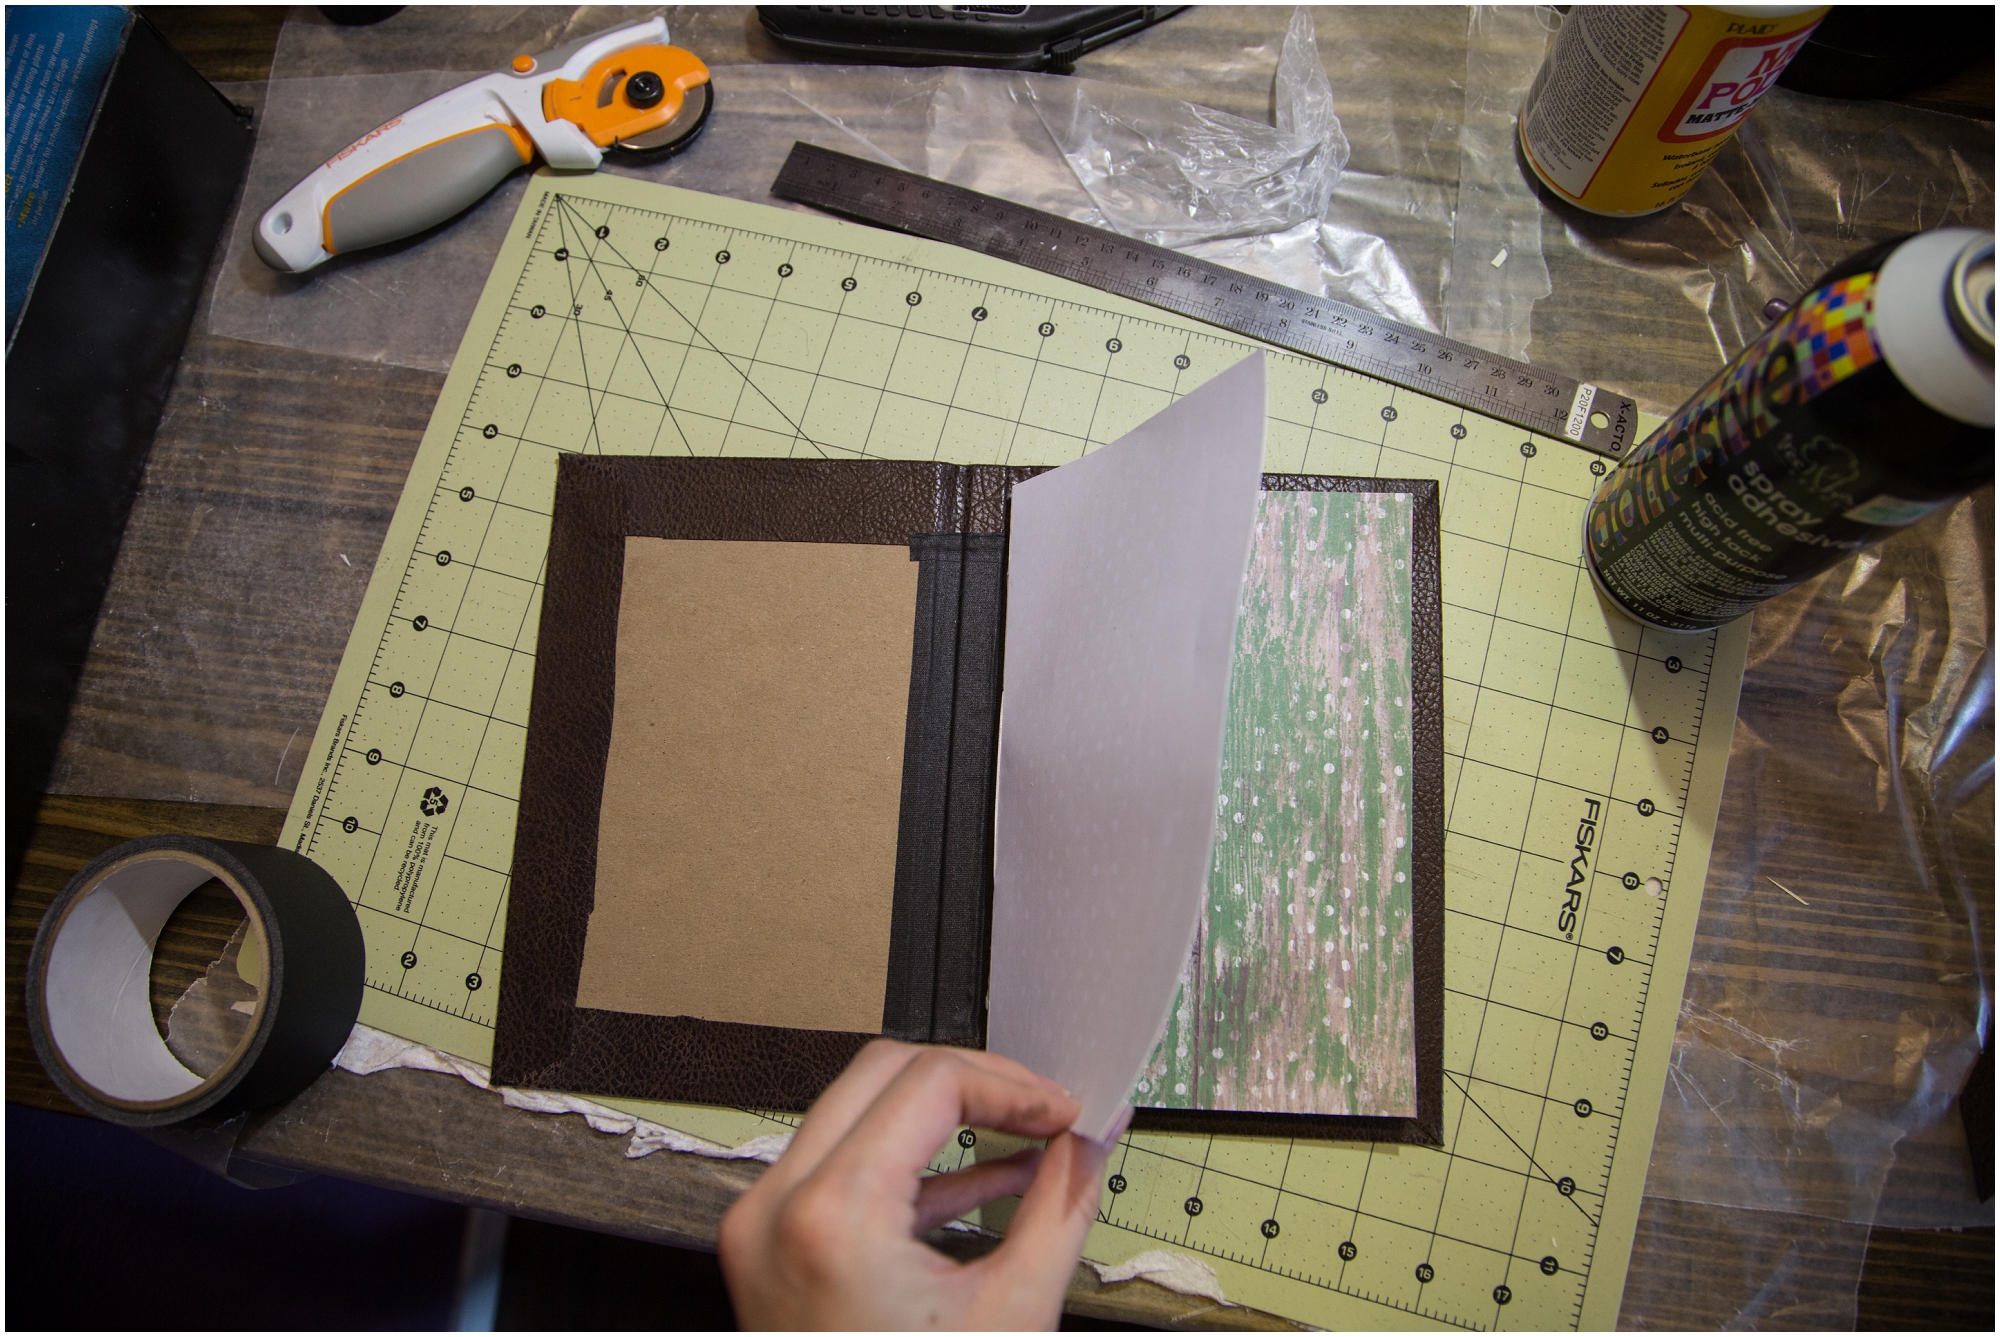
When spraying the glue on the second side it helps to put a piece of paper between the end page and the rest of the book to keep the glue off the book. When I glue the second page I just close the cover onto the page. I make sure that the front and back covers line up and then press the cover onto the page.
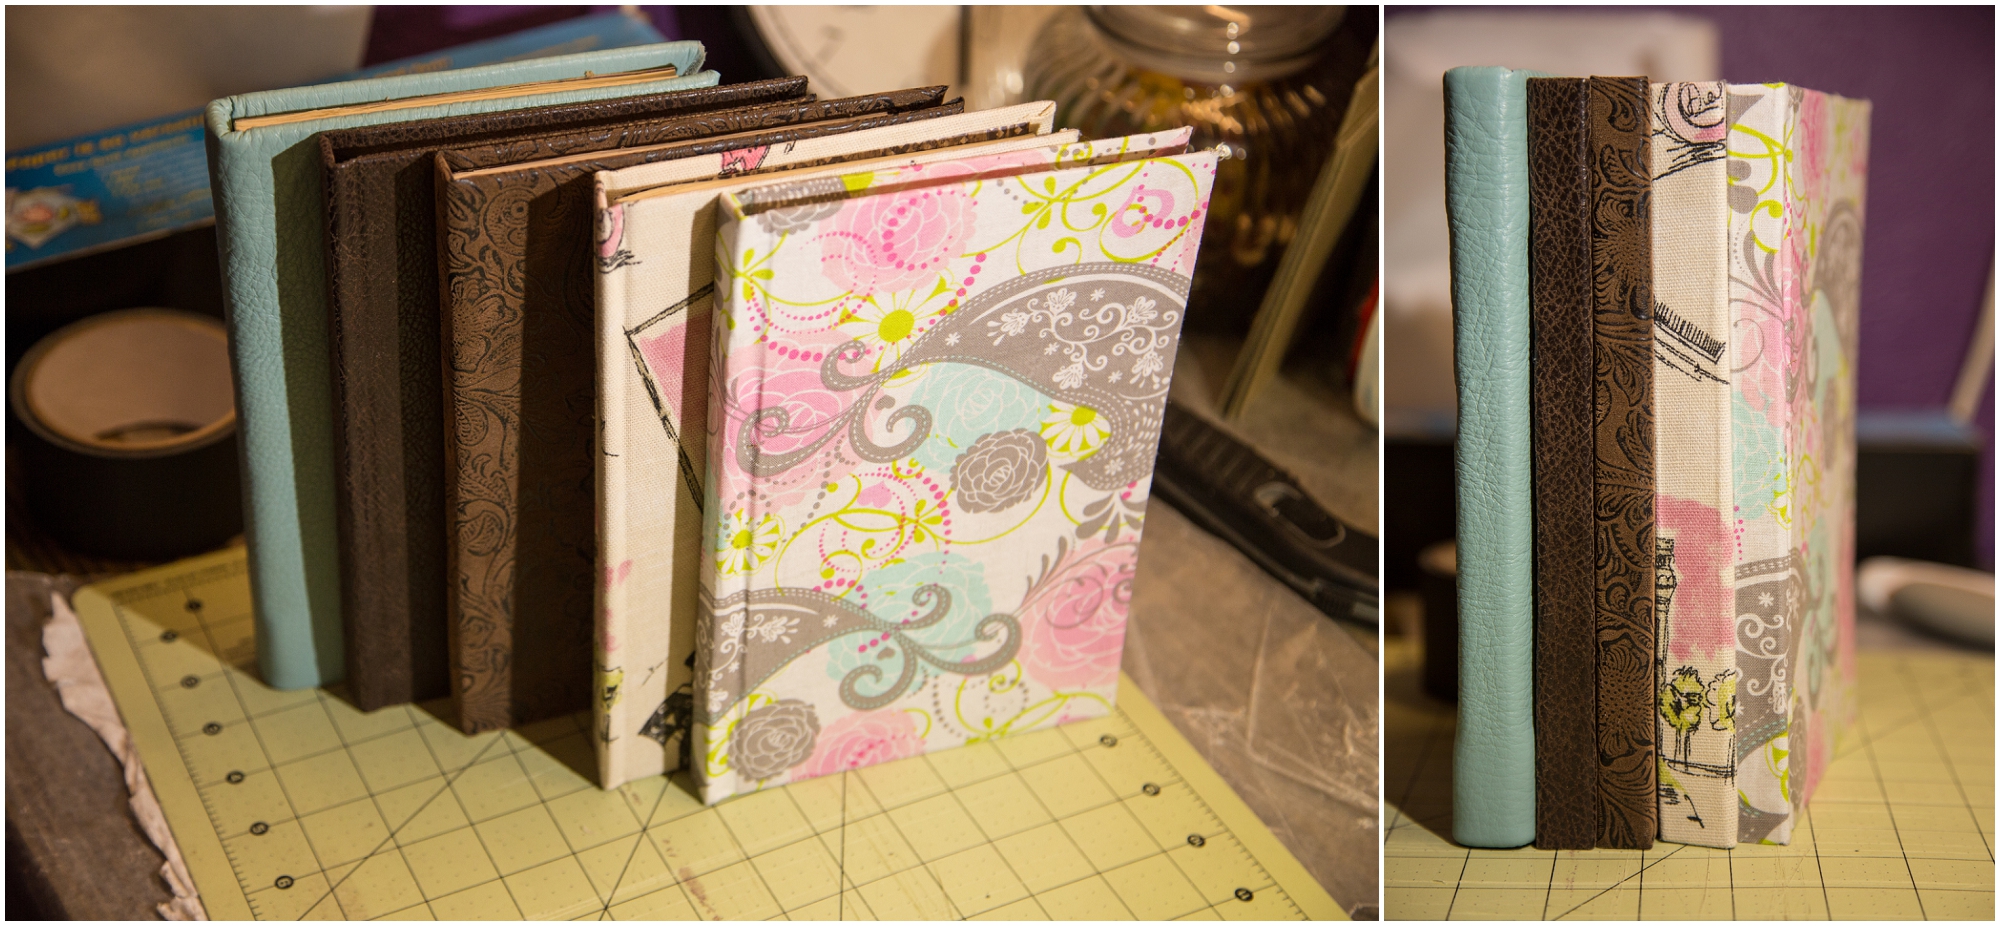
And there you have it! It is done!! I hope that this tutorial made sense, If you have any questions or see any typos let me know. 🙂